
The series of articles on this project began when the main work on it was almost finished. By the time this final part is published, the printer has been fully operational for about a month.
This allows us not only to share the final photos and proudly declare the project complete but also to draw some conclusions regarding the practical use of this tool. And these conclusions are based not on a couple of quick tests but on real operational experience — although still limited.
In the maker community, it’s generally accepted that a project presented as “finished” to the public may still have some unresolved details. Perhaps a wire hasn’t been secured, something has fallen off and needs fixing, or a small miscalculation in the design means a component will require future adjustments. This is considered normal.
These situations are often accompanied by phrases like “I’ll fix it later,” “It works for now,” or “Improvements are planned for the future.” There’s no guarantee that this “later” or “future” will ever come for a given project, but the community understands and often supports the creator as much as possible.
I personally have a ton of projects in the “later” or “future” category — almost all of them, in fact! But not this one. For this project, I wanted to see it completed 100% in every detail, with no loose ends. This principle was a fundamental part of the plan from the very start. A rare commitment for a maker.
Therefore, a week before publishing this final installment, I conducted another thorough check of the entire device and addressed every small detail. The declaration of 100% readiness is entirely truthful, with no qualifiers like “later” or “future.” It’s as if this were a finished product purchased from a reputable brand that provides its customers with a polished item and a lifetime warranty.
And so…
Dotting the “i’s”
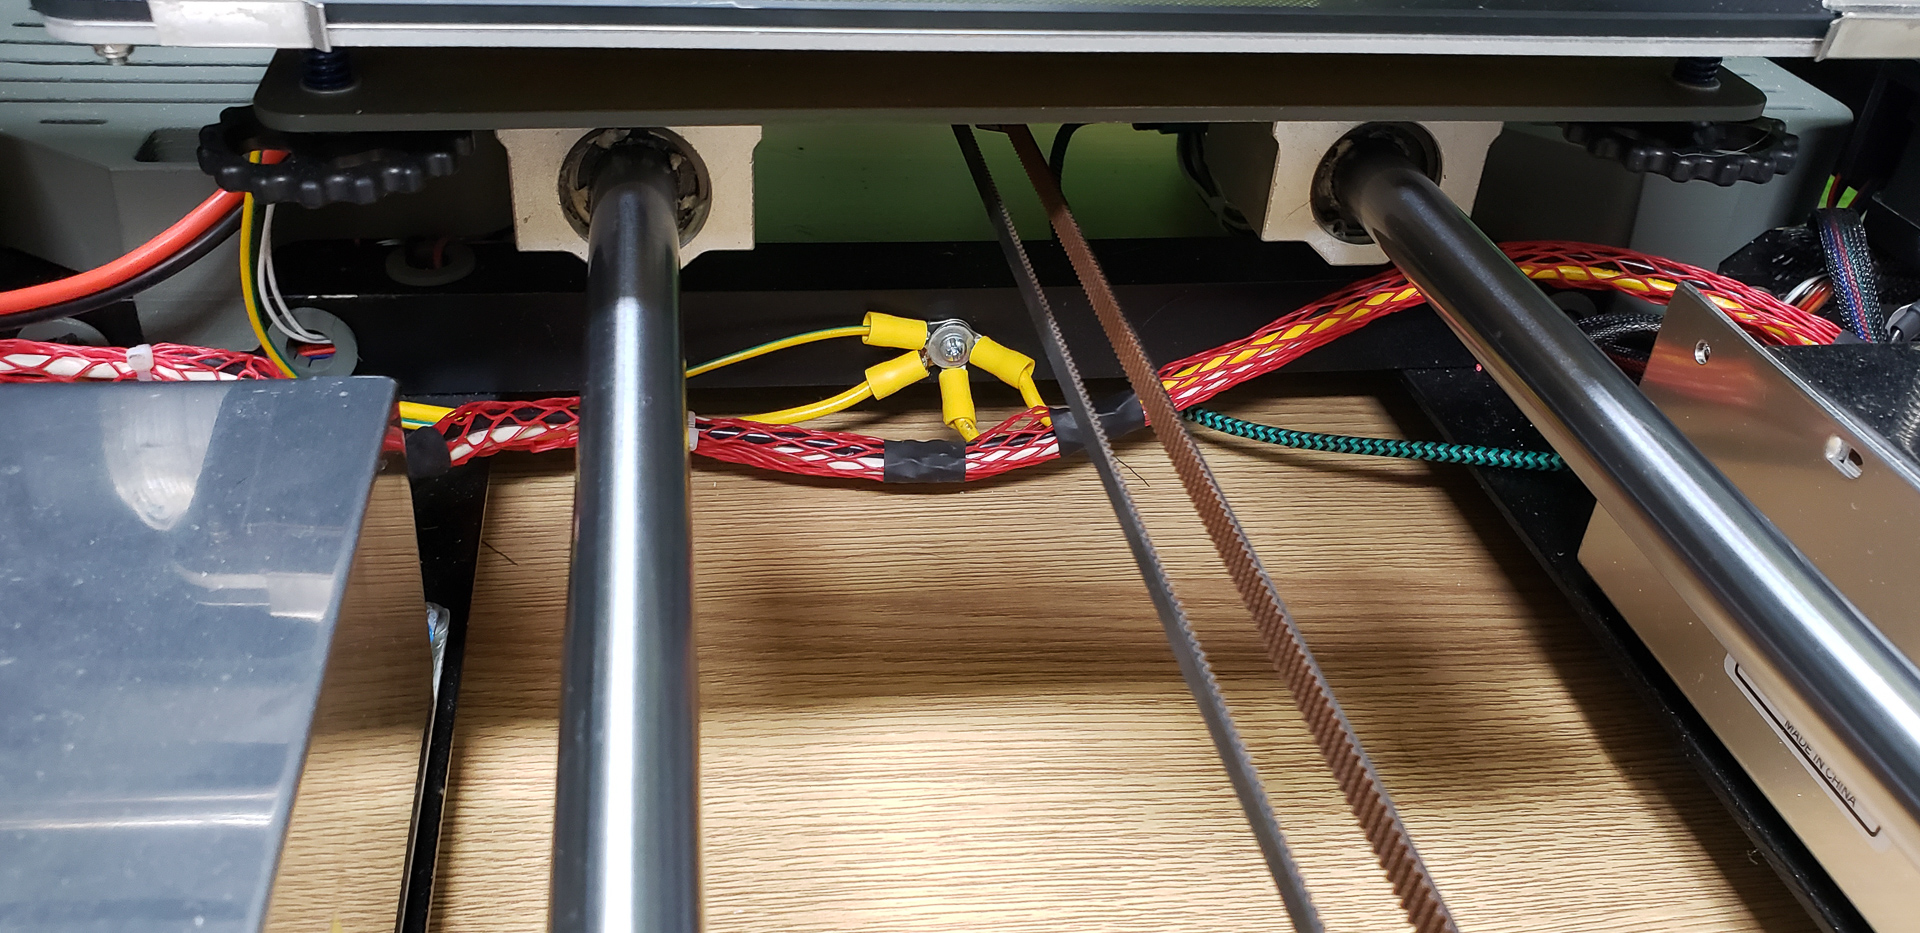
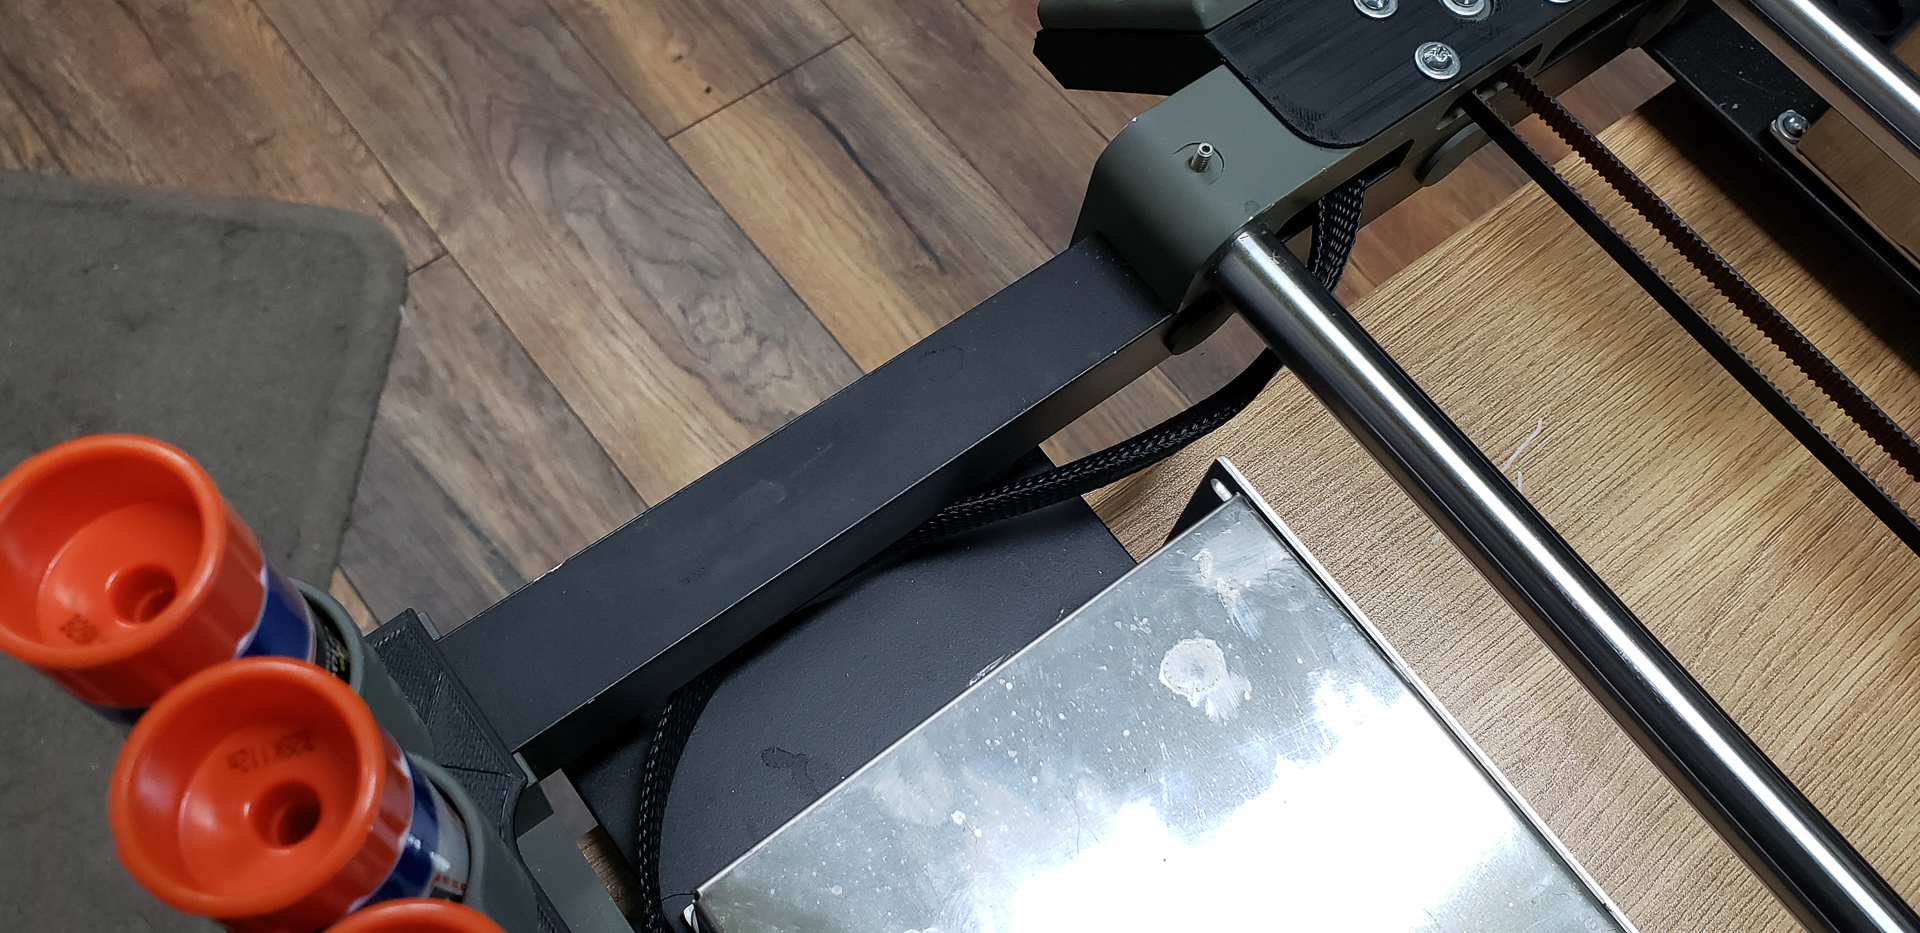
During the final inspection, a surprising discovery was made: one of the wires had not been properly secured. It was the ground wire for the heated bed:
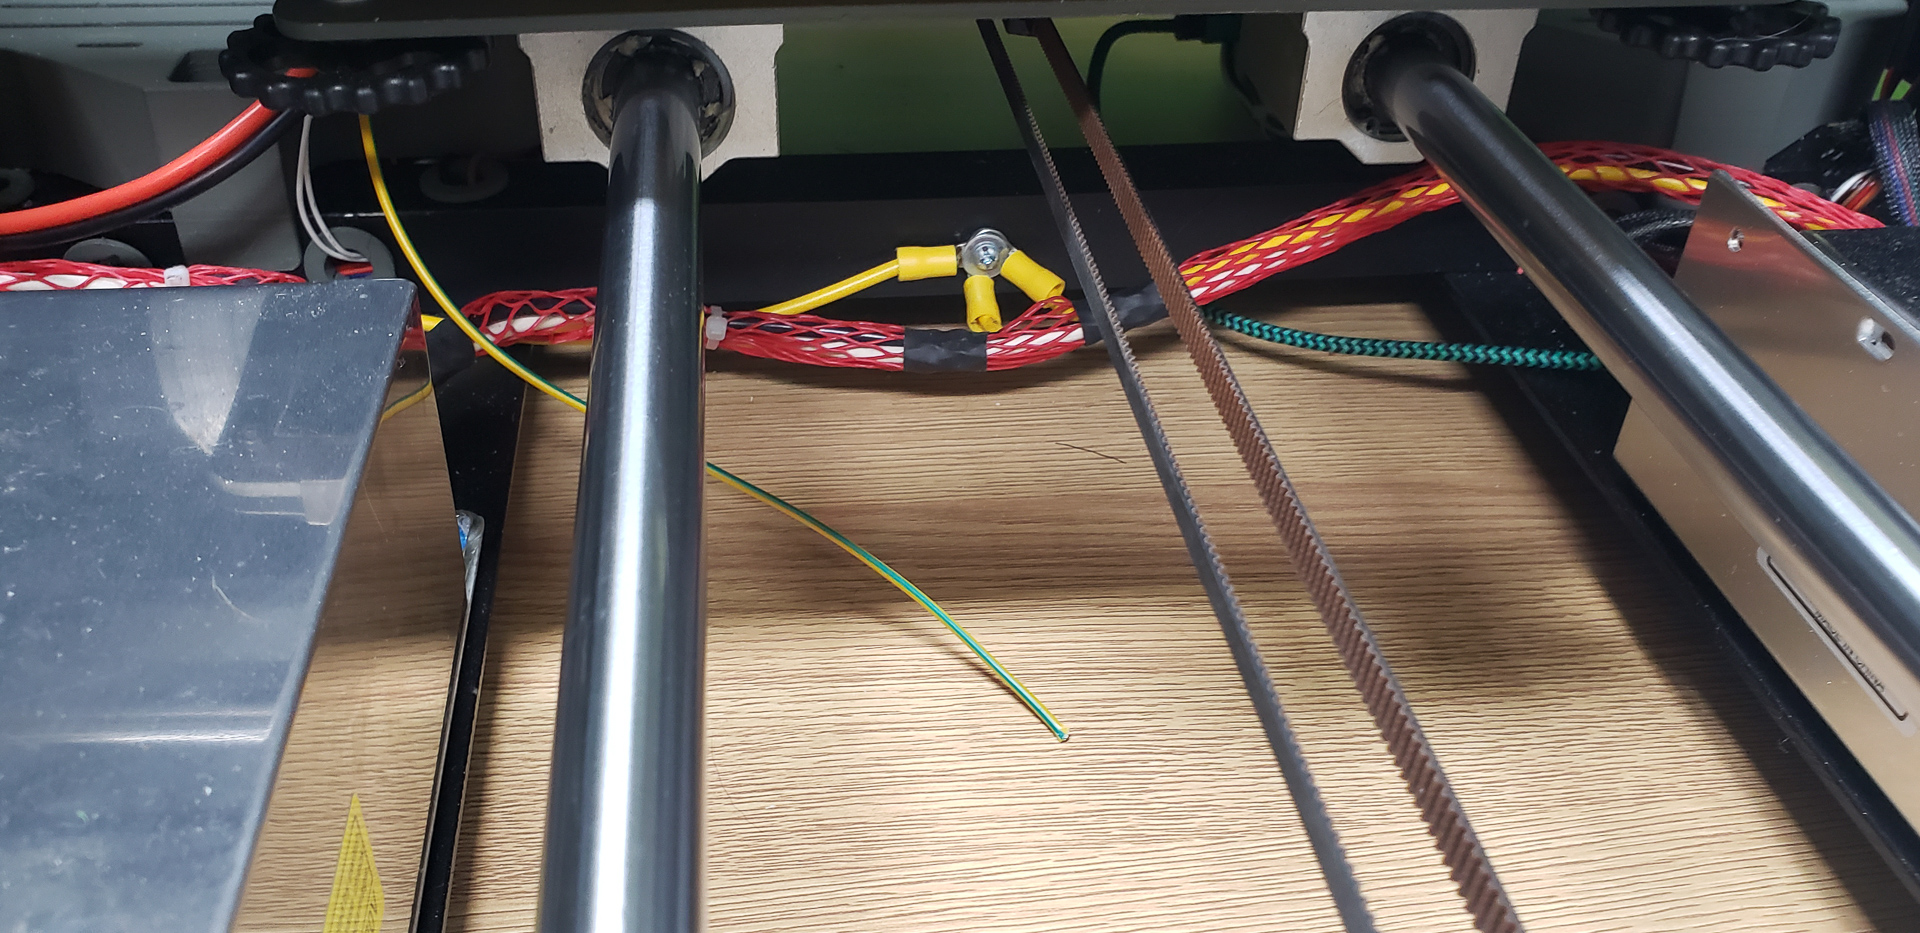
Hidden beneath the moving bed, this oversight had managed to escape attention. While grounding is an important matter of electrical safety, it doesn’t affect the immediate functionality of the device. This is likely why the dangling wire managed to remain unnoticed for so long.
It’s dangling no longer:
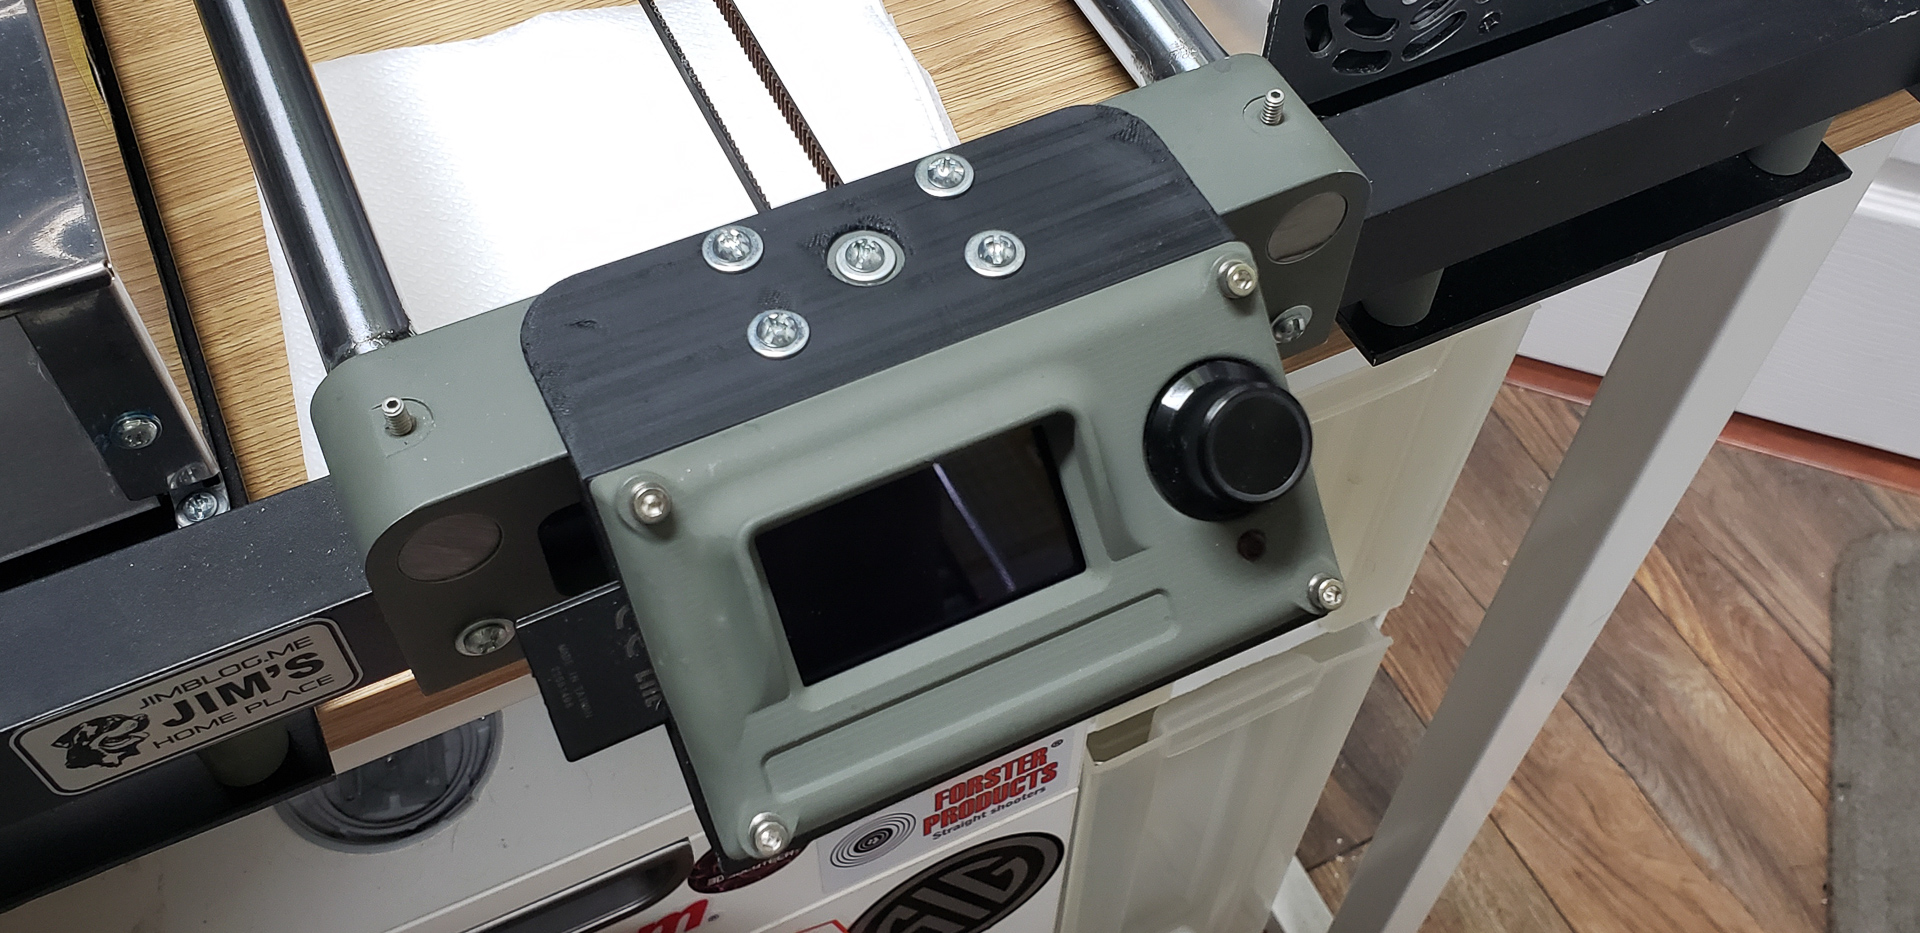
The next “dot over the i” was much less subtle. In fact, it was glaringly obvious and had been bothering me for quite a while. This was more than just a single “dot”—it was a whole series of issues related to the display:
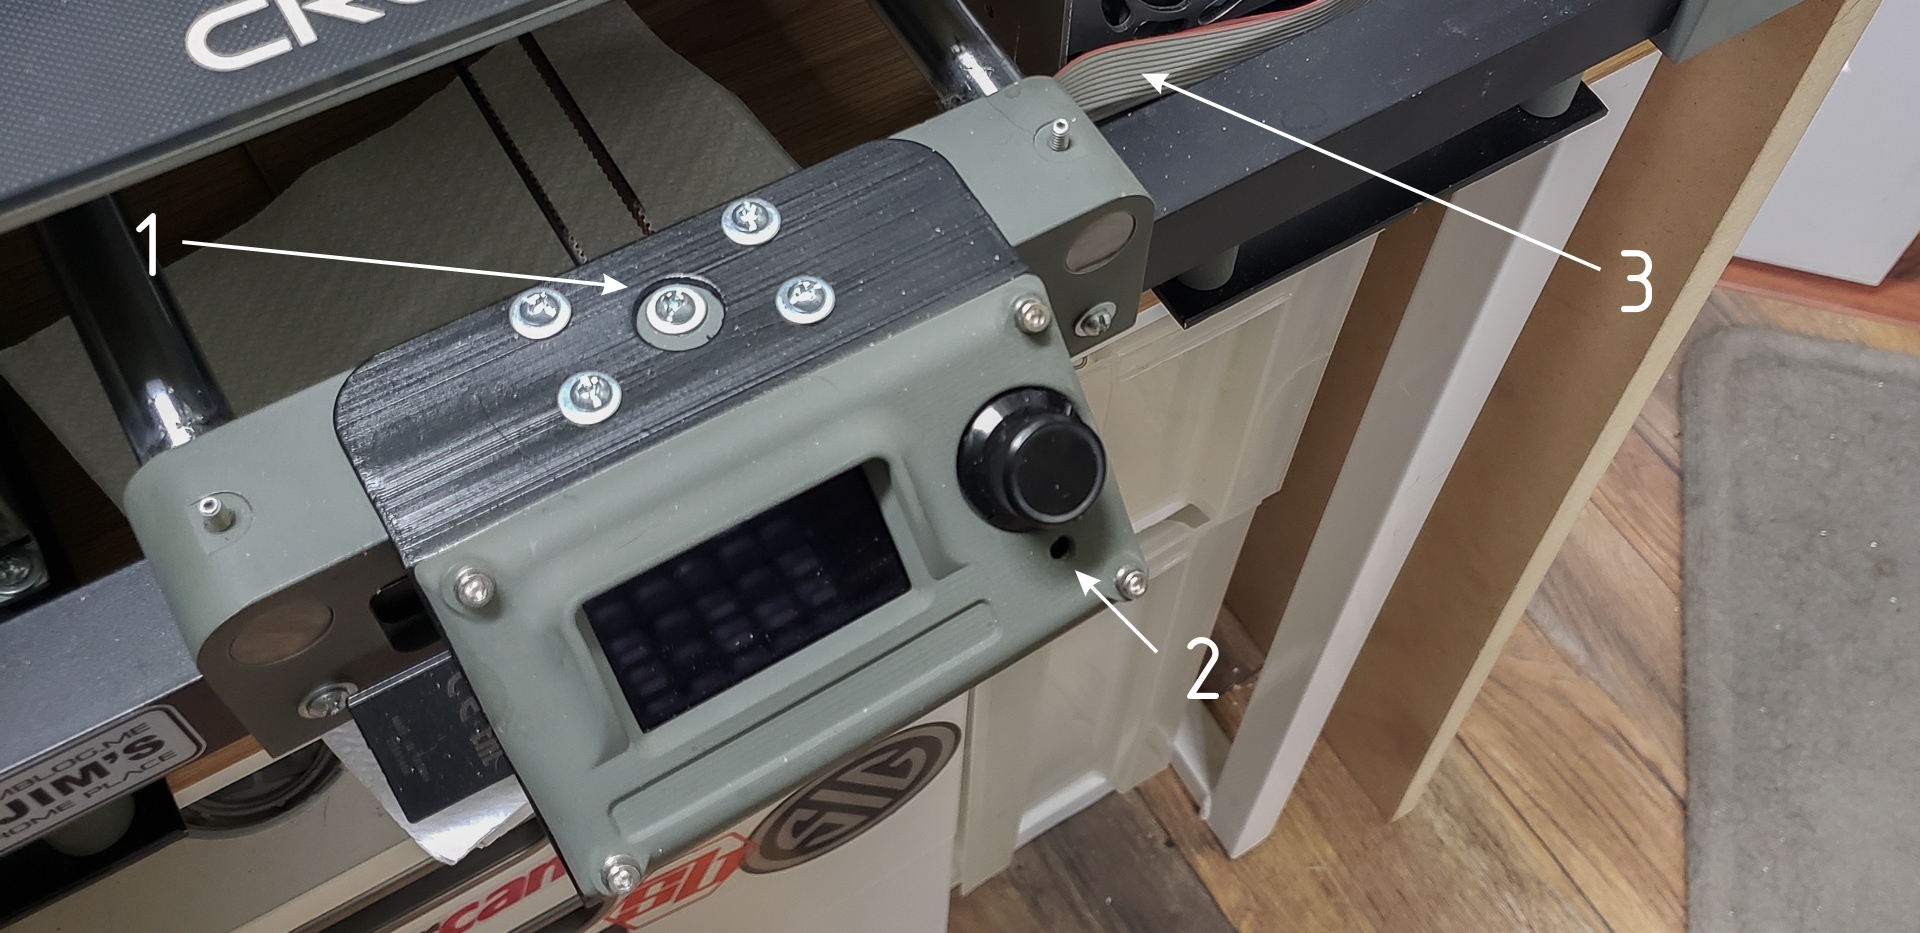
- Misaligned mounting holes, causing the display to appear shifted forward relative to the frame.
- Absence of a reset button in its designated spot beneath the display knob.
- Exposed ribbon cables connecting the display to the controller.
All three points had been evident during assembly. However, their minor and secondary nature relegated them to the realm of “later” and “in the future” — cue the opening bars of the famous procrastination tune. But not this time. I decided to gather my willpower and deal with these annoyances, once and for all.
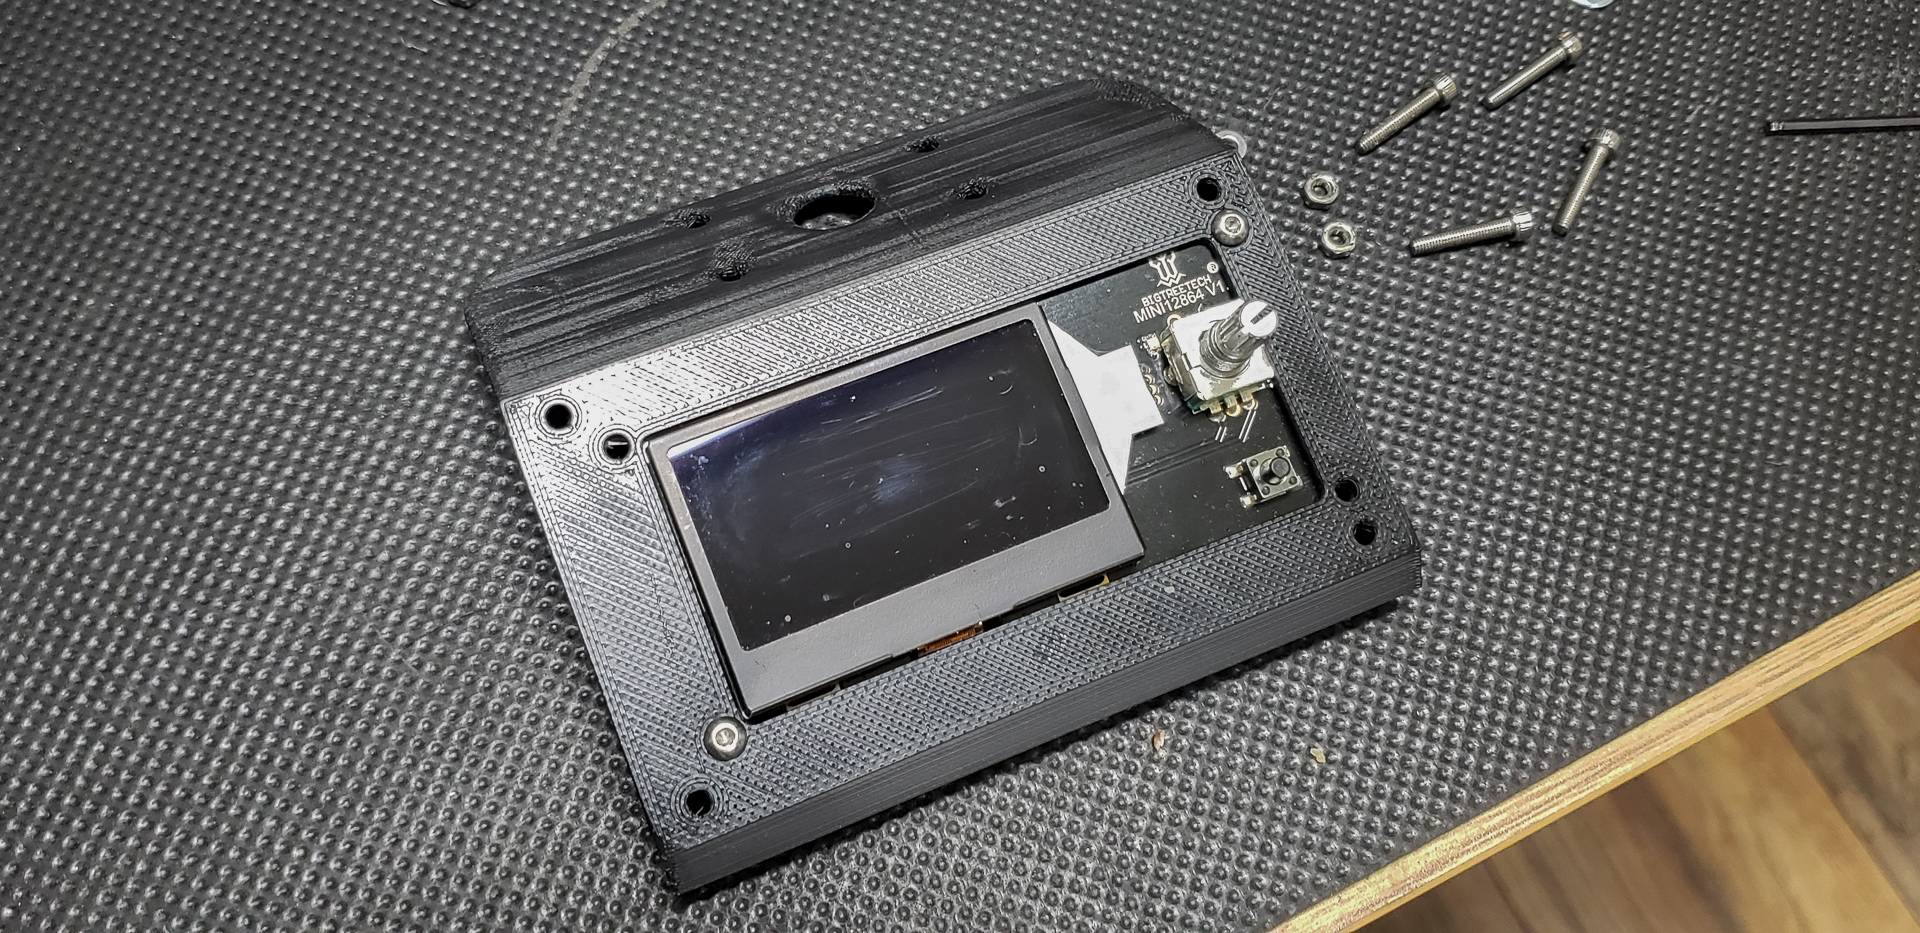
The display mount was fixed at the model level and reprinted anew:
The reset button presented its own challenge. It was tiny — so small that it couldn’t even be grasped properly without tweezers:
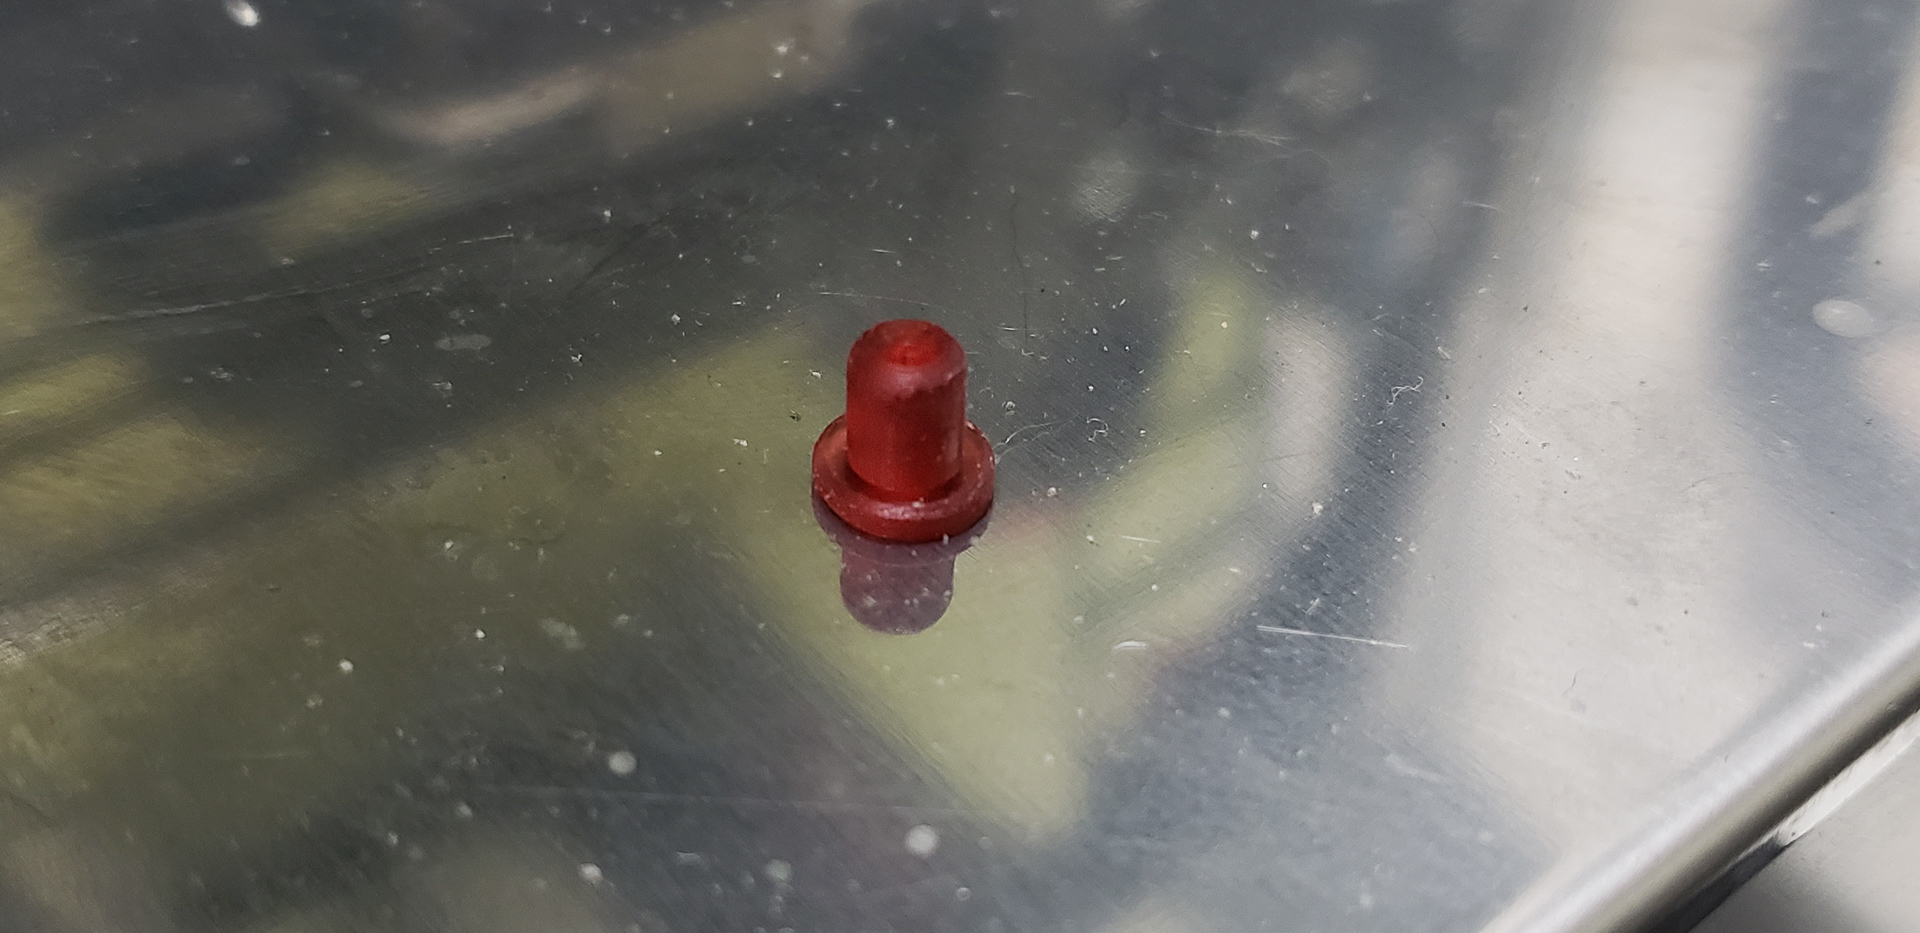
This button needed to be printed in translucent red photopolymer resin. However, my Photon printer had been loaded with neutral gray resin throughout the entire project. Switching to red resin for this tiny button required:
- Draining and filtering the gray resin.
- Cleaning the vat with alcohol.
- Loading the red resin.
- Printing for just a few minutes.
- Repeating the entire process in reverse: draining, filtering, and cleaning everything to restore the gray resin.
- Red resin wasn’t used anywhere else in this project — nor in any parallel projects. What a hassle! So, I had been pressing “reset” by poking a paperclip through the placeholder hole, telling myself I’d print the button someday when a larger project required red resin.
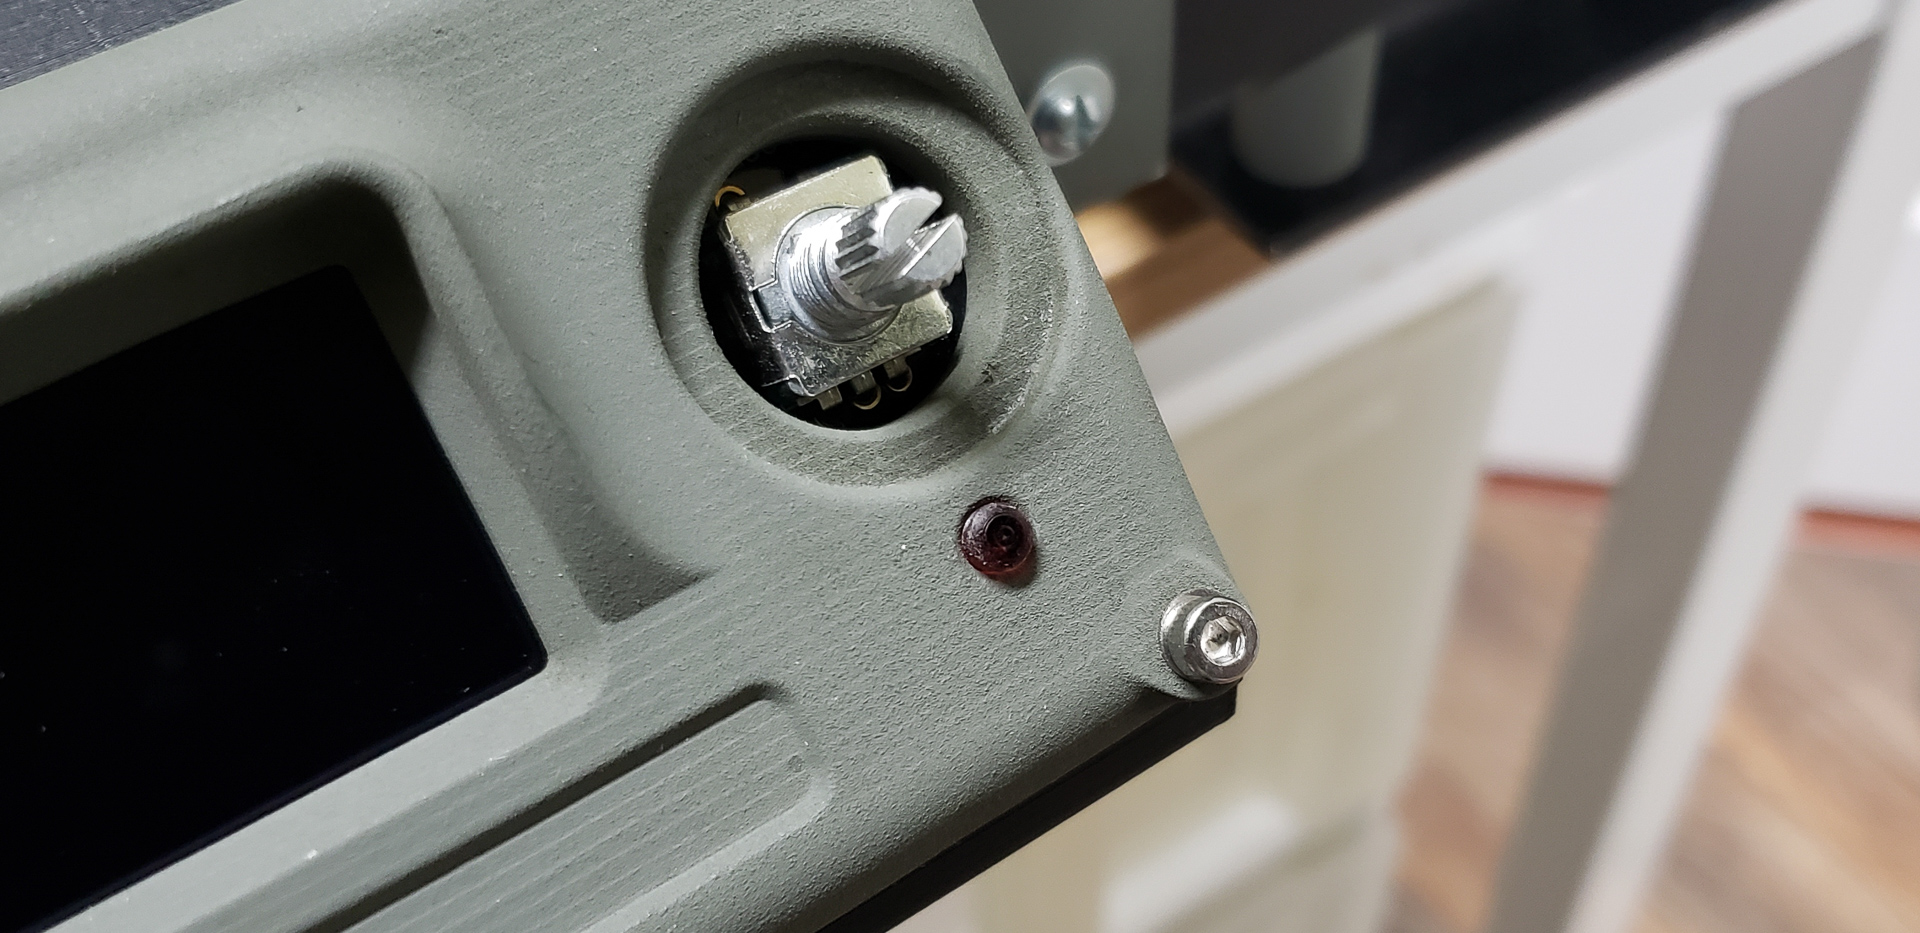
Not anymore! Since the display was disassembled anyway to fit into the new mount, I decided to go through the ordeal for the reset button too. No more excuses, no “later,” no “future.” Done:
The ribbon cables connecting the display to the controller had remained exposed because I didn’t have a nylon sleeve of the appropriate size. I kept thinking, “later,” “in the future,” when I’d remember to order one.
Forget that! Delaying this article by three days while waiting for Amazon to deliver the right sleeve is far better than indefinite procrastination. Done:
As the printer was being tuned, various parameters were stored temporarily in EEPROM to avoid the need for constant recompilation. However, best practices dictate integrating these settings into the firmware itself.
EEPROM data is vulnerable to accidental resets — a couple of careless clicks, and weeks of configuration work could be lost. To prevent this, all local settings were incrementally added to the Marlin configuration files. These accumulated changes were compiled and uploaded as the final firmware.
The controller was then reset, and the firmware — now containing all the final settings — was uploaded one last time. These settings were no longer just temporary EEPROM configurations; they had become the “factory defaults,” permanently embedded into the controller. Now, if something goes wrong, the device can always be reset to this reliable baseline.
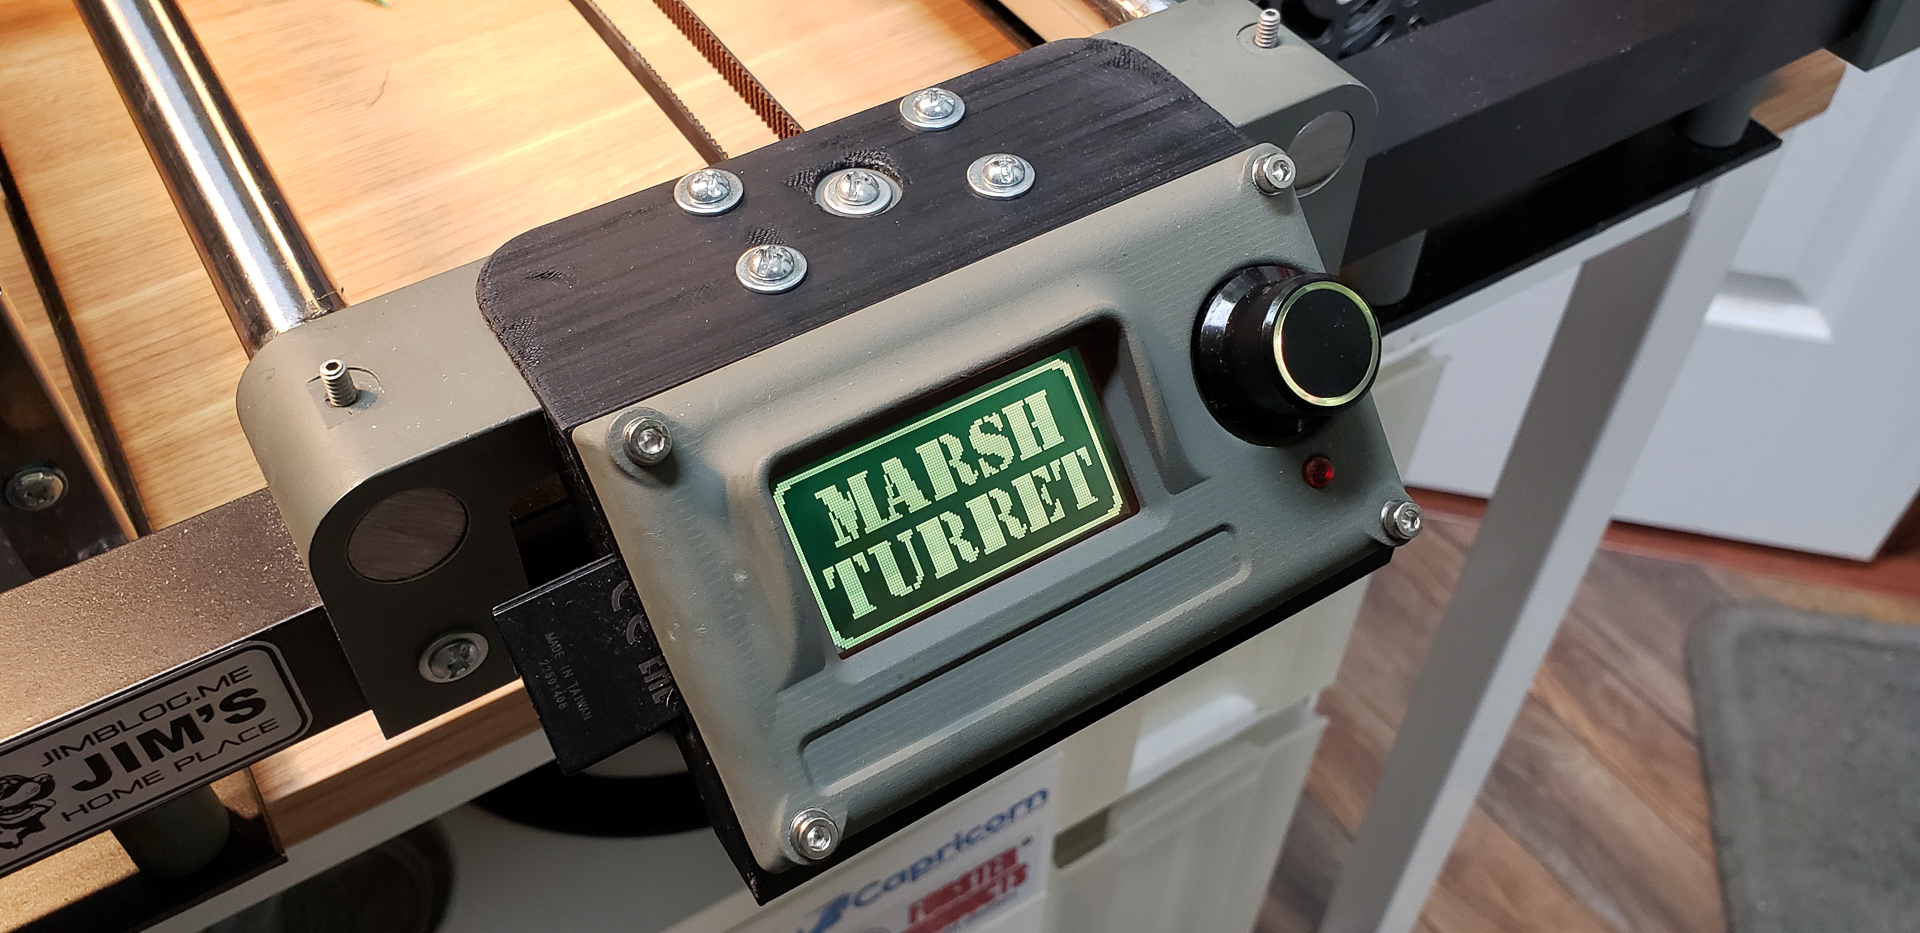
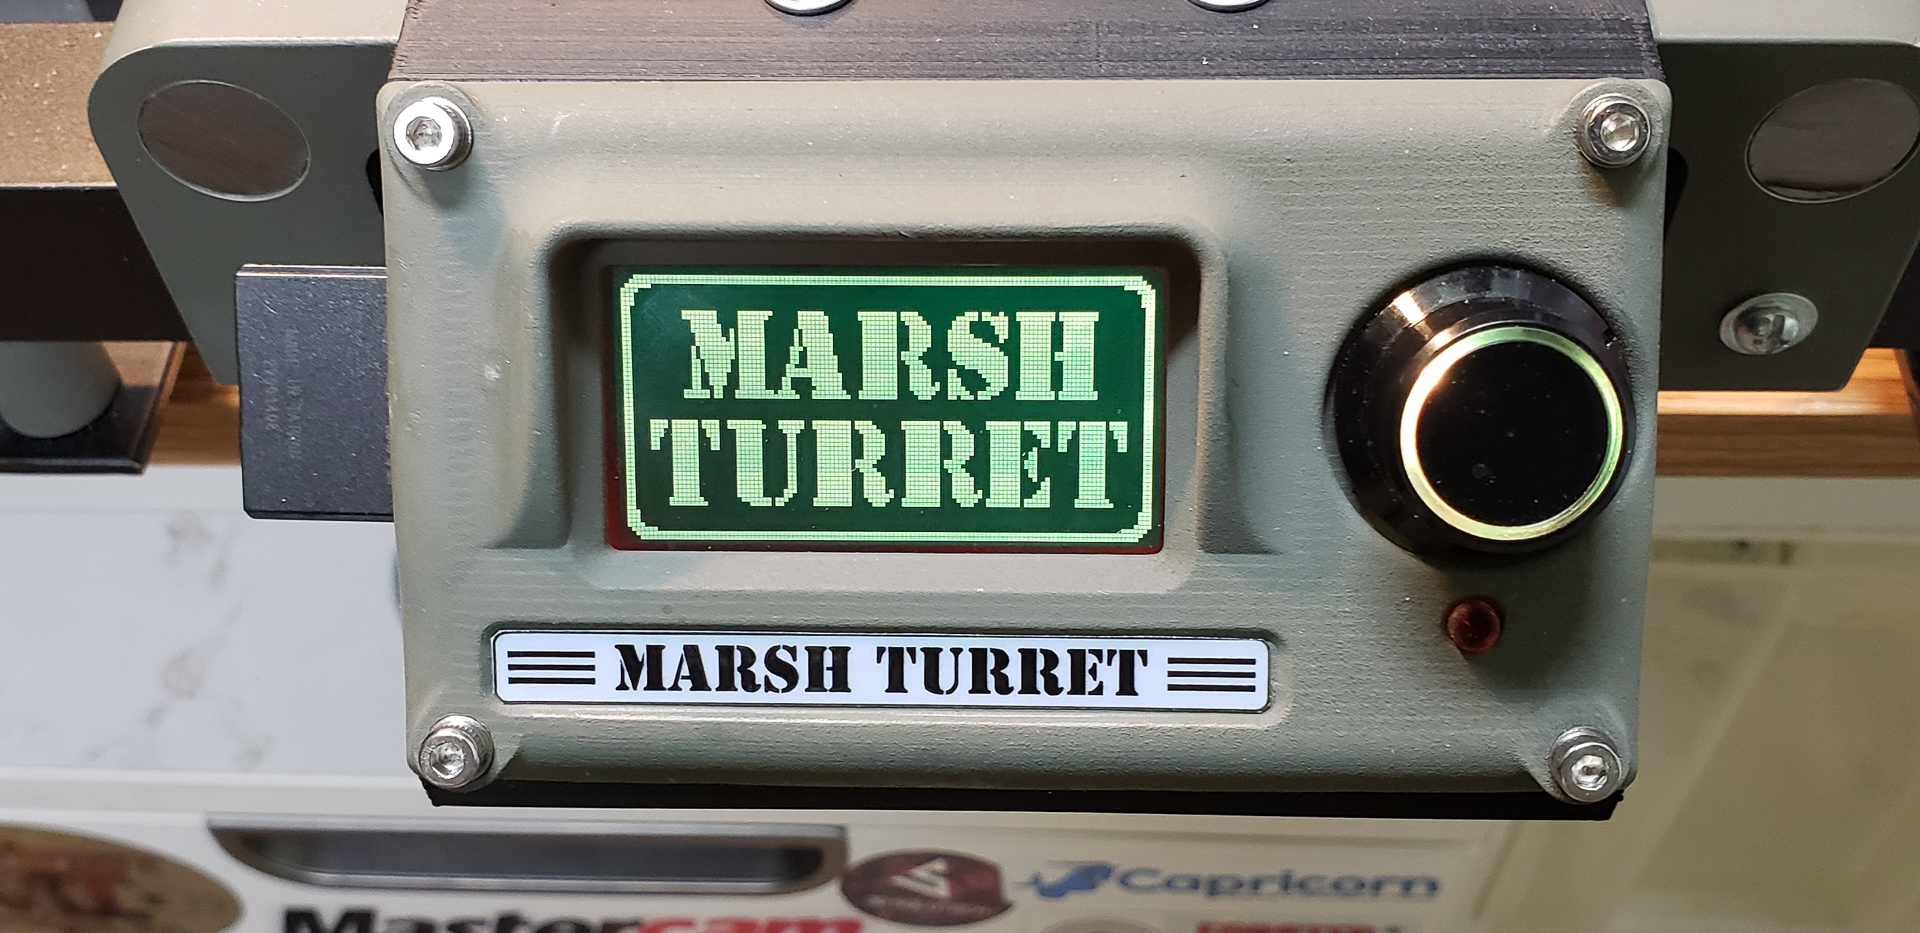
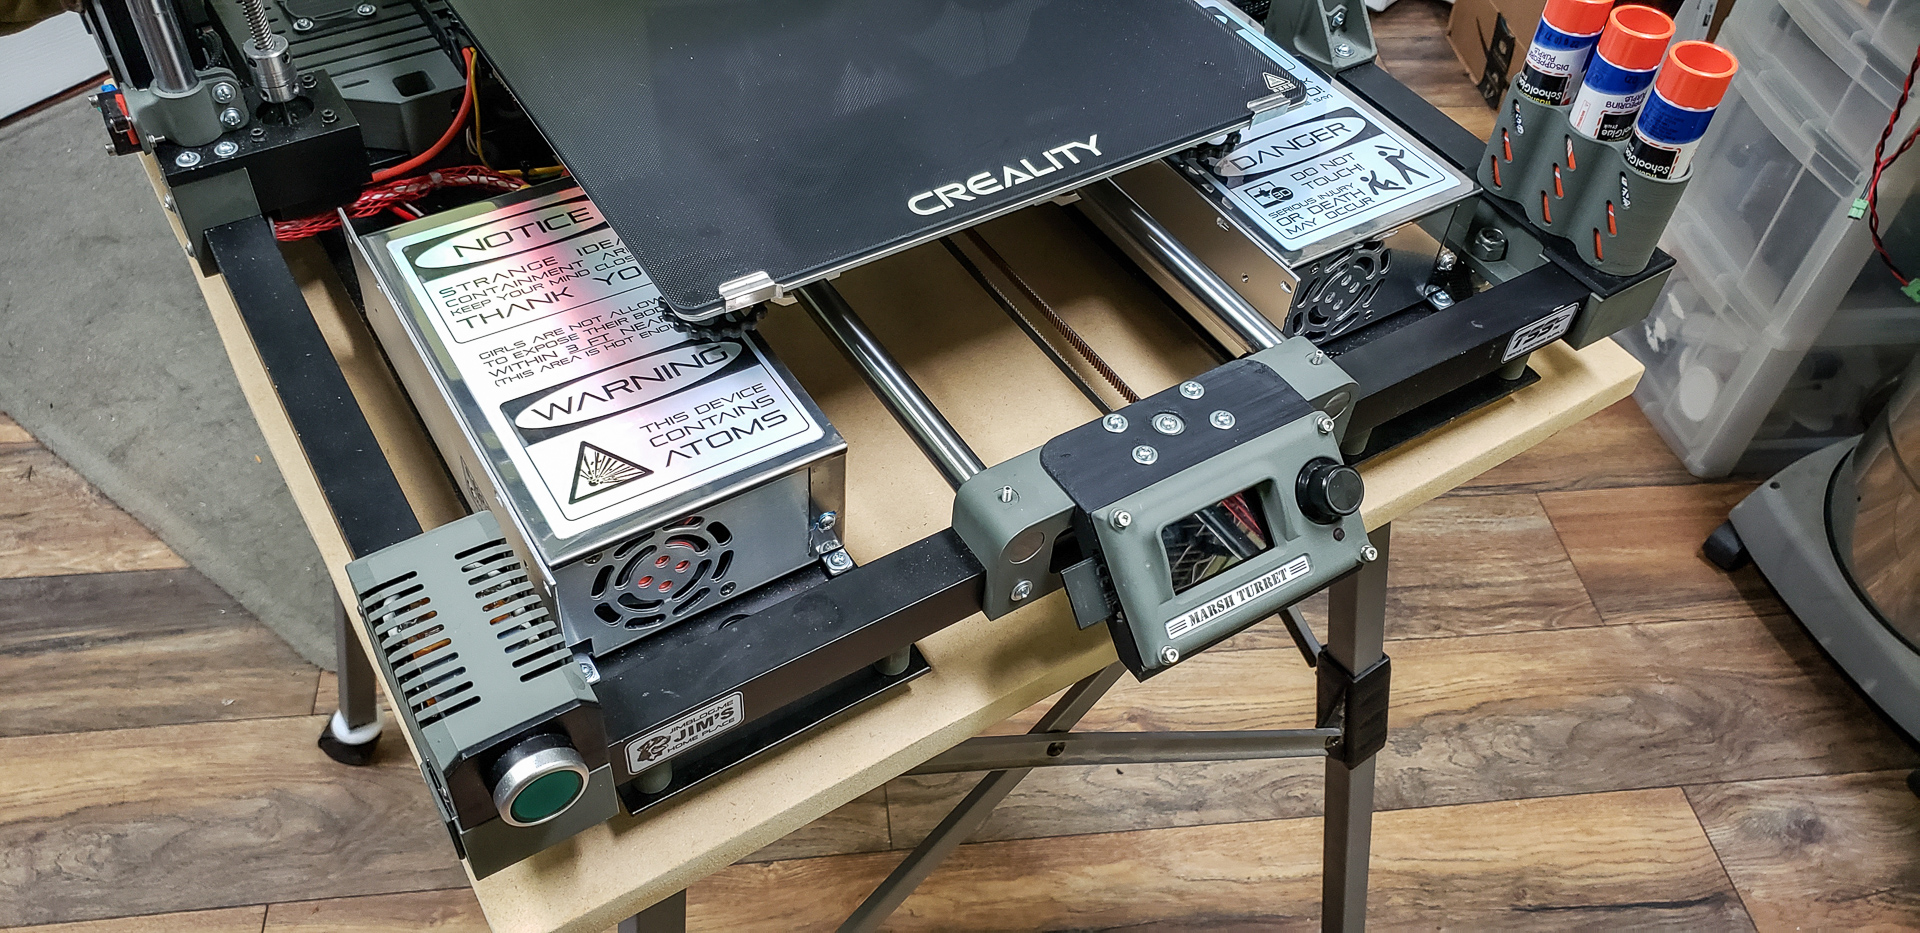
Among these final settings was a purely decorative feature: a custom boot screen displayed during system startup. The aluminum-and-wires contraption now had a name, not only for this project or blog posts but as its own distinct identity:
Beyond its name, I had always envisioned additional decorative elements to give the printer a unique and unmistakable appearance. These purely aesthetic touches had been planned as something for the “very last stage.” The ideas were clear, and I wanted to implement them — just for the sake of it. But always “later,” in “the very last stage.”
Suddenly, I realized that “the very last stage” had already arrived — and had, in fact, been here for a couple of weeks. This was it — no more delays. Why wait any longer?
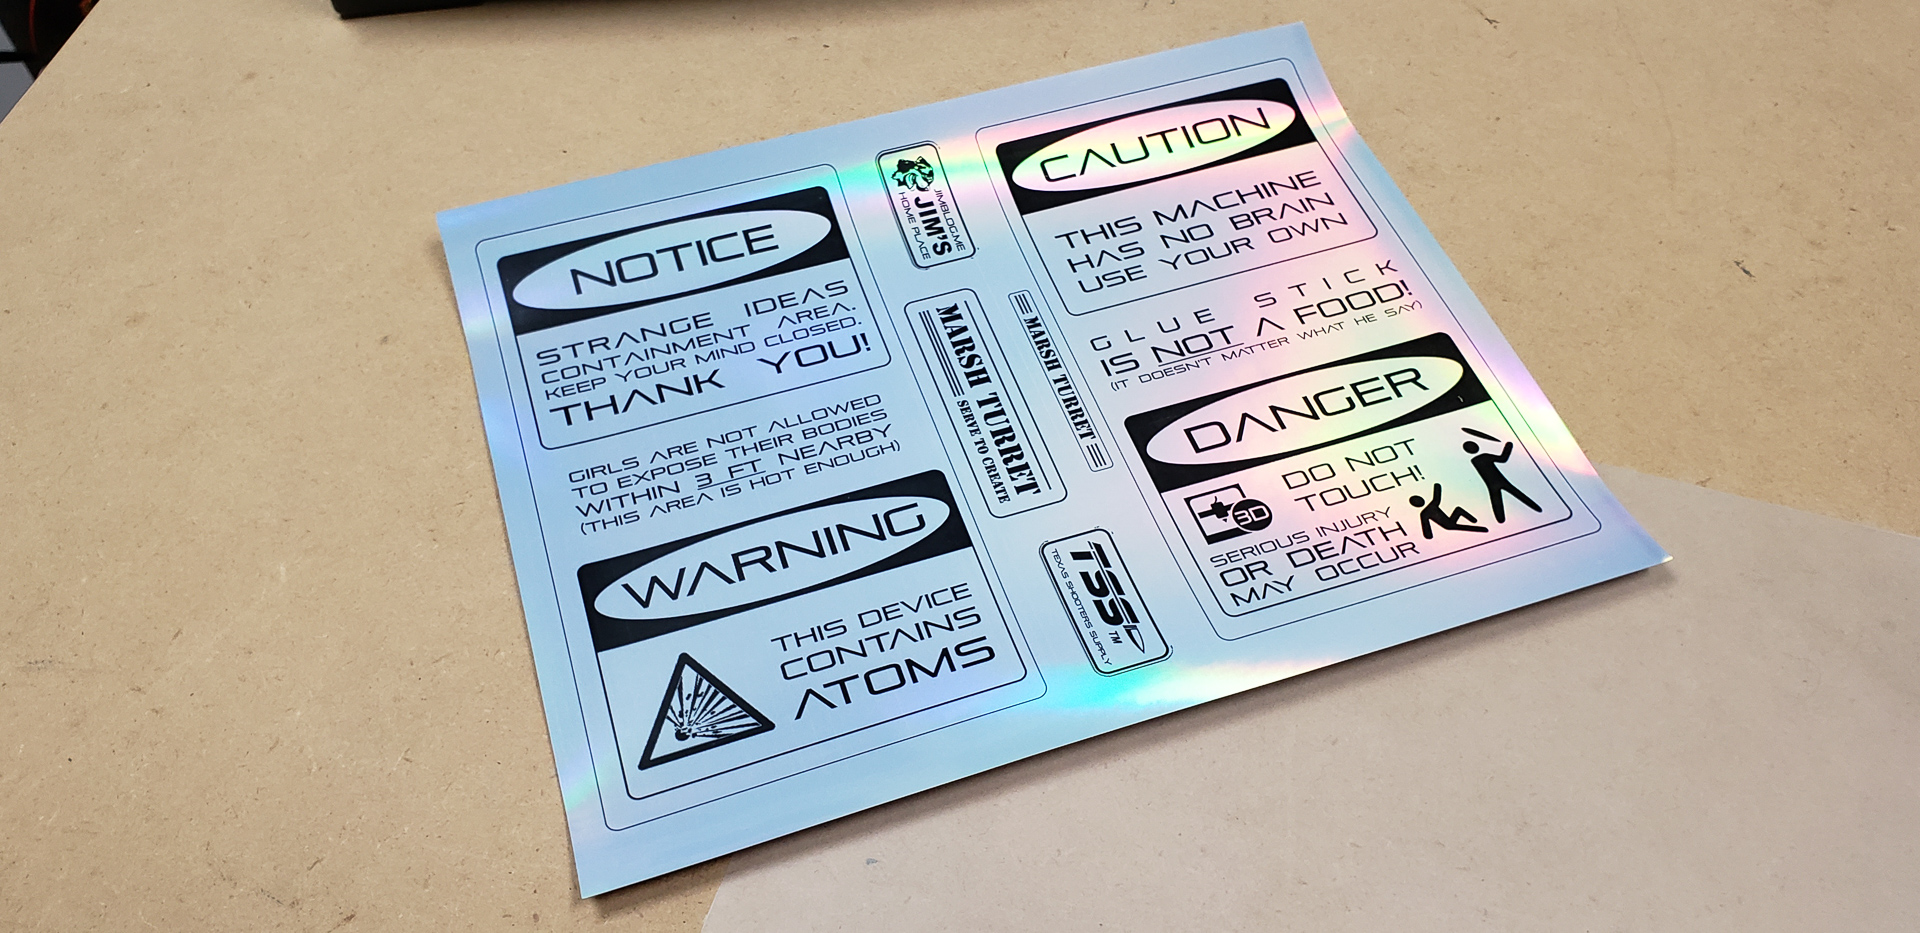
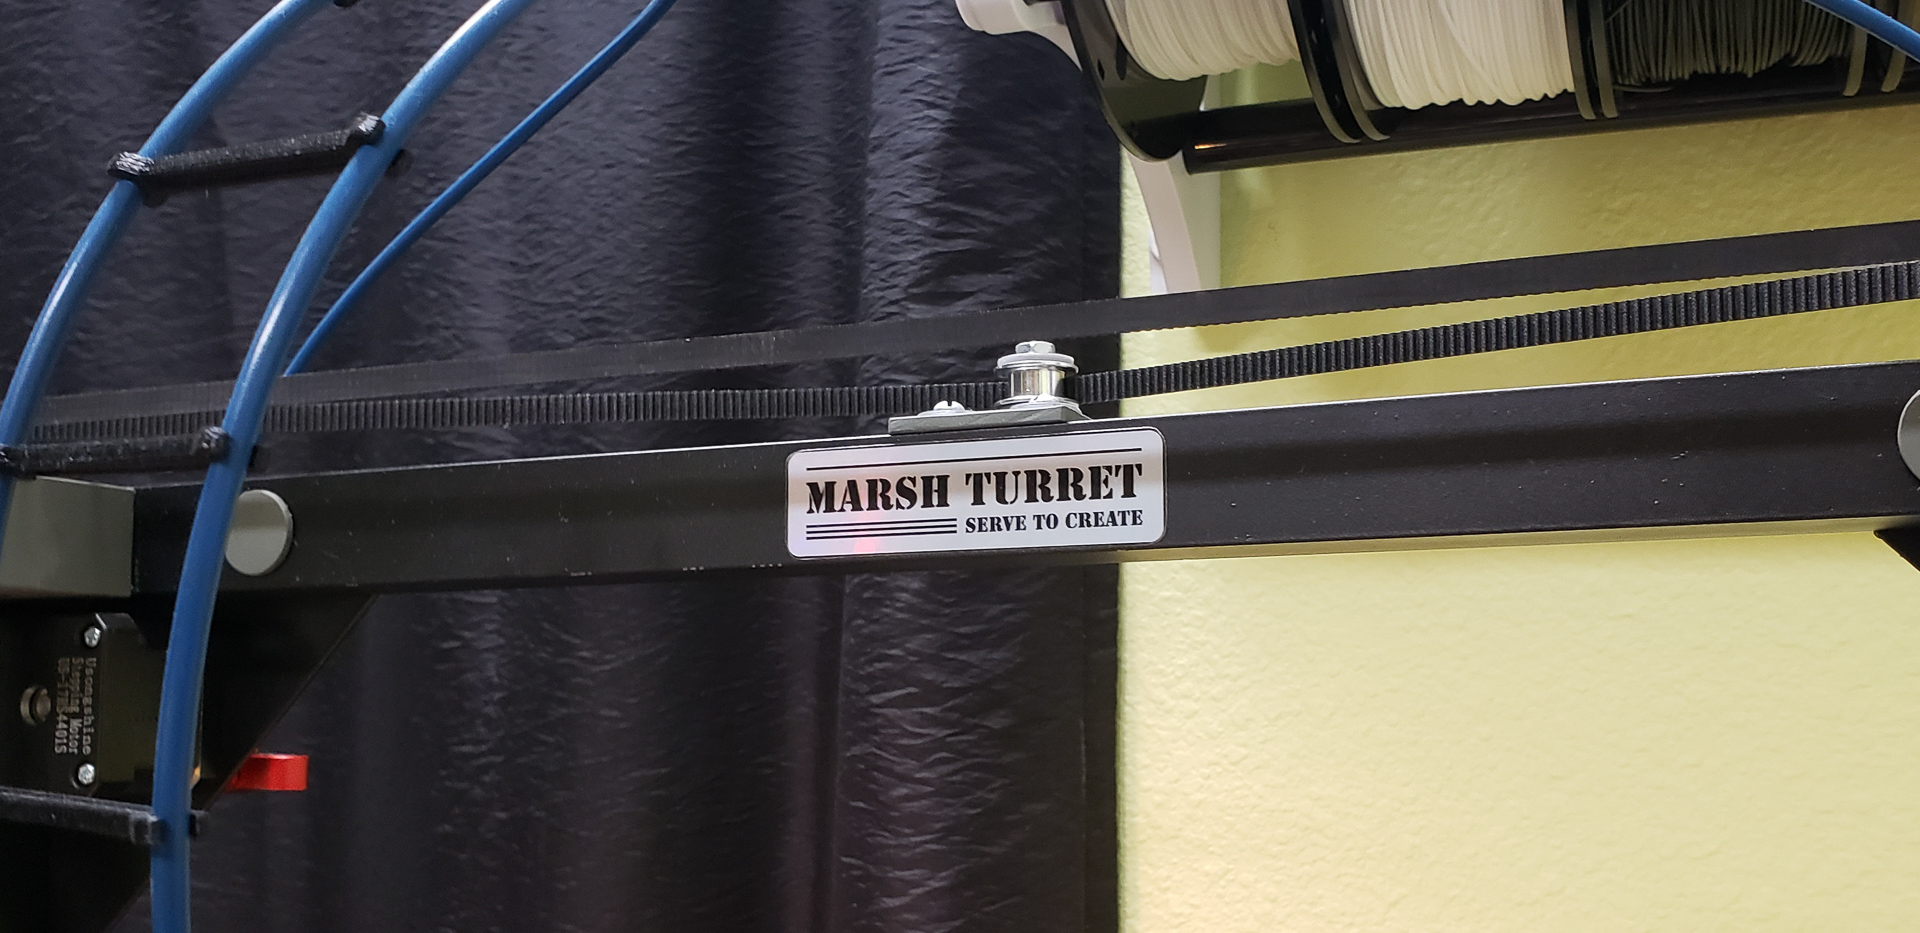
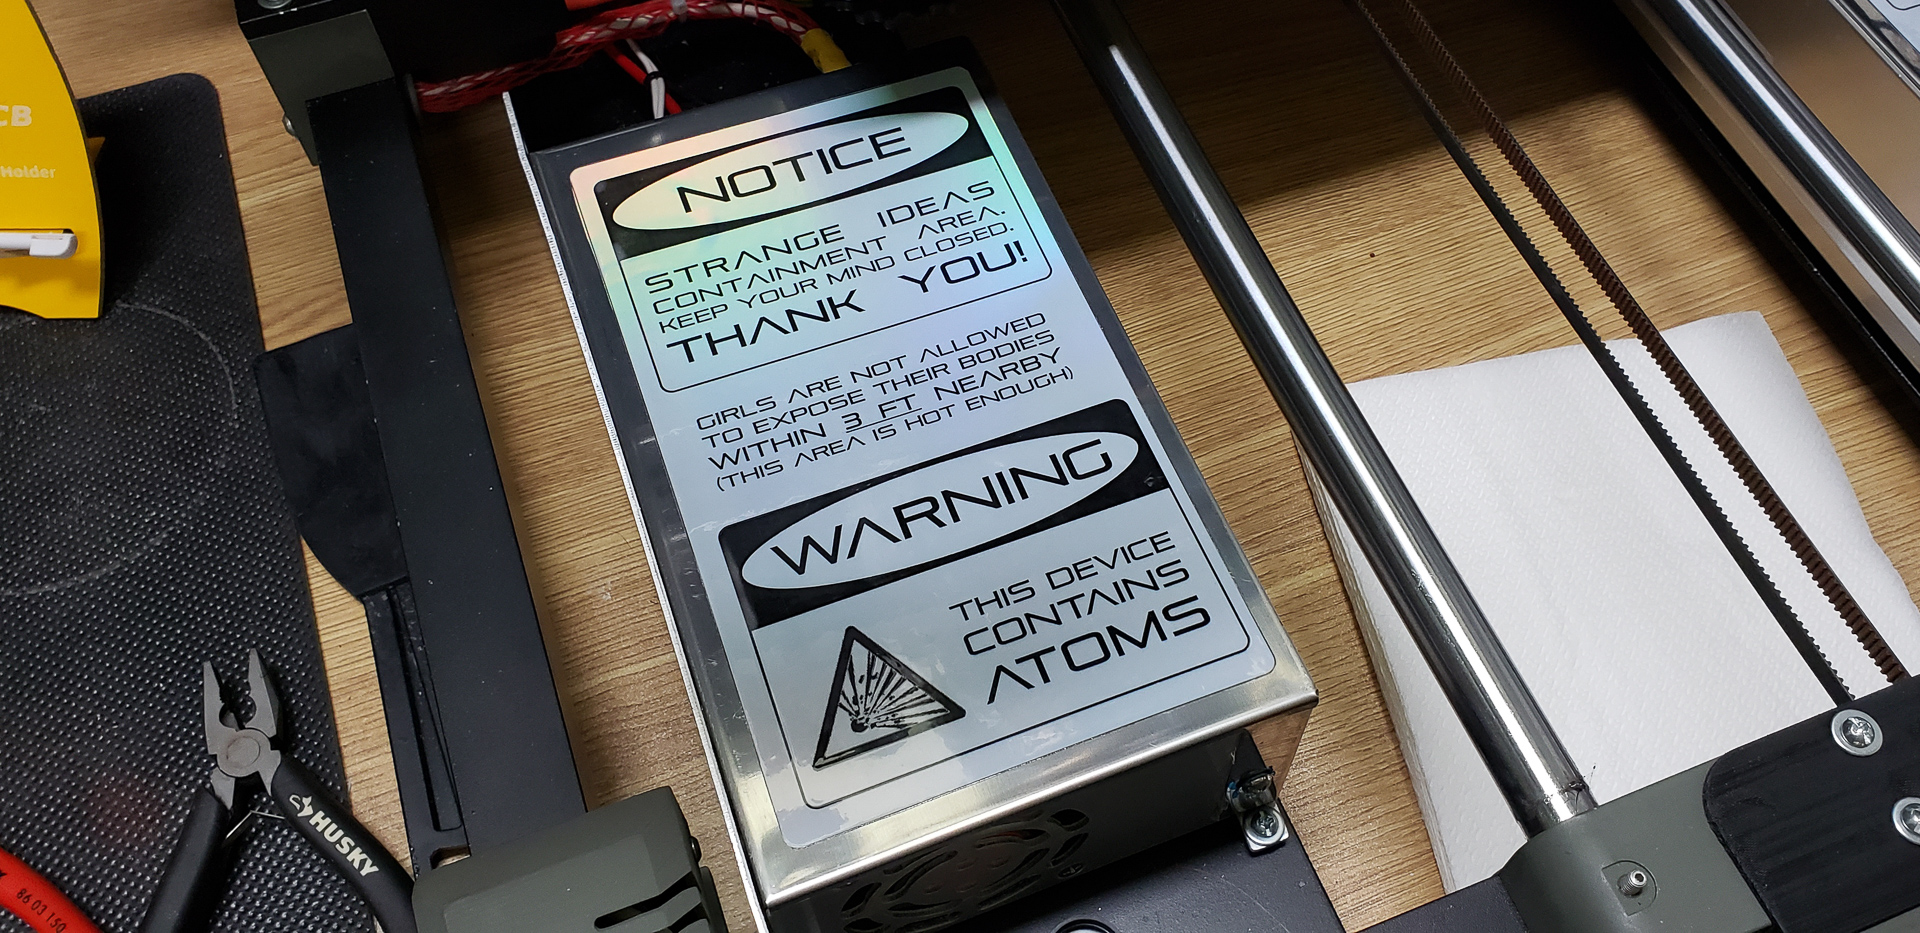
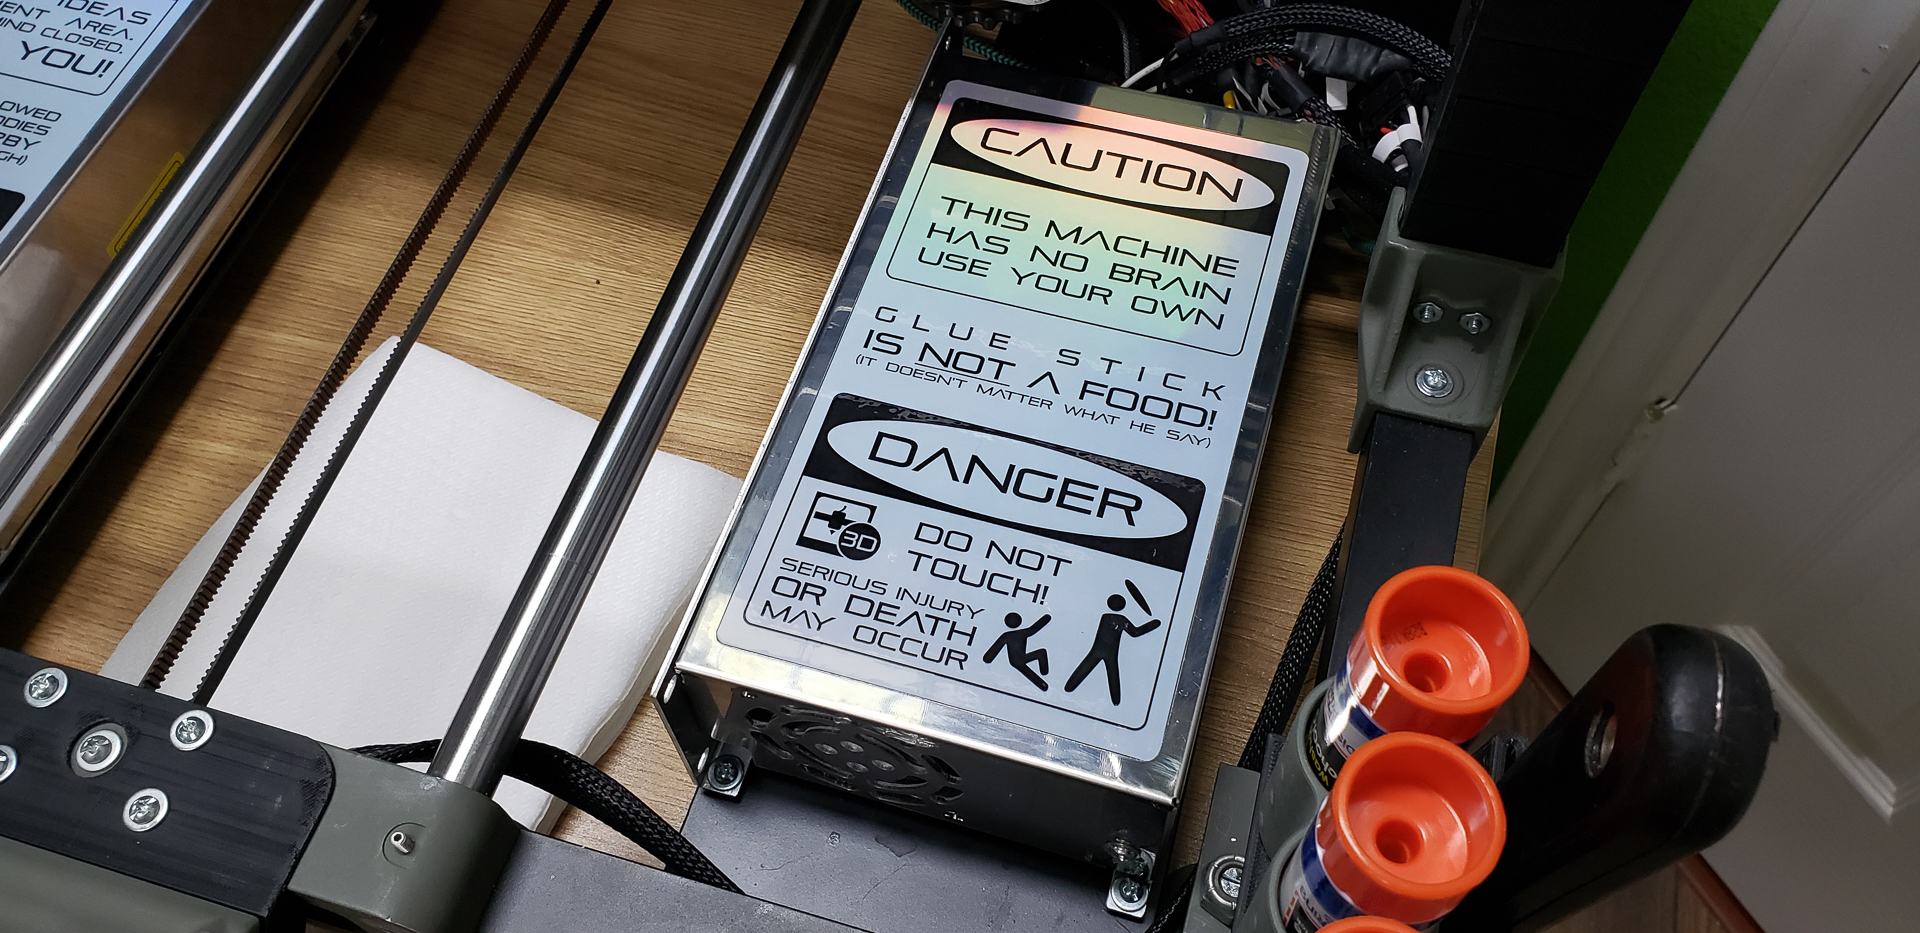
The decorative elements were simple stickers that had been prepared long ago, waiting patiently in files for this moment. Their time had come.
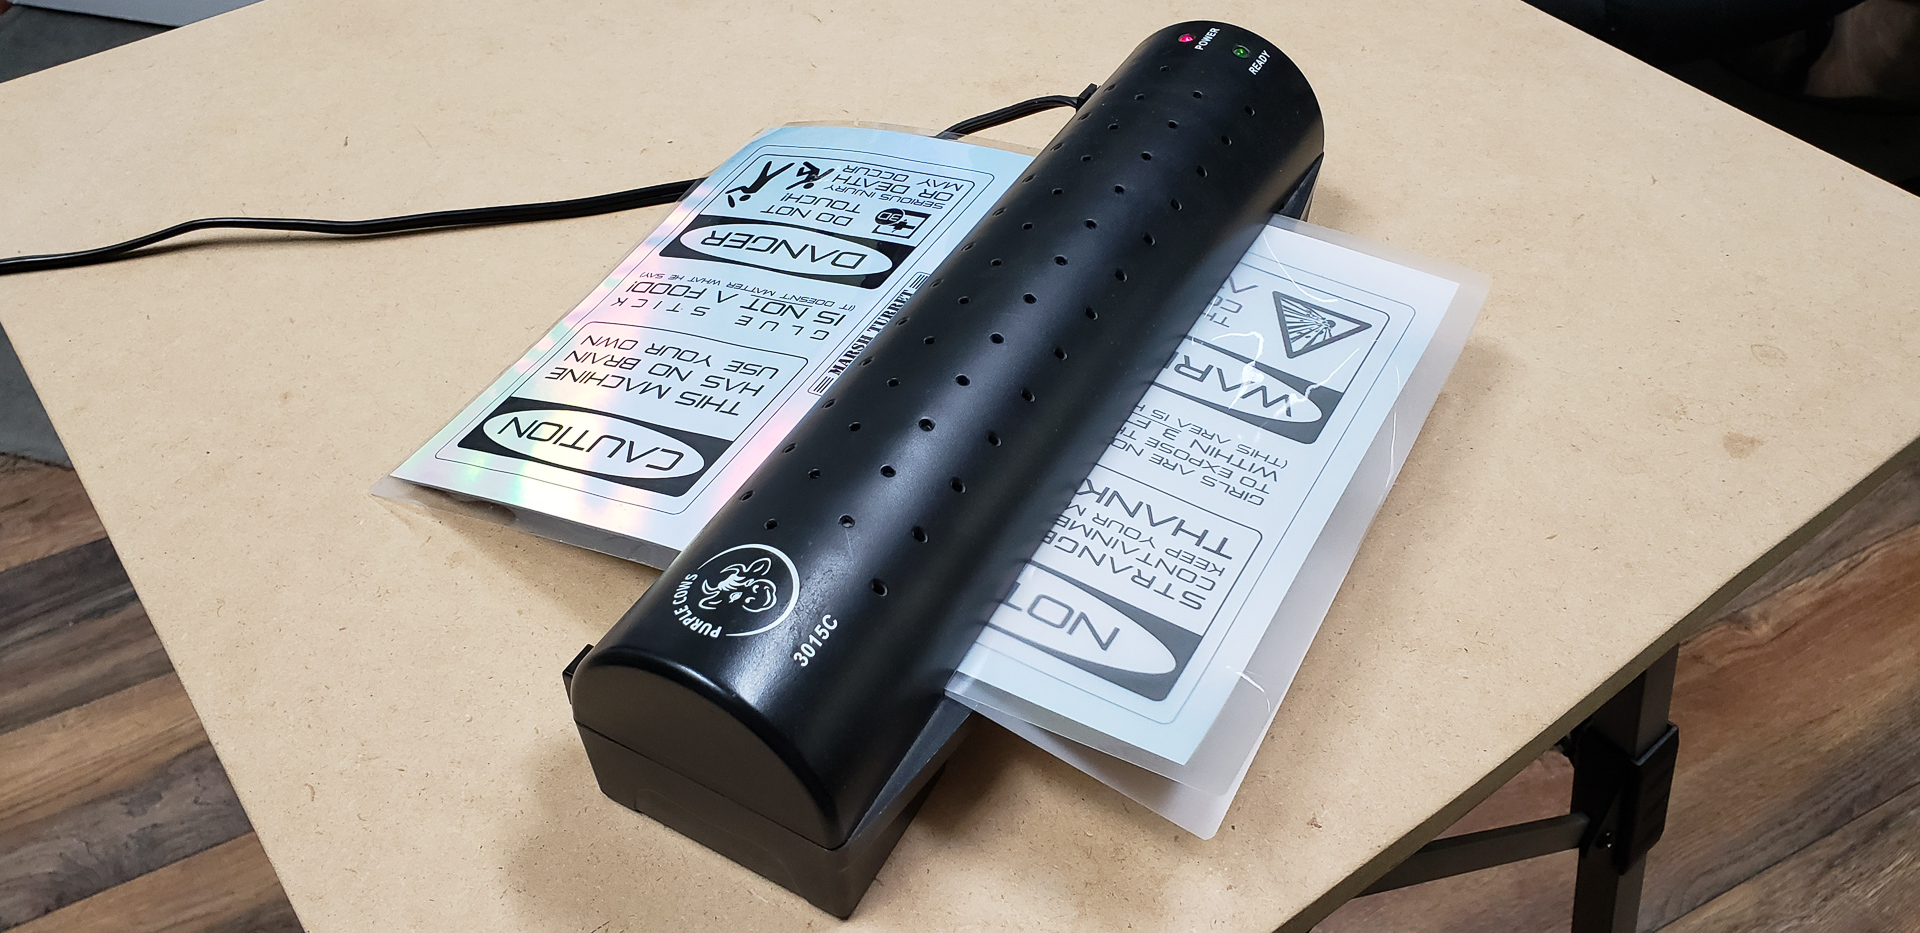
Printed on holographic paper, laminated, cut out, and applied:
Every last detail has been taken care of. All the “i’s” have been dotted. The project is truly complete.
First Steps and Test Prints.
Initially, I had planned to run the Turret through every 3D printing test I could find—test cubes, temperature towers, Benchys of all kinds. But…
As it turned out, during the time the project was taking shape, I had amassed a mountain of tasks that required the printer’s involvement. Printing all those test models consumes a ton of time and filament. Sure, they can be useful for analyzing and fixing print issues. But… there were no issues with printing. Or rather, the issues that did arise were ones I was already well aware of. There was no need to print models for diagnosing and solving them. I knew exactly what was going wrong and how it needed to be fixed. So I just fixed it.
After all, who cares how perfect some utterly pointless test cube turns out? What truly matters is how well a specific part prints for a specific task. My shelves were already home to an extensive collection of calibration cubes anyway.
So, the MARSH TURRET jumped straight into action. As it printed parts for various projects, print parameters were fine-tuned on the fly. These parts became the “tests.” Bridge printing was adjusted, temperatures for different types of plastics were calibrated, axis acceleration was dialed in, print speed was optimized, and much more. Sure, a few parts ended up in the trash. But the losses were smaller than if I had wasted that filament on all kinds of practically useless test models.
For example, the simplest early project… The Cat had been asking for a little bowl to stash his toys, hiding them from the Dog. So here it is:
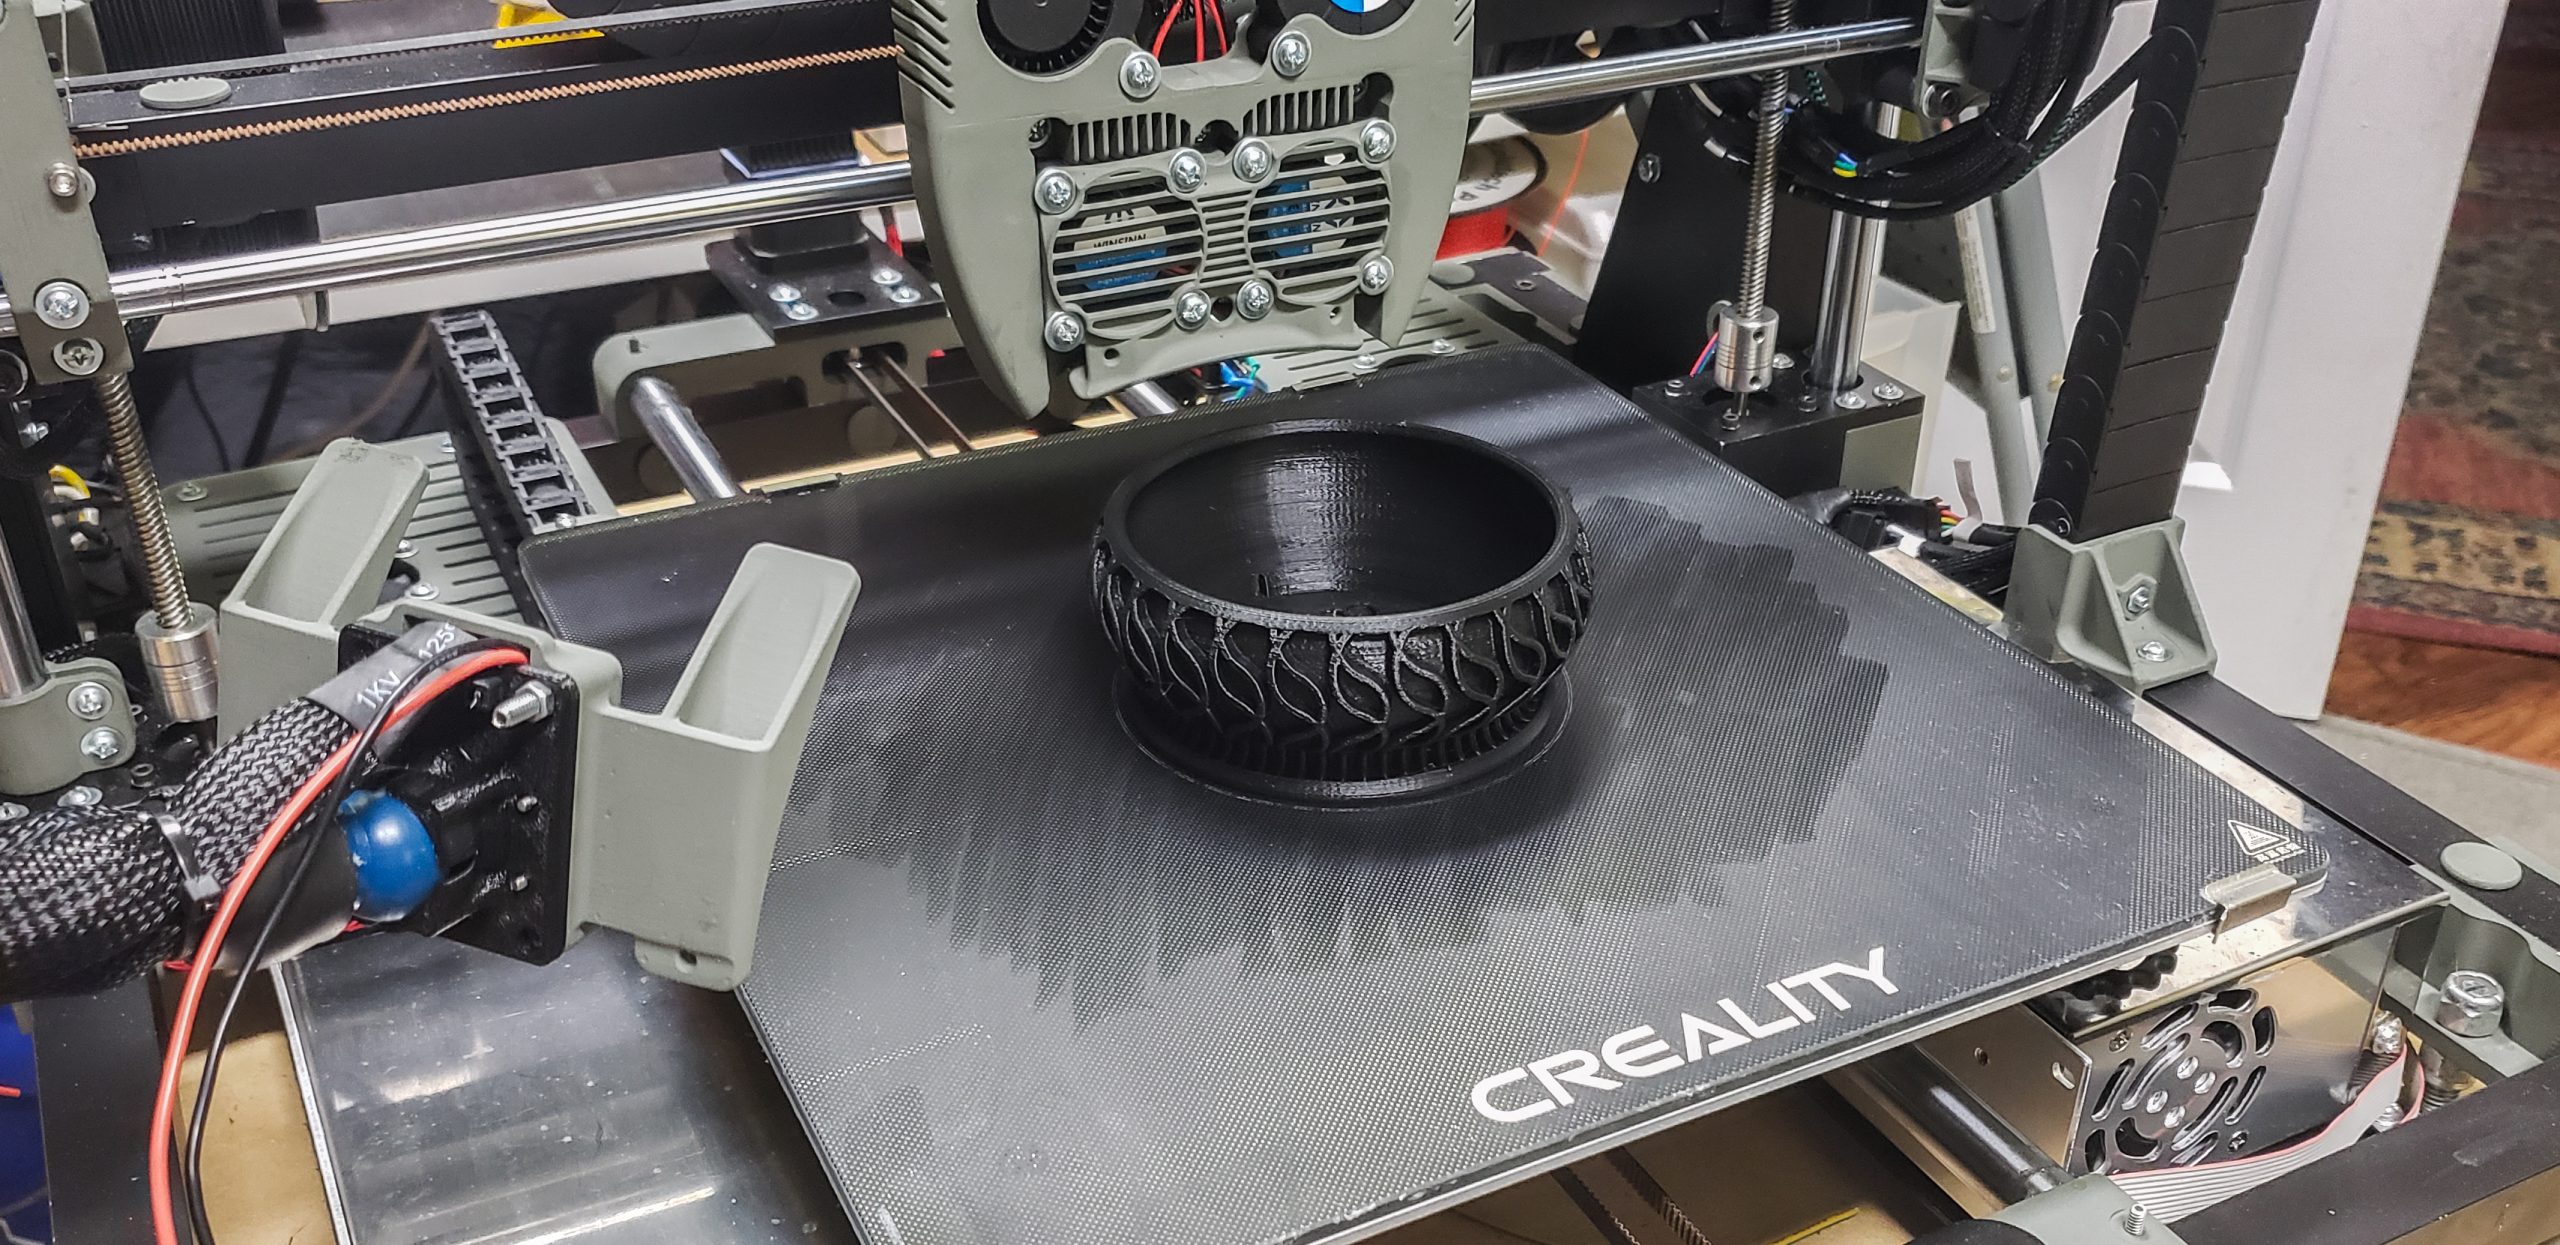
The bowl shows clear signs of overheating (those characteristic bubbles). There are also “ghosting” artifacts on the inner surface (a slight ripple effect)—a sign of excessive axis acceleration during movement. Some “stringing” is also visible, indicating an insufficient retraction setting. And so on.
The Cat couldn’t care less about any of this. He was thrilled with his new bowl (he even tried to curl up in it, but not even his head fit). Instead of printing a dull test, I made a useful item that delighted the silly little furry creature and provided me with all the information I needed to tweak the settings. The next print had fewer defects, and some disappeared entirely.
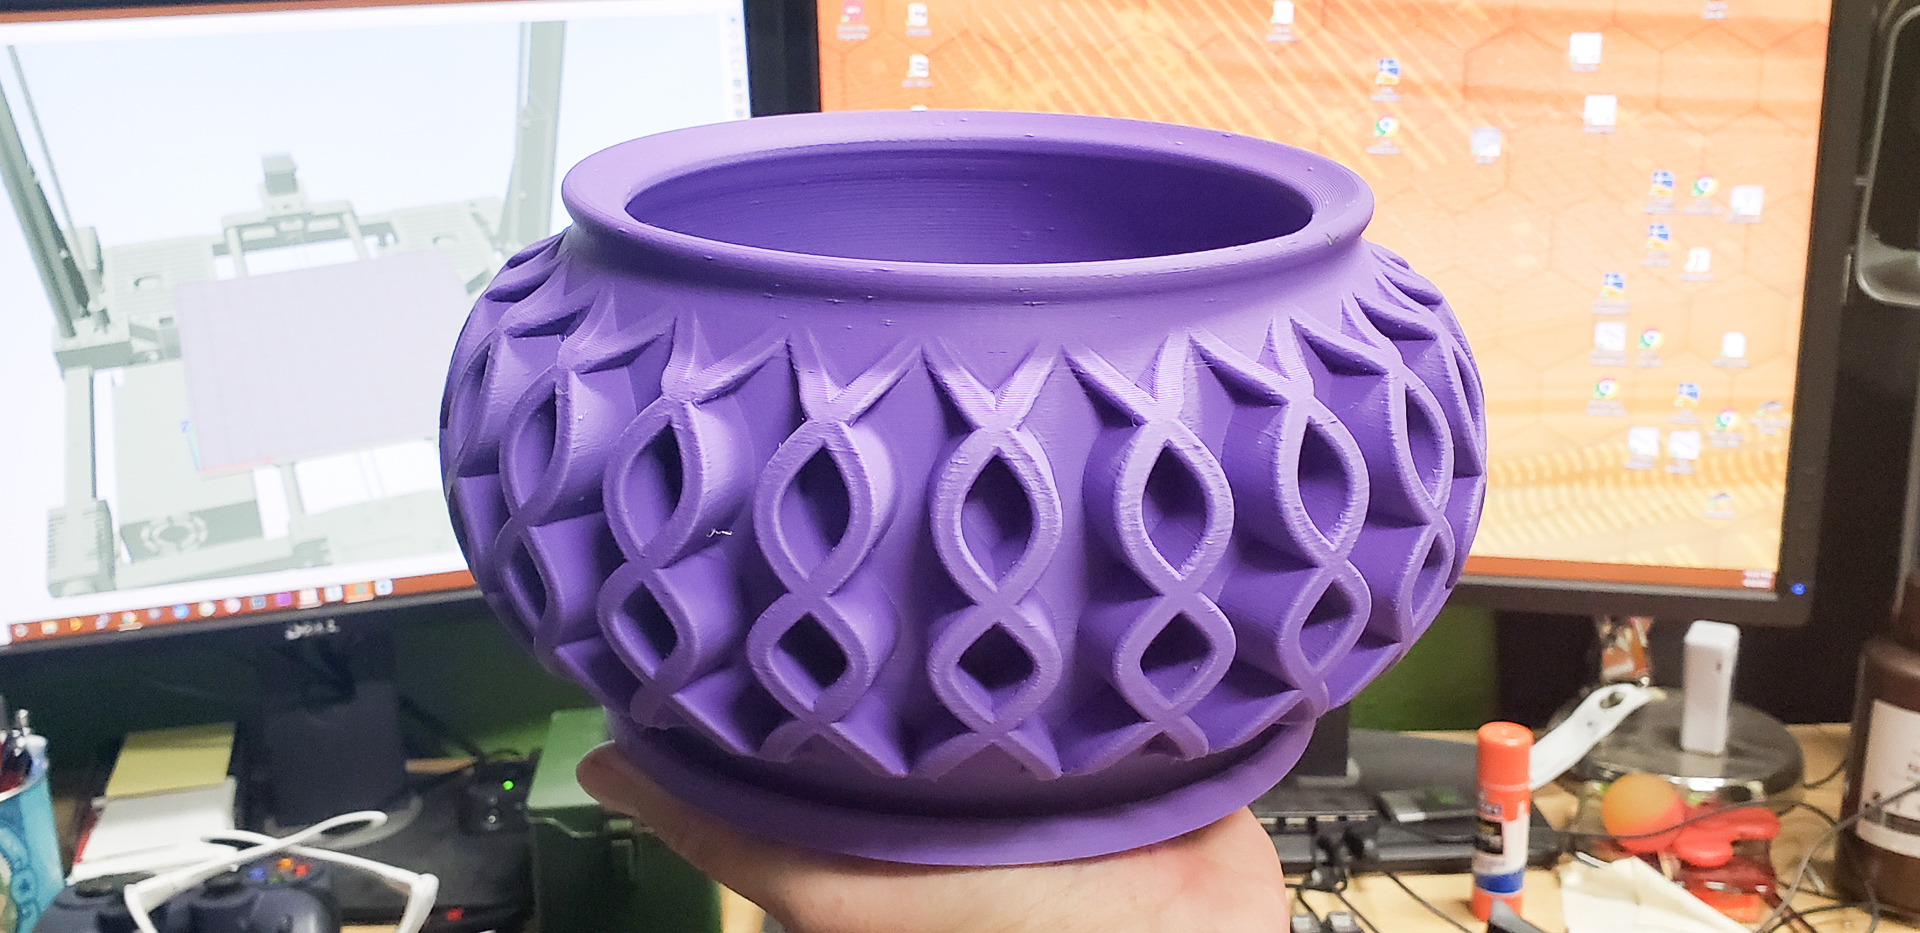
For instance, here’s another simple task. My wife loved the Cat’s bowl and asked for a similar flower pot — but bigger:
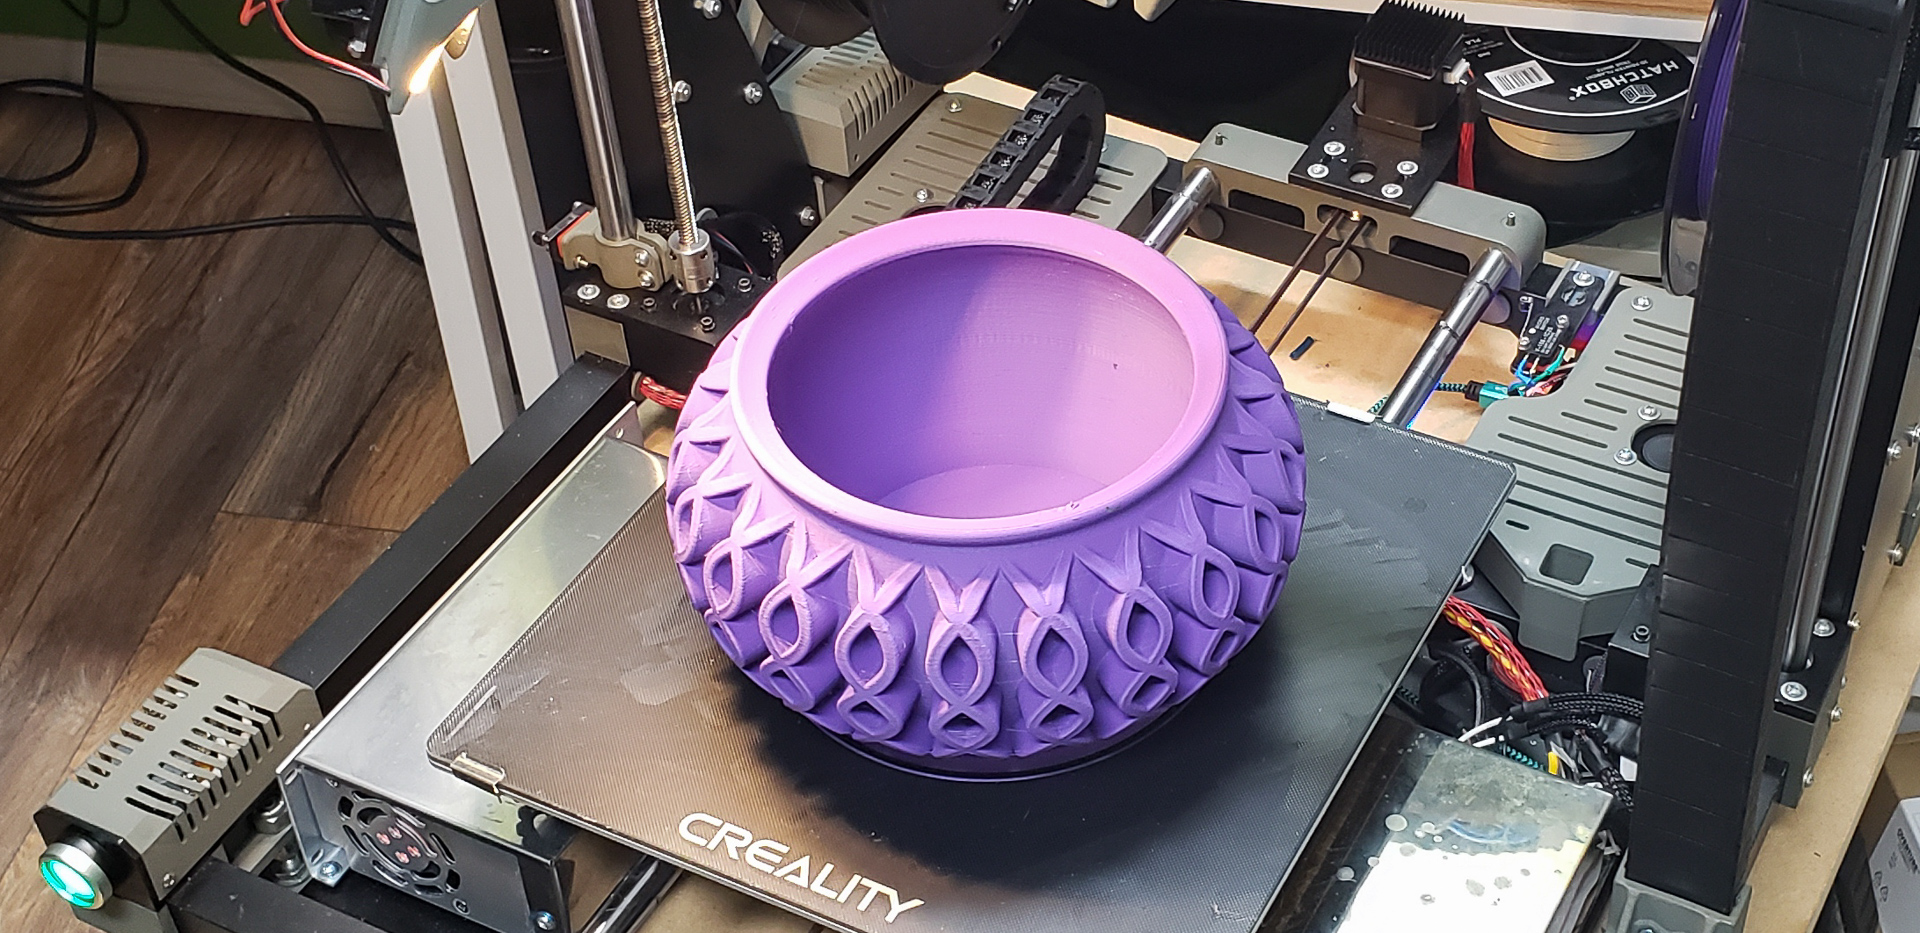

There’s still some stringing, but the temperature defects have nearly disappeared. The remaining bubbles aren’t from overheating but from an excessively high Coasting Distance setting. Before, these were hidden among the overheating bubbles, but now they’ve become clear and were fixed in the next model.
Most of the ghosting on the walls is gone too. However, there are bulges at the corners because I experimented with print speed during this model. I wanted to see how far I could push the printer. For most of the print, it ran at 100 mm/s. As a result, the straight and smooth sections turned out fine, but on sharp corners (visible on the edges of the pattern), the plastic behaved like a car skidding out of control. The molten filament continued traveling in the same direction before finally catching up with the print head, causing bulges and streaks in the pattern layers (which are absent on the flat sections). Ultimately, the optimal print speed for this printer was determined to be 65–75 mm/s.
On top of that, this pot served as a stress test. Three and a half days of continuous printing! During this time, I monitored the electronics’ temperature, the state of the mechanics, and more. I also tested and adjusted remote control via OctoPrint and the operation of OctoLapse. Since the printing took place in the middle of a busy work week, I monitored most of it remotely:
This single flower pot provided as much testing data as a dozen test models couldn’t have delivered. And my wife now has a wonderful new home for some green tentacles with allegedly medicinal properties (according to her). A win-win, no matter how you look at it.
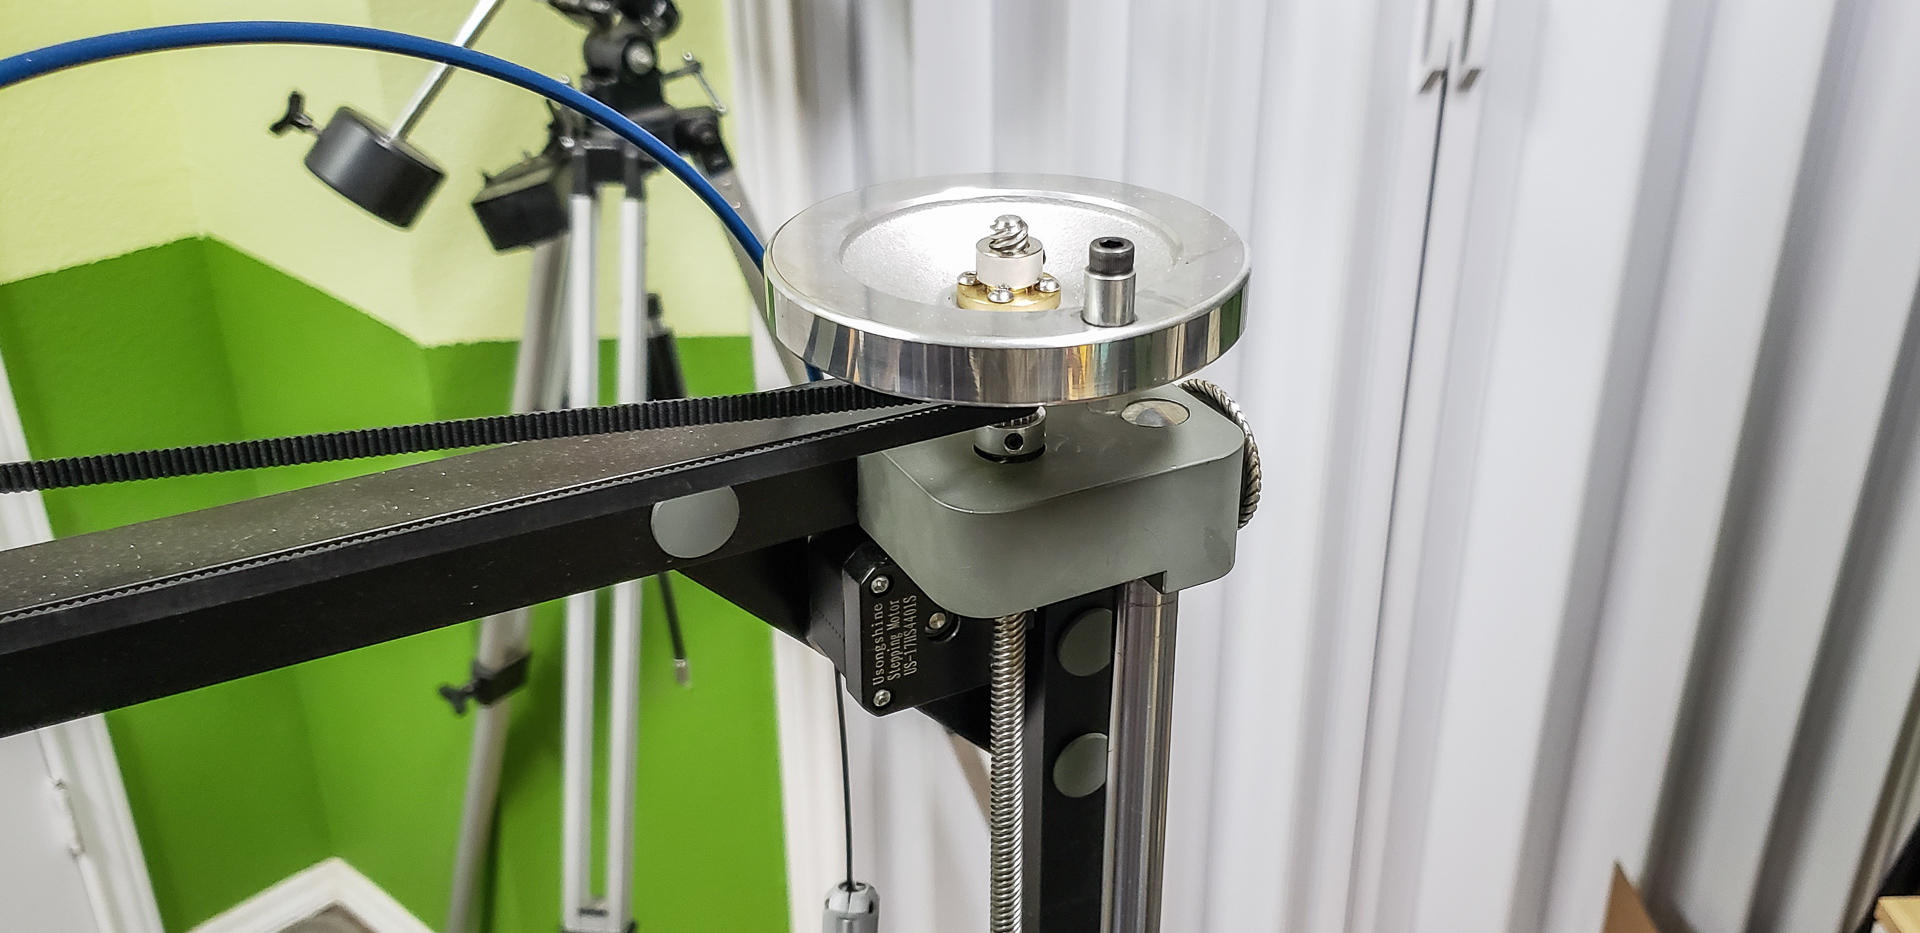
Nevertheless, some things did get tested on “throwaway” pieces… Like aligning the print heads.
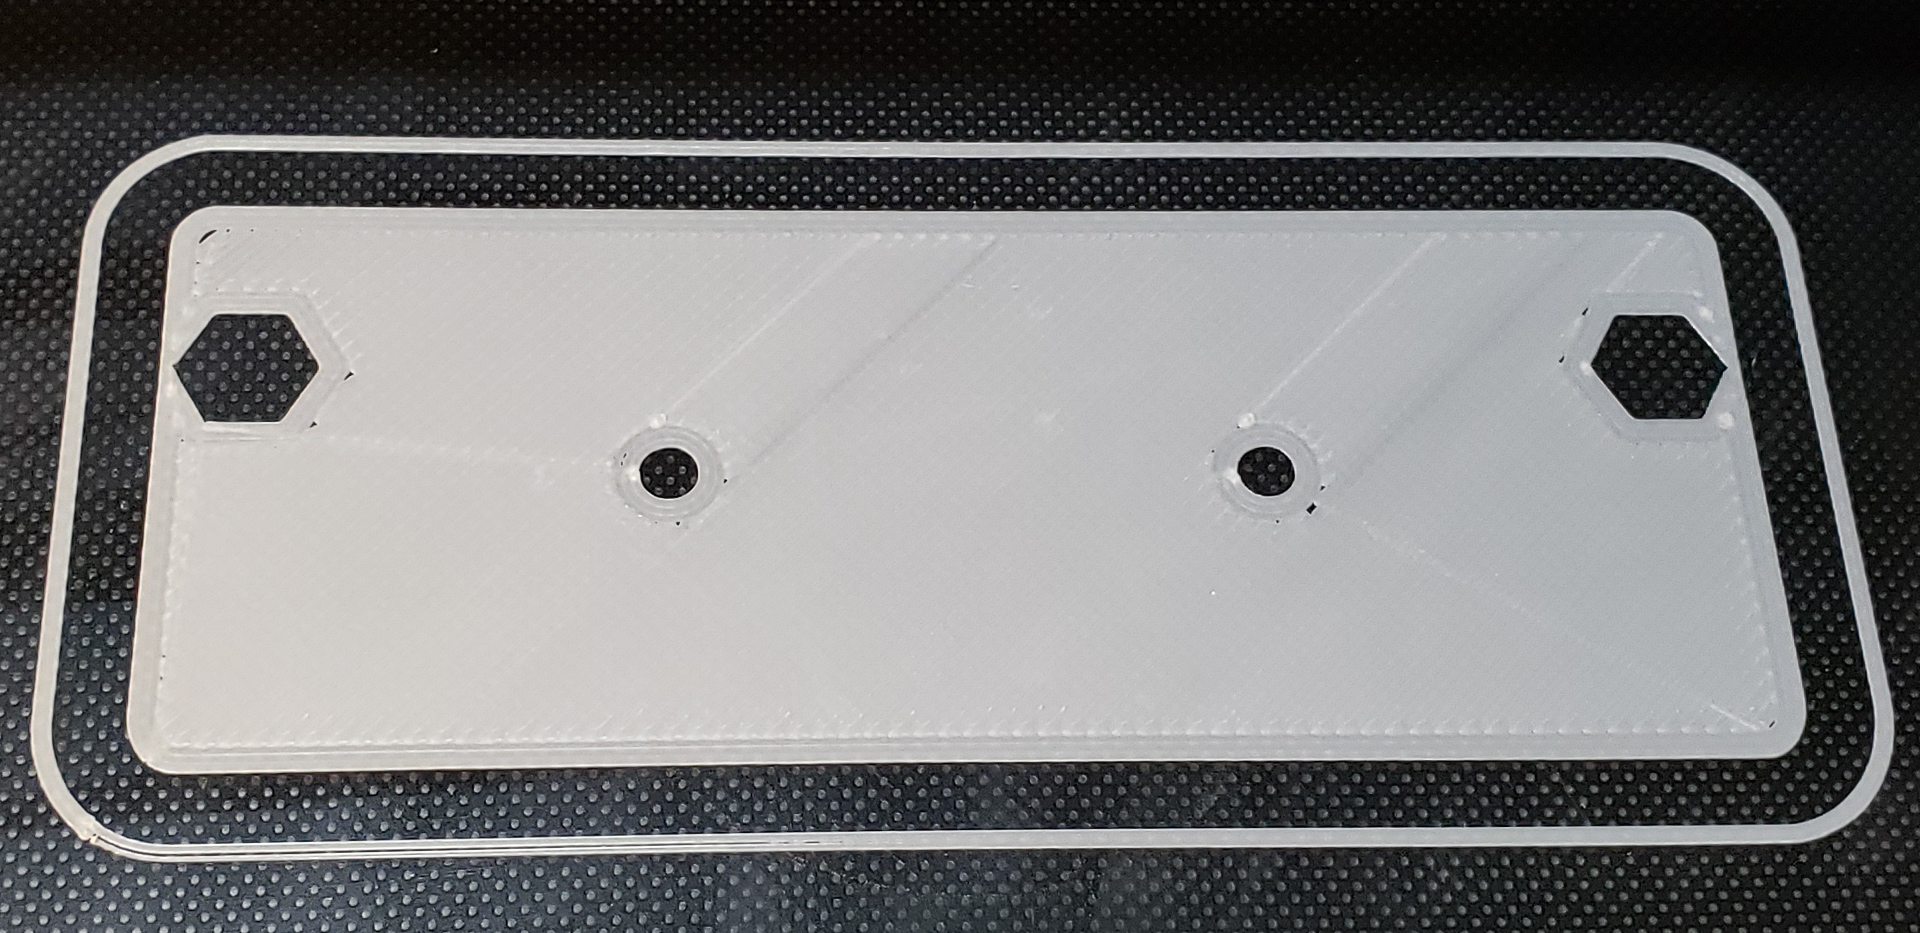
I already had an urgent dual-material printing task hanging over me. The deadline was looming just a day and a half away! Printing the required part was estimated to take about 15 hours, plus assembly and finishing time. That left no room for experimenting with nozzle alignment on the actual part. Spending 15 hours on a test? Too much. And if it didn’t work on the first try? There wouldn’t be time for a second attempt.
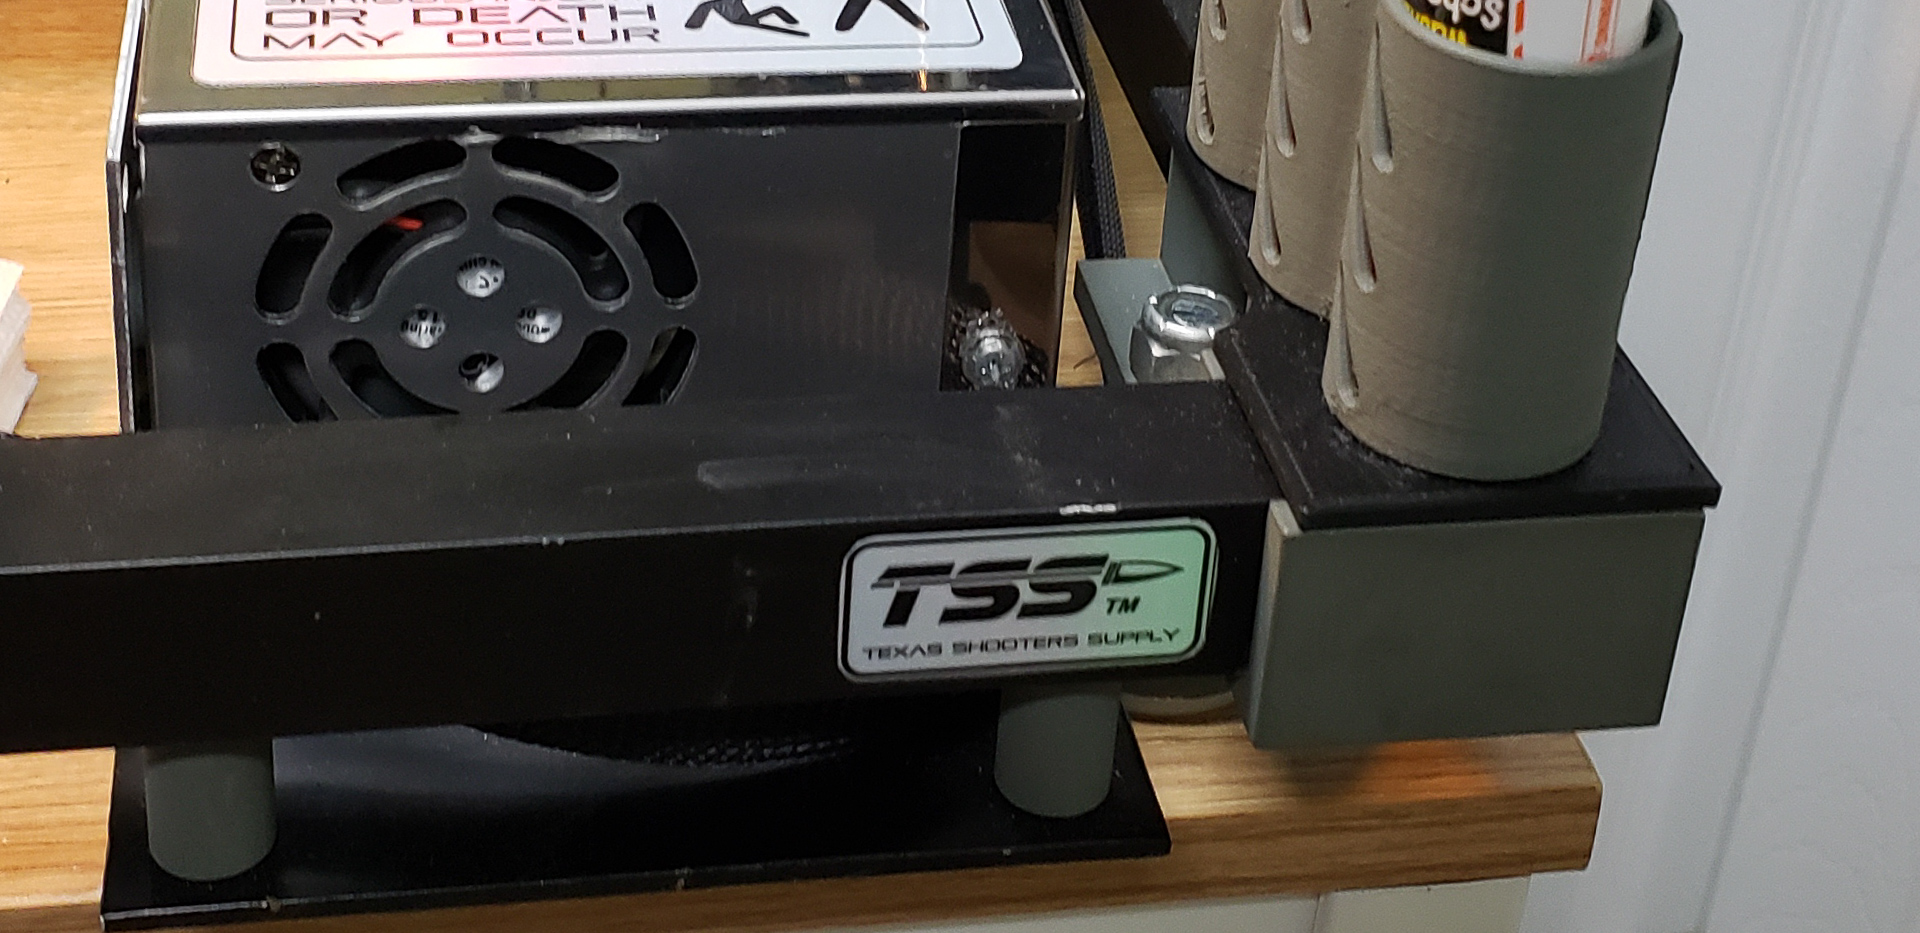
So I quickly cobbled together these simple test plates:
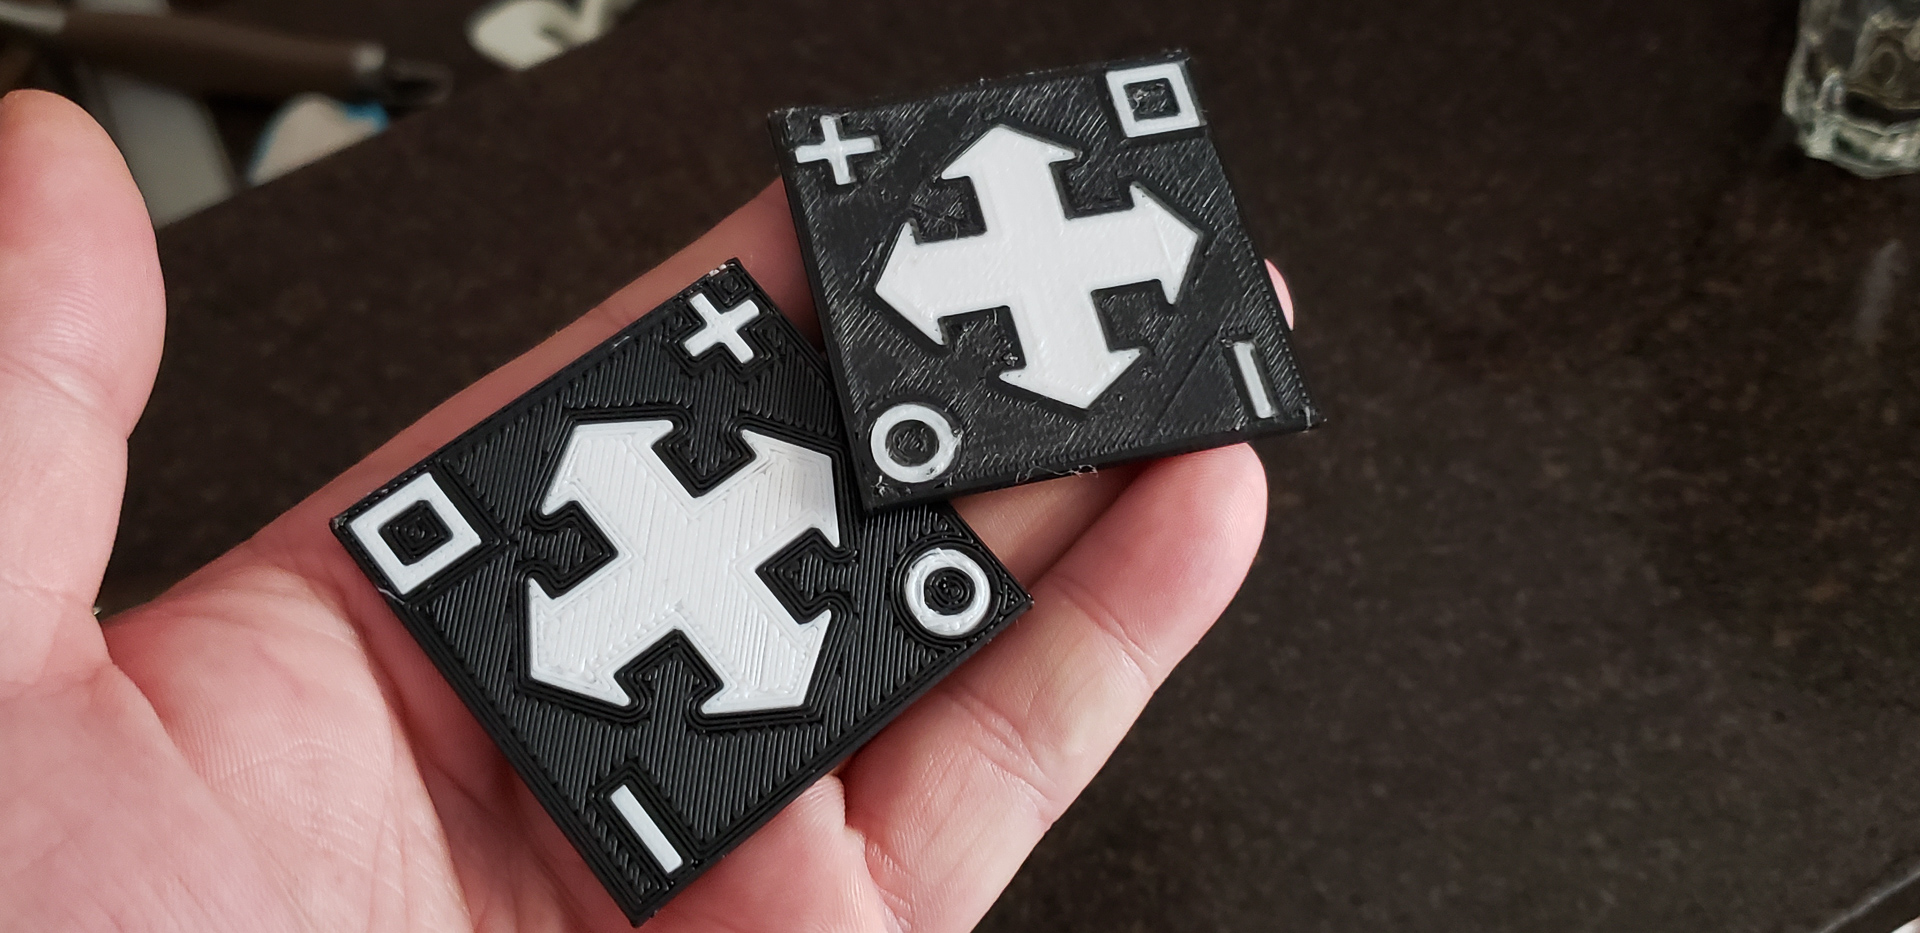
The arrows literally pointed out where adjustments were needed to sync the print heads. It took three of these plates to fully align the nozzles. Even these test plates found a use—they became great coasters for shot glasses on the porch.
What was this urgent task? Oh, I’ll tell you… It’s somewhat relevant. At least, it’ll demonstrate the printer’s capabilities for dual-color printing.
A friend had a birthday coming up. We were already prepared—gifts, cake, BBQ, the whole shebang. And then, with his usual spontaneity, he decided to make a request. “I want,” he said, “a decorative Texas-style star for the wall!”
The Lone Star is the official symbol of Texas, which is sometimes called The Lone Star State. Naturally, using the “lone star” as a decorative element is incredibly common here.
He needed it to match the horns on his wall.
Massive longhorn horns—a traditional Texas motif alongside horseshoes, wide-brimmed hats, cowboy boots, revolvers, and the like.
And this was a day and a half before the event! Are you kidding me…
To top it off, I’d recently let him down on a project. For two months, he’d been asking for my help, but I was too busy neck-deep in building the MARSH TURRET. He eventually gave up and completed it on his own, albeit not to the scale he’d envisioned. I felt guilty for letting him down. Blowing him off again, especially for his birthday wish, would’ve been the height of rudeness. I couldn’t do that… So I resolved to pull out all the stops and give him his “Texas-style star.”
Now, my friend might not have realized that I’m not exactly a Disney-style genie. If anything, I’m more like the djinn from that old horror flick Wishmaster. Sure, I’ll grant your wish — but you might not be too thrilled about the outcome…
Here’s some context: my friend is originally from Russia. So, he wished for a “Texas-style star,” and he got one:
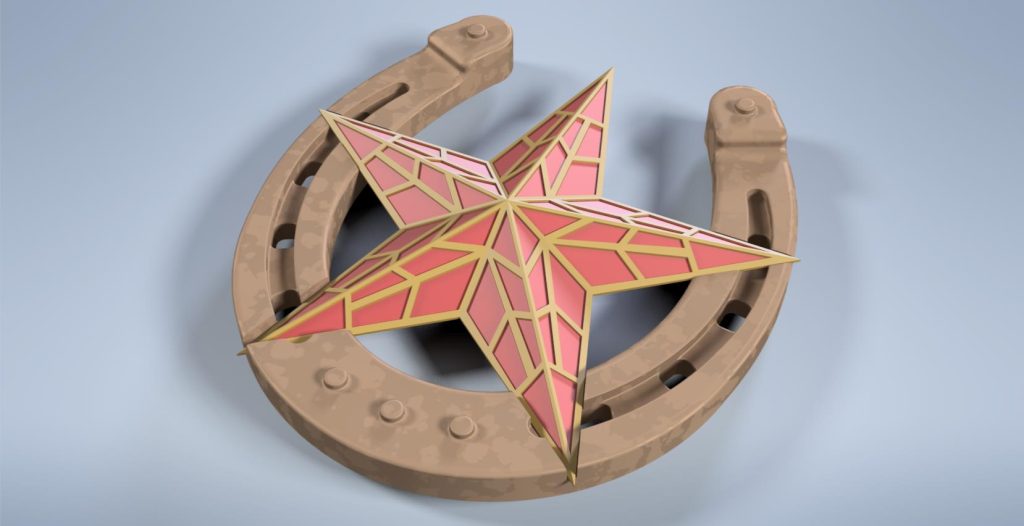
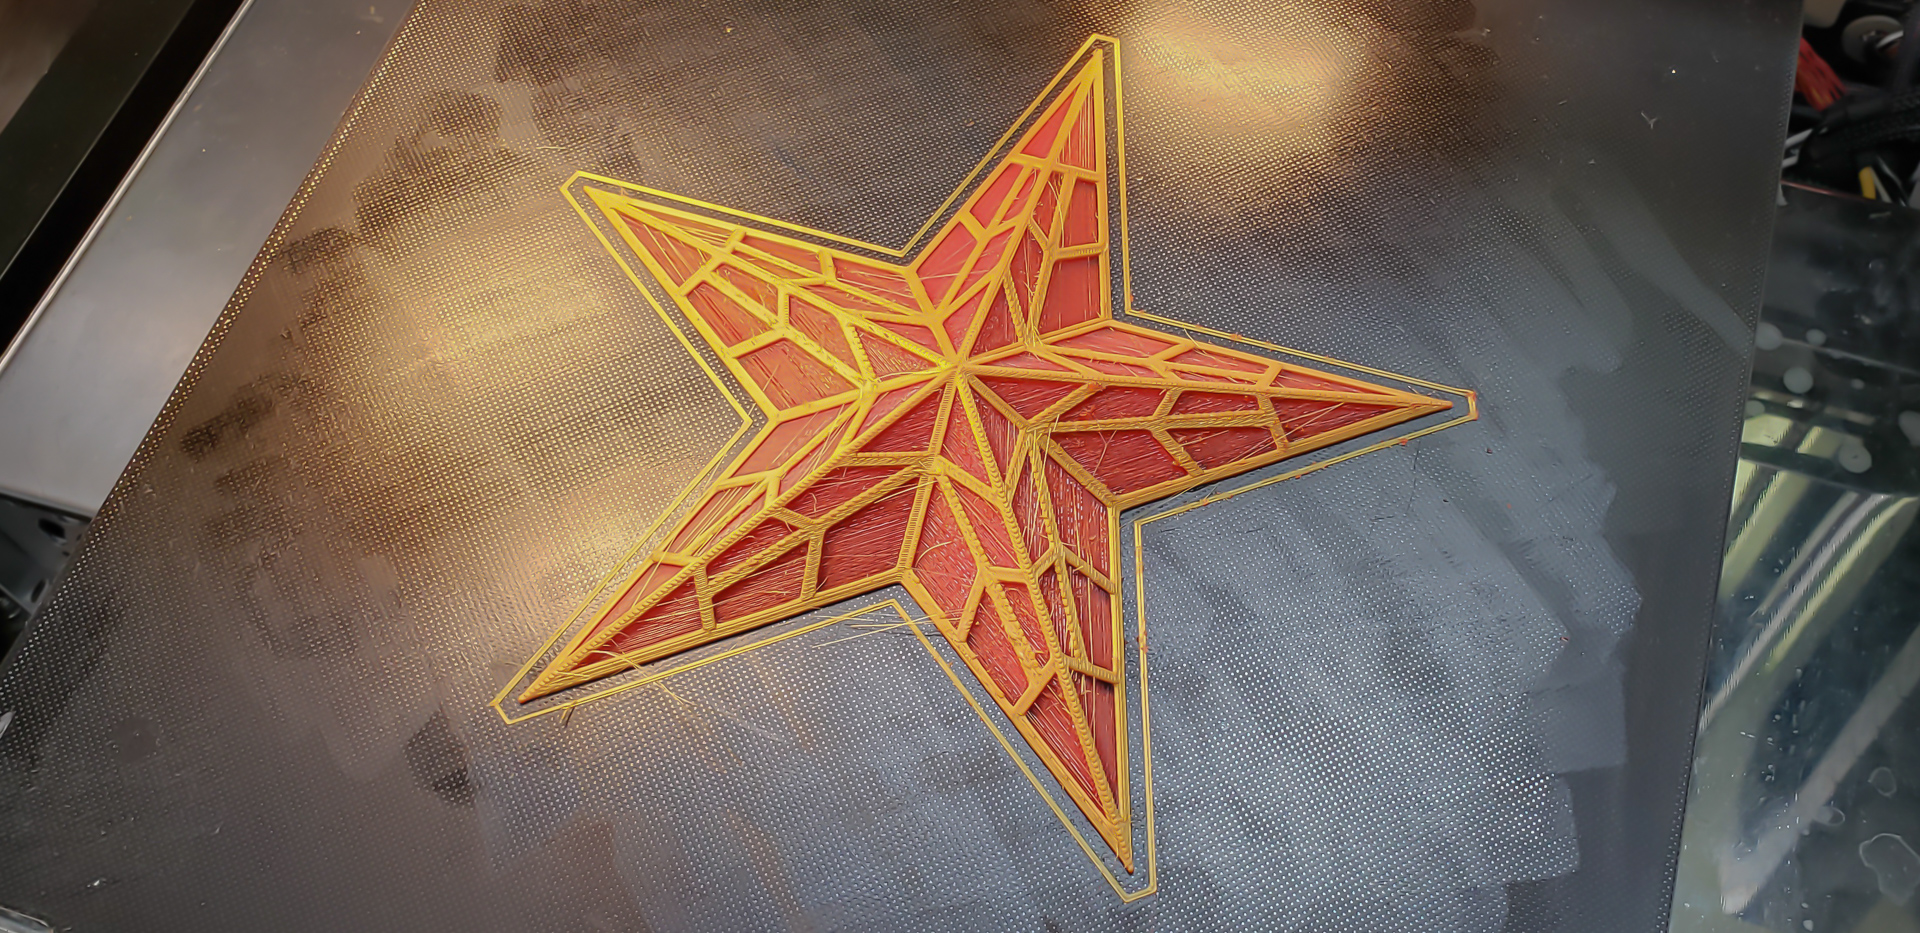
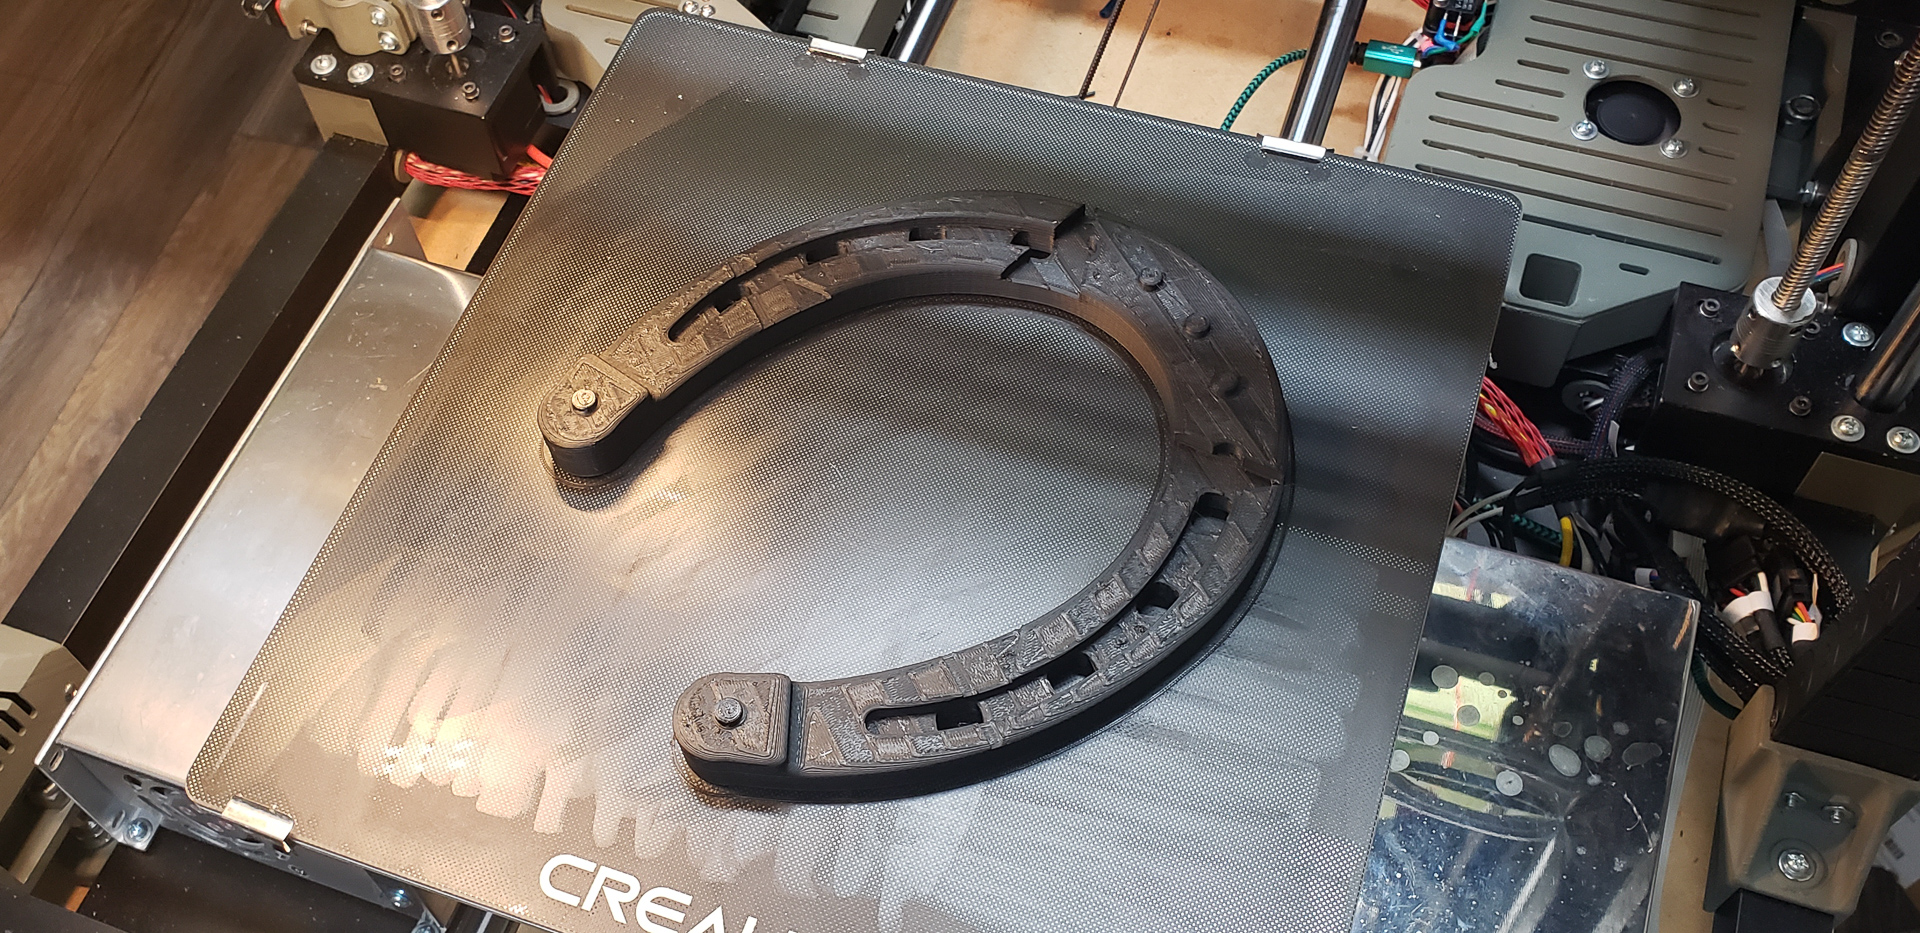
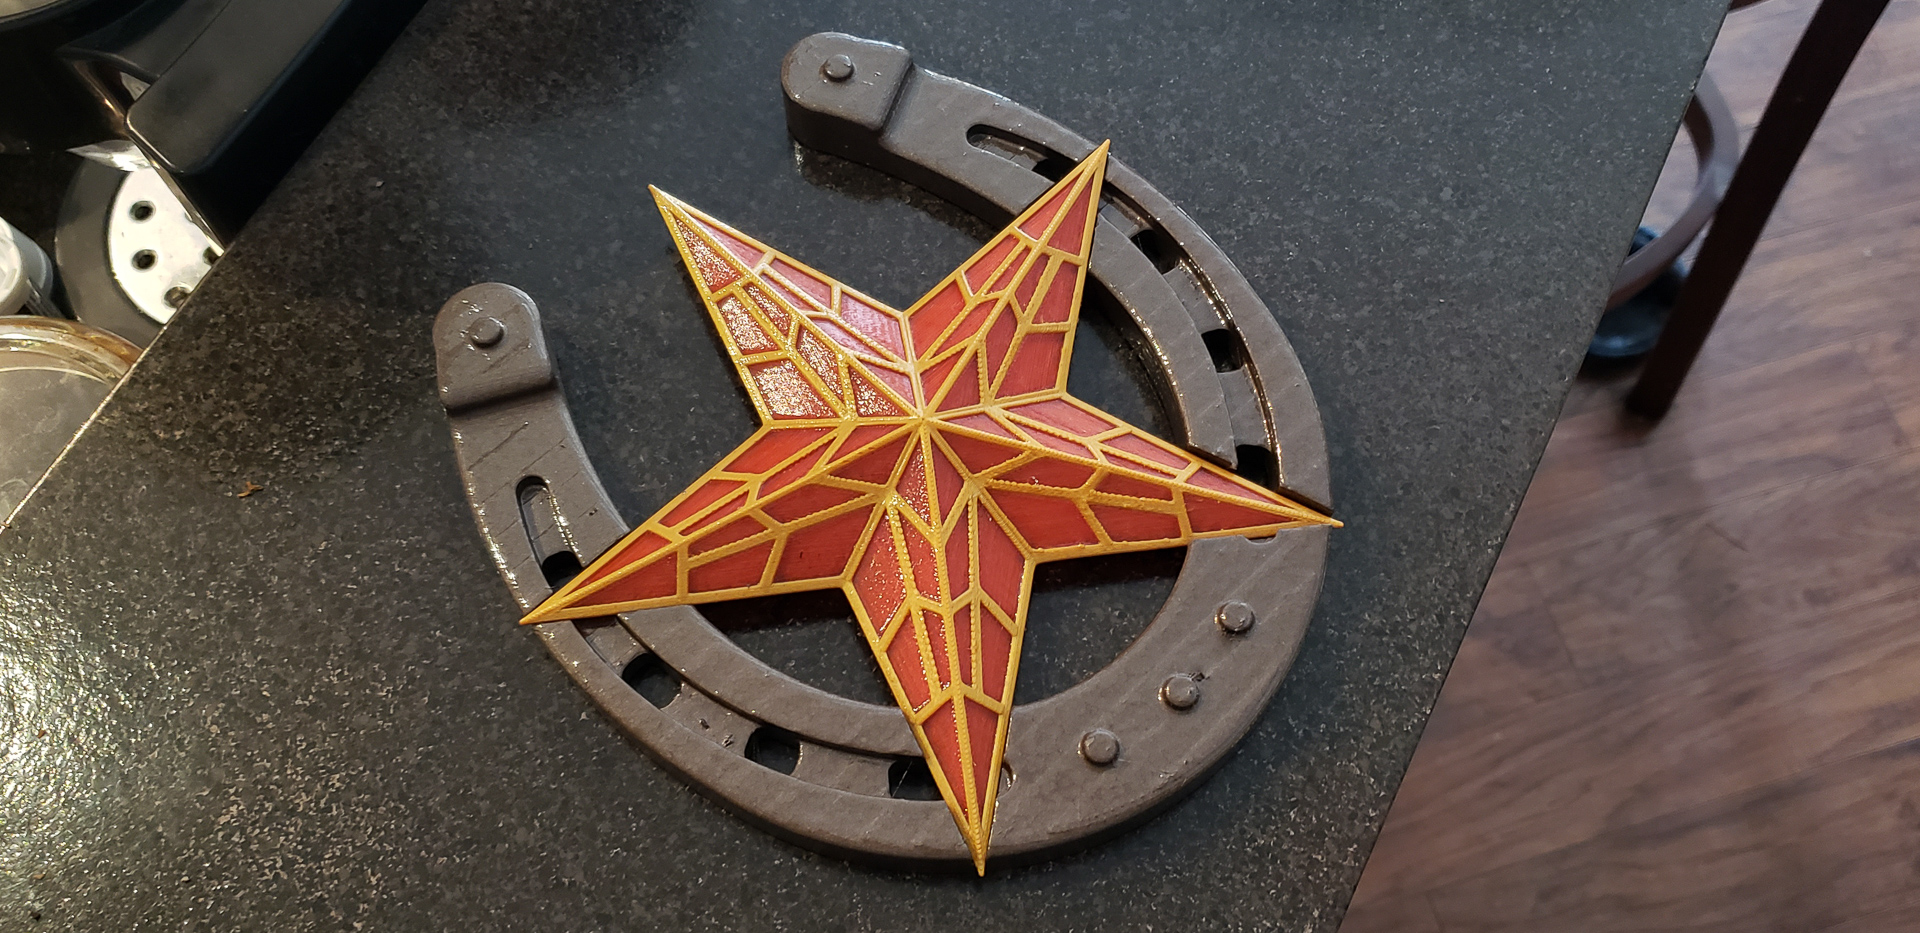
Well? There’s a star. There’s a horseshoe, a quintessential Texas element. The star is quite literally integrated into the style — a Texas-style star. Exactly as requested!
The horseshoe, of course, is slathered in paint because I didn’t have filament in the right color for the design. In the photo, it’s still half-dry—a finger-thick layer of paint barely managed to set overnight before the gift was handed over. I simply didn’t have time to do everything properly and in stages.
This specific task allowed me to set up and master dual-material printing with two nozzles—something I had never done before! And it’s not just the printing process that’s tricky; the model itself needs to be prepared in a specific way. It worked perfectly on the first try! And I got to fulfill my friend’s wish in the process.
He was absolutely delighted, by the way. He must be used to me by now… He hung it on the wall alongside the horns and sent me a photo:
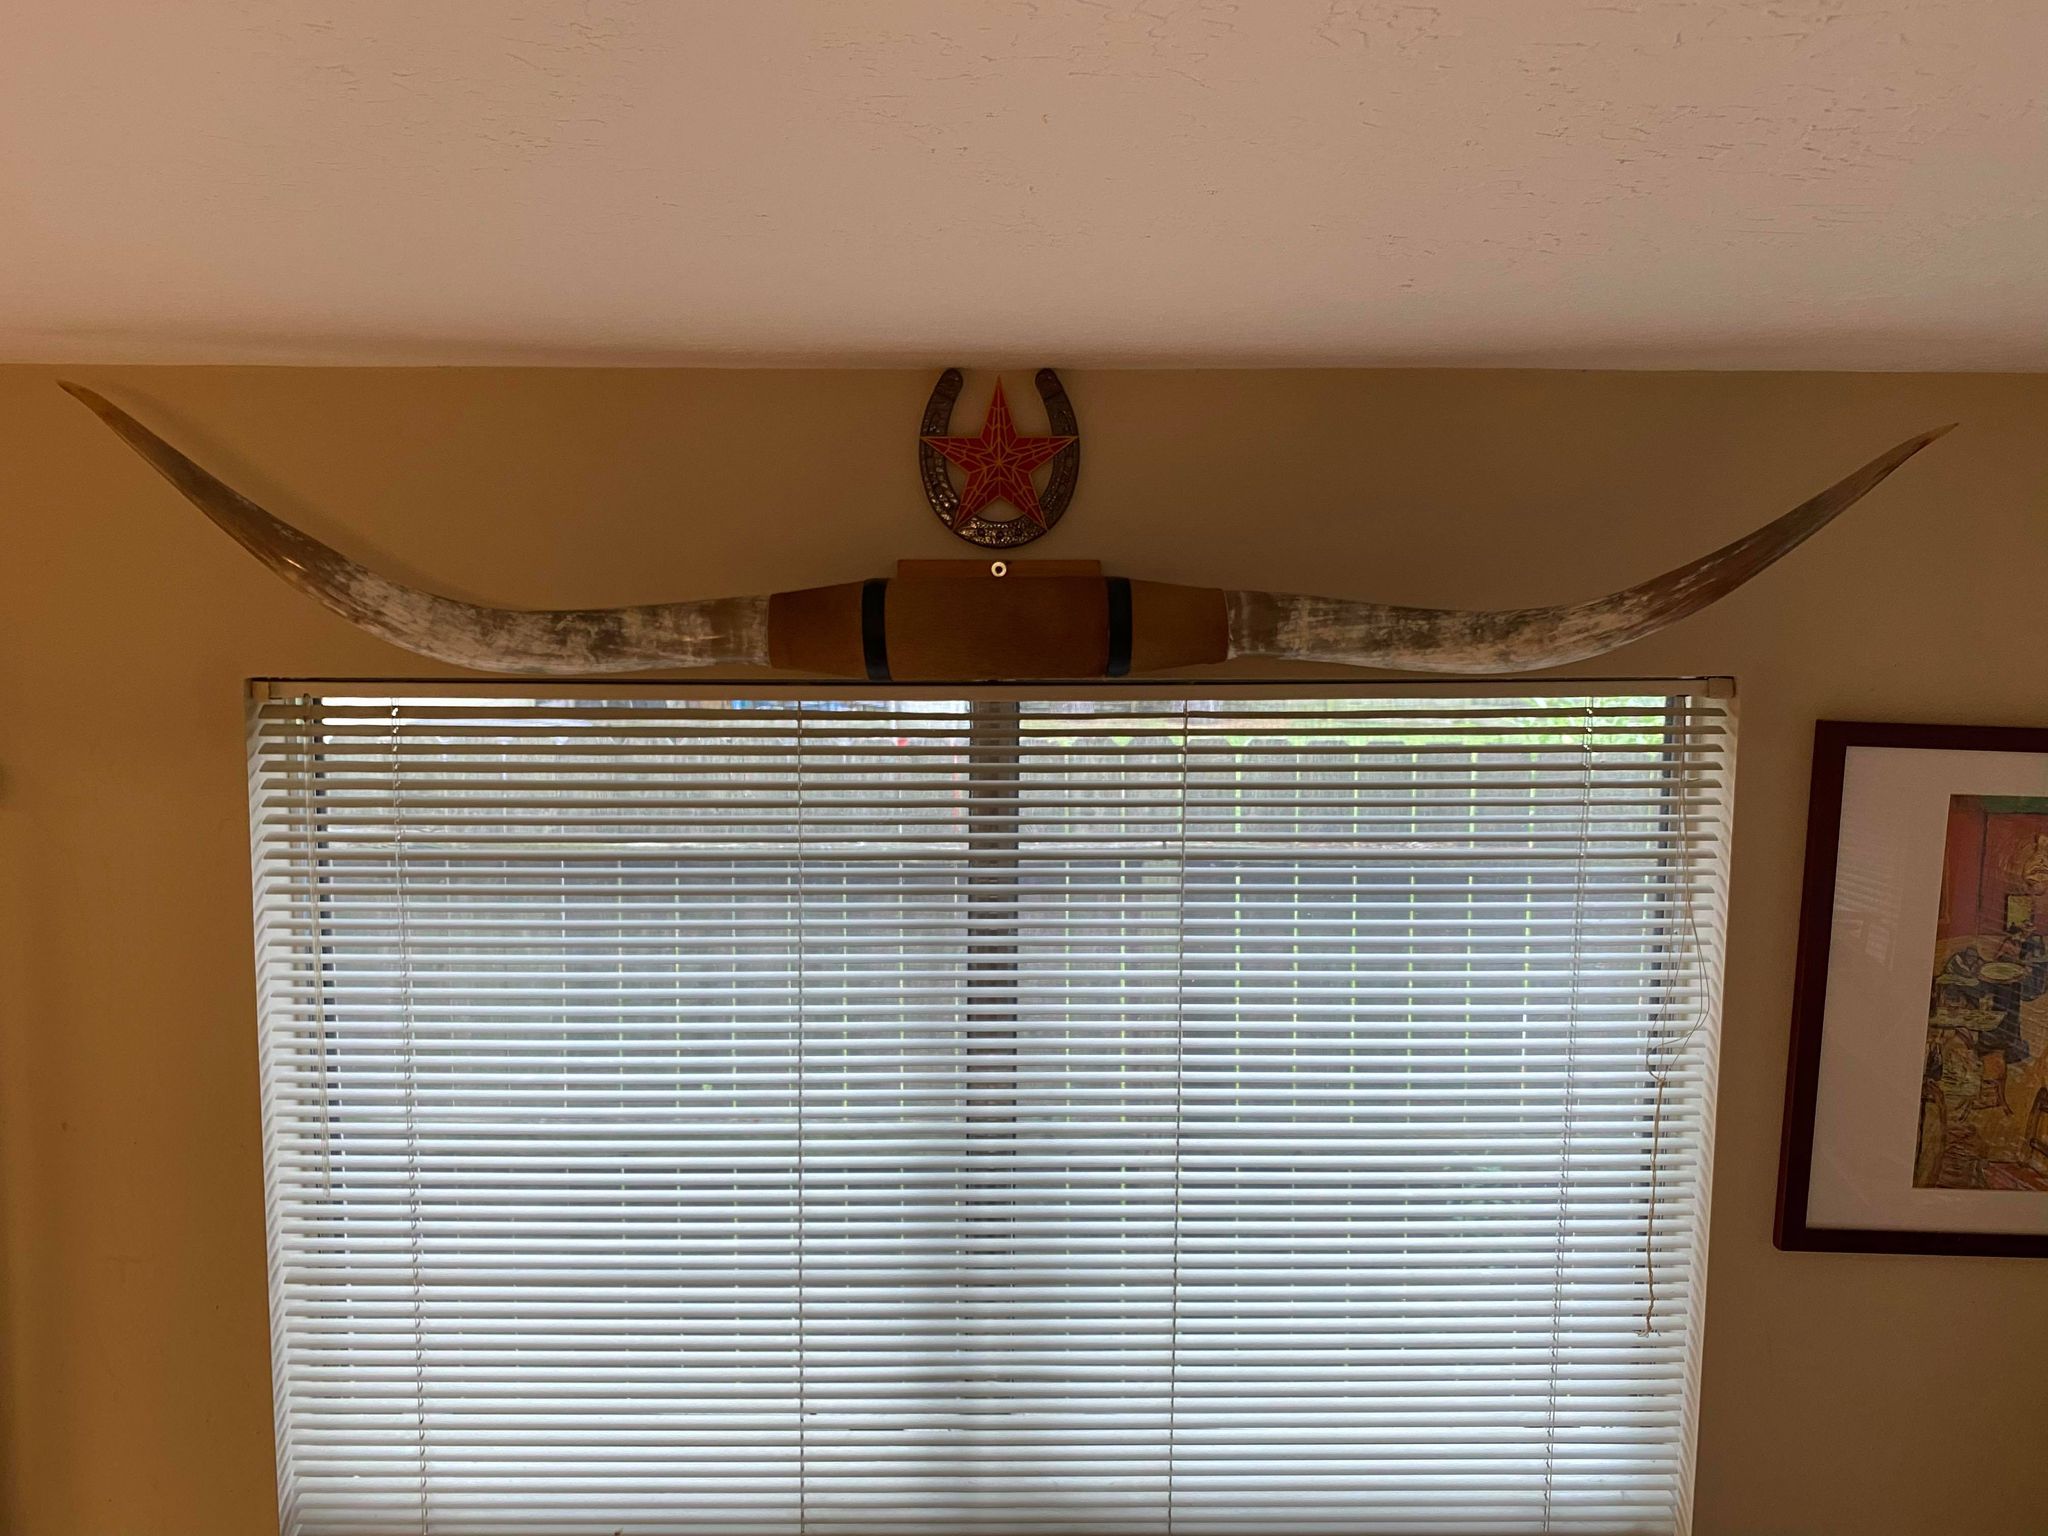
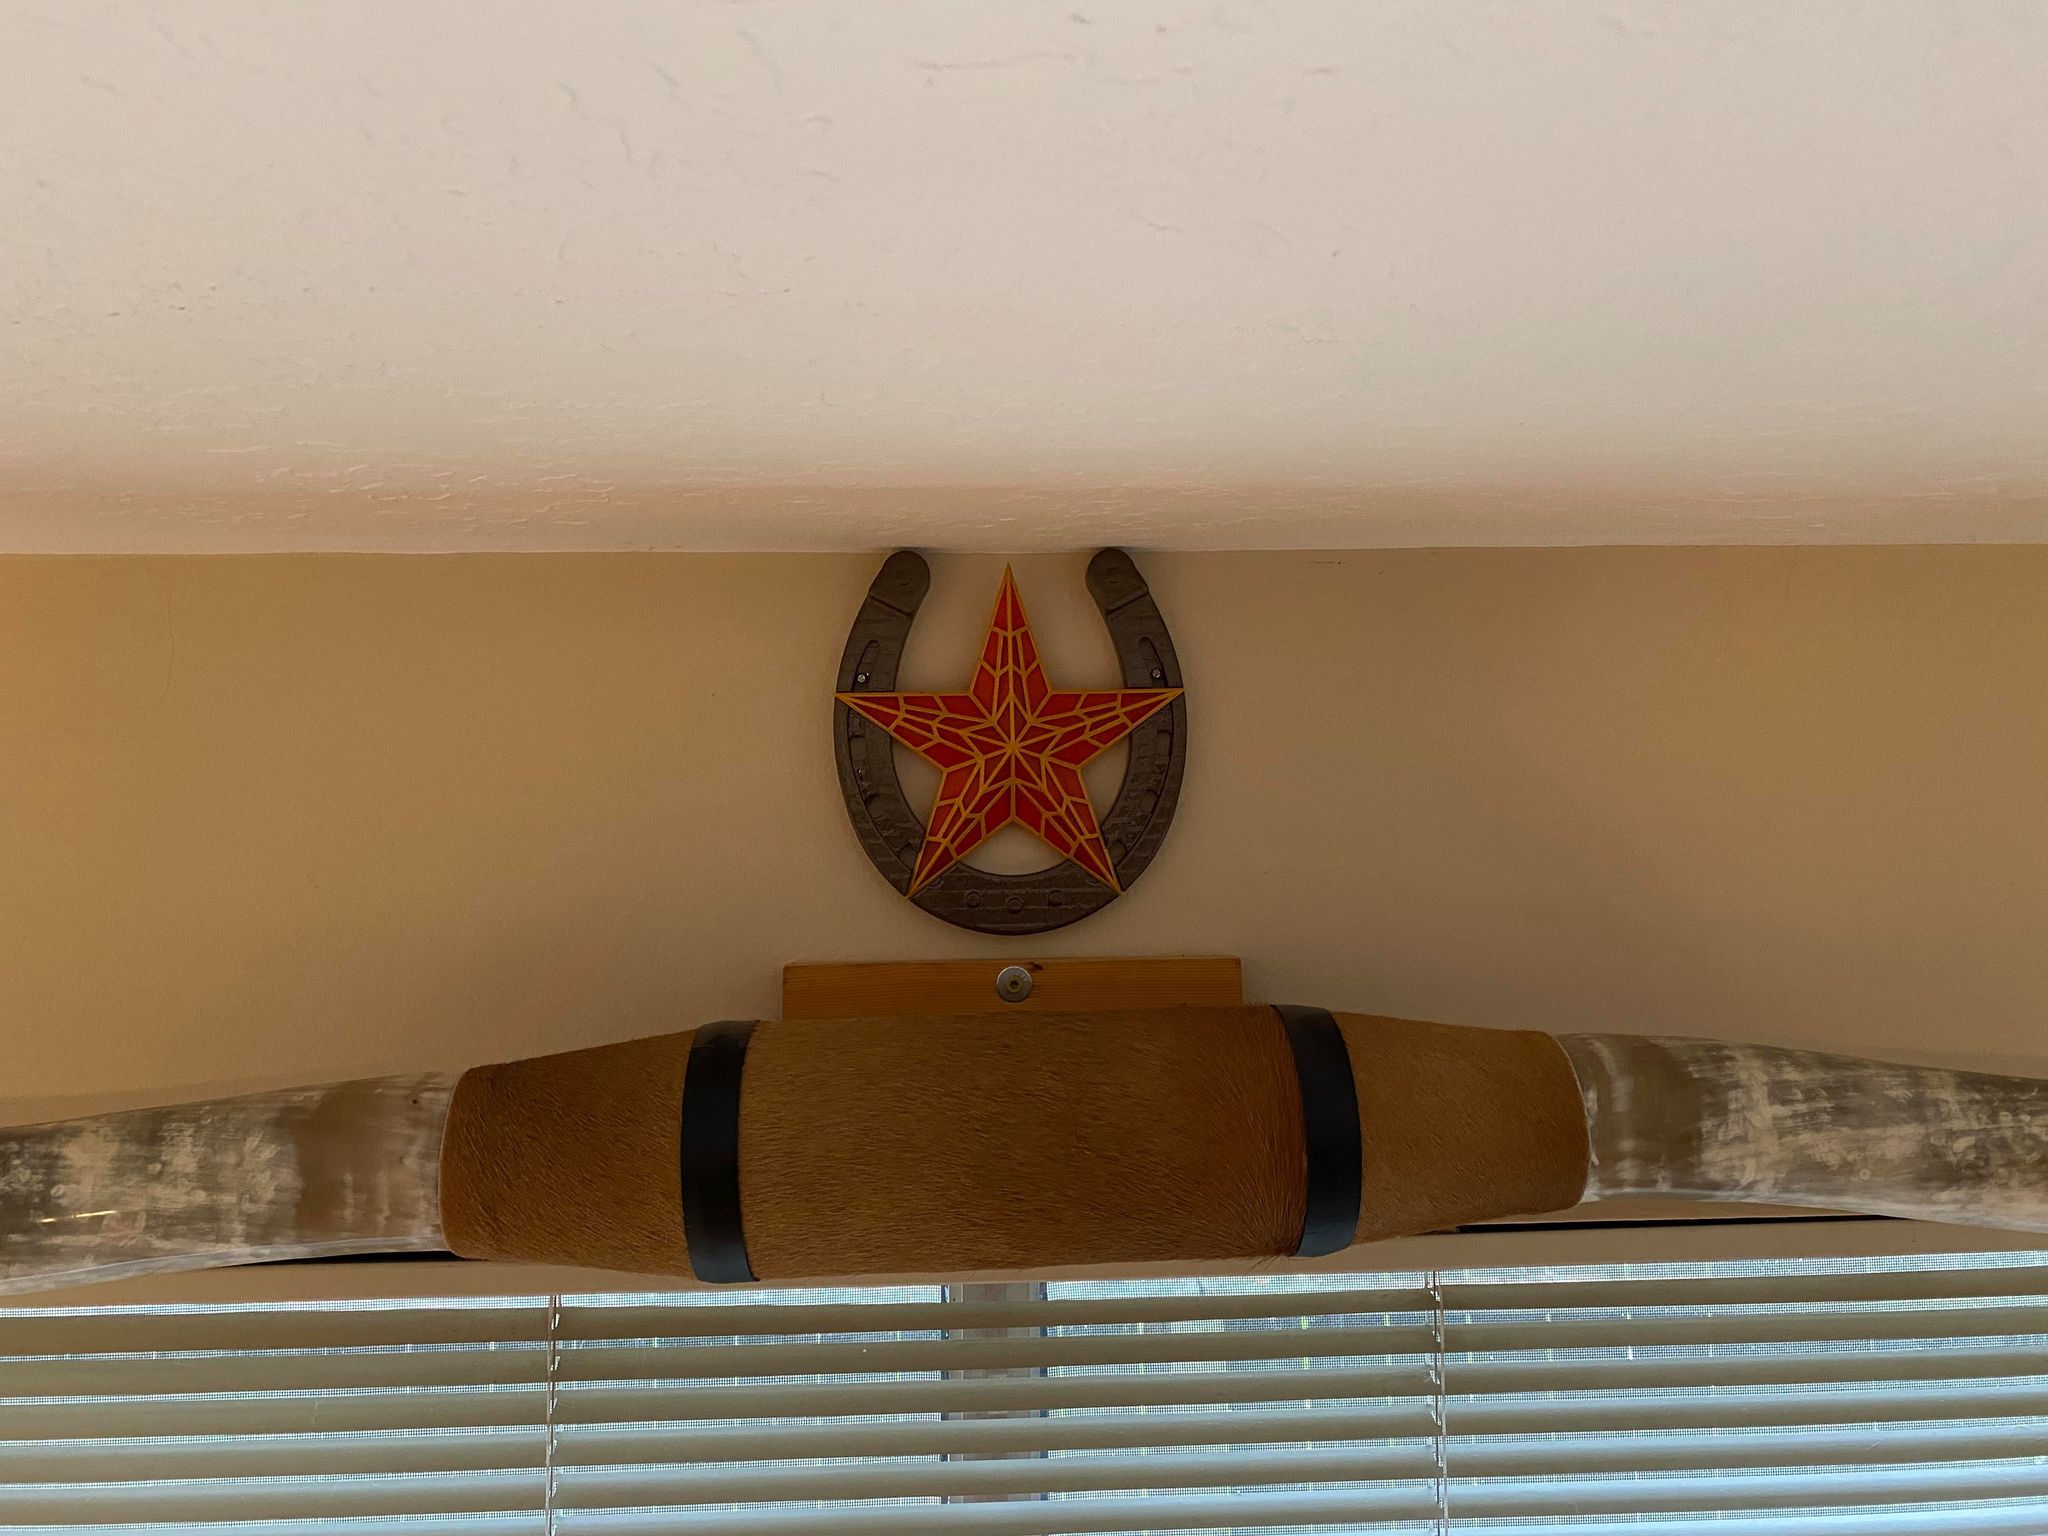
I don’t know of any tests that better demonstrate a printer’s capabilities than real items created for specific tasks.
And that’s not even all! The printer has barely completed its first month of operation, and I already have two finished projects under its belt. Beyond pots and Texas-style stars, that is. But those are stories for another time.
Results
Everything envisioned was implemented in full — absolutely no “buts” or conditions. It was realized exactly as planned and imagined.
Accordingly, it’s worth discussing only the fears and concerns that accompanied the project. Whether they were justified or not. Not all of them, of course. Laying out every single fear and concern from the project — there wouldn’t be enough blog pages. But let’s focus on the main ones. The ones that kept me up at night and ruined my appetite.
- The fear that the frame would lack rigidity. Not justified.
A weak frame and associated printer components are a fatal flaw that directly impacts print quality. Fixing it is nearly impossible. There are countless examples of this among DIY enthusiasts. You can minimize the damage slightly, but you can’t completely eliminate it.
Fortunately, the overall construction turned out to be a beast — sturdy enough to rival a CNC router for soft metals. The aluminum poured into the device was clearly worth it.
Although, as a Plan B for enhancing rigidity, the project included diagonal metal braces stretching from the frame’s corners to the top of the Z-axis column. The frame even had pre-drilled holes for them. Sure, this approach is akin to “bandaging a corpse,” but it would have been something. Thankfully, it wasn’t needed…
- The fear that my custom and purchased parts wouldn’t fit together. Not justified.
The model was designed so that any dimensional discrepancies in the parts could have had fatal consequences. And not everything in this regard depended on me. Some components were planned as pre-made industrial samples that I didn’t yet have on hand at the time. For example, the heated bed. I had its exact dimensions from the seller’s website. But we all know how “reliable” sellers usually are with such details. If that bed had turned out even 1/8 inch longer than stated — that’s it. It would’ve hit the Y-axis motor and couldn’t complete its full range of motion. Part of the build area would’ve been inaccessible.
The same goes for the print heads, mounting hole distances on electronic modules, and so on. In 99% of cases, I didn’t have the actual component to verify its dimensions with calipers. But by the time that part appeared on the workbench, everything for it had to be ready. Otherwise, the project would have dragged on for years: buy a part, wait for delivery, measure it, adjust the mounts and frame details, wait for the next part, measure it… I had to rely on information gathered online.
Thankfully, everything fit perfectly. Every hole and mount pre-prepared for the components fit them exactly as it should. Not a single extra hole was drilled, and not one mount had to be redone.
- The fear that print quality would fall short of expectations. Not justified.
Among 3D printer enthusiasts, it’s commonly believed that print quality can be judged by the first layer. If it’s uneven, skewed, with gaps, snags, inconsistent thickness, and so on, then nothing good will come of the rest. This is an overly simplistic view, but I generally agree.
The first layer from the MARSH TURRET:
In my opinion, it’s practically perfect. And most importantly, the result doesn’t vary no matter where on the bed the print occurs! The quality is consistent across the entire surface.
Even now, as I continue fine-tuning parameters for certain plastics, the print quality is already significantly higher than what the old printer managed throughout its lifetime.
Tuning parameters for a specific brand or type of filament is, in reality, an endless process. So…
- The fear that the printer would be excessively noisy. Not justified.
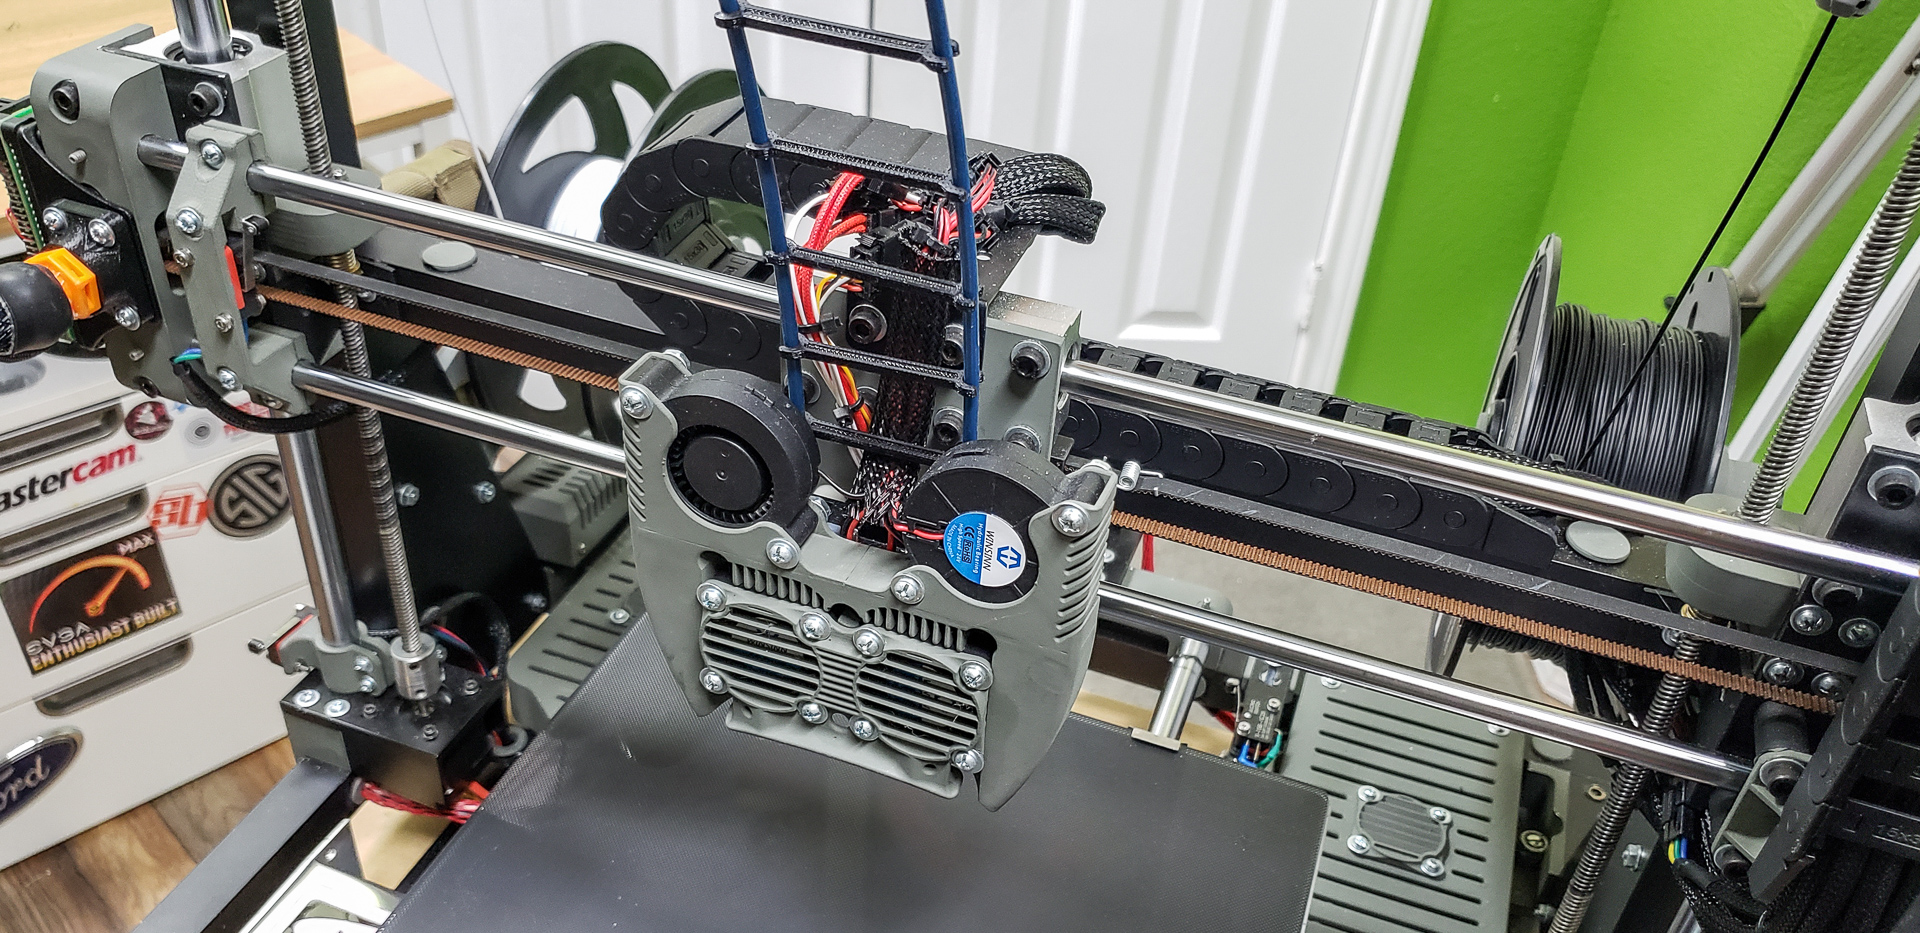
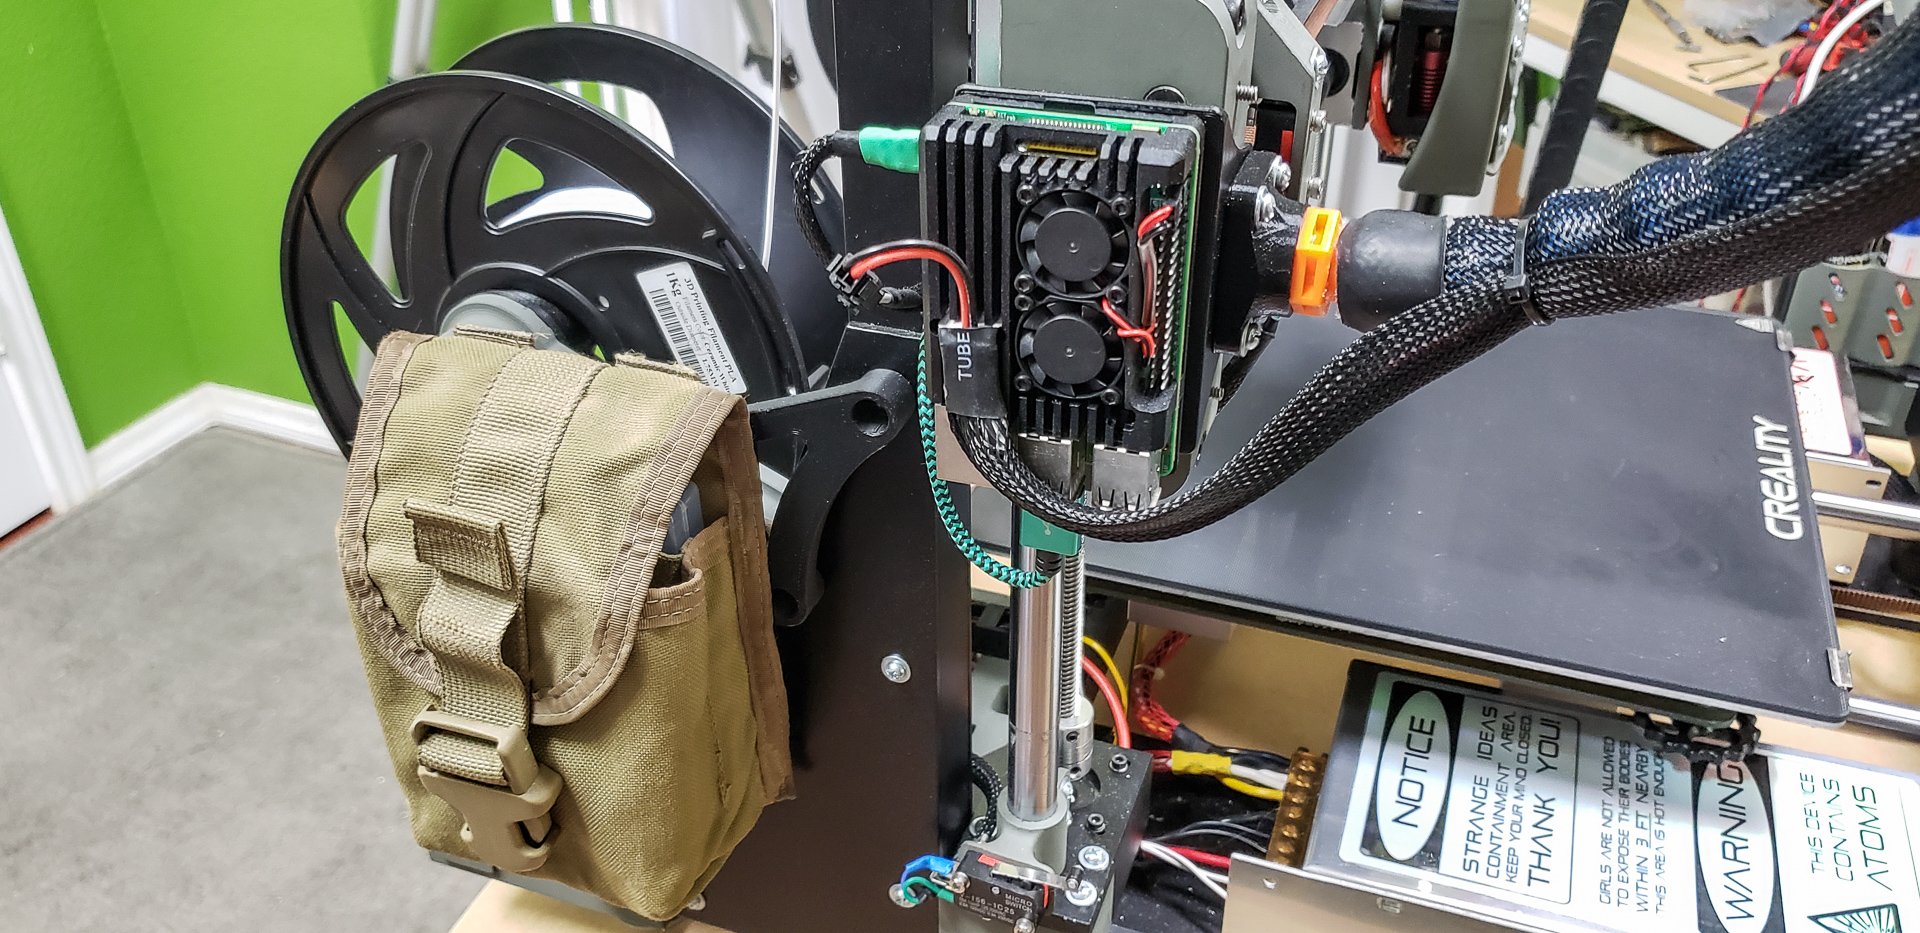
The design involved installing 10 (yes, ten) fans in the printer. Small and low-power, but still — ten fans! I’ve never had a project with that many fans before. The MARSH TURRET, however, has two in the power supplies, four on the print head, two in the electronics compartments, and two on the Raspberry Pi. That’s a lot. And reducing this number isn’t feasible due to the high segmentation of the modules and electronics.
I don’t have specialized noise-measuring equipment, so I had to rely on a phone app:

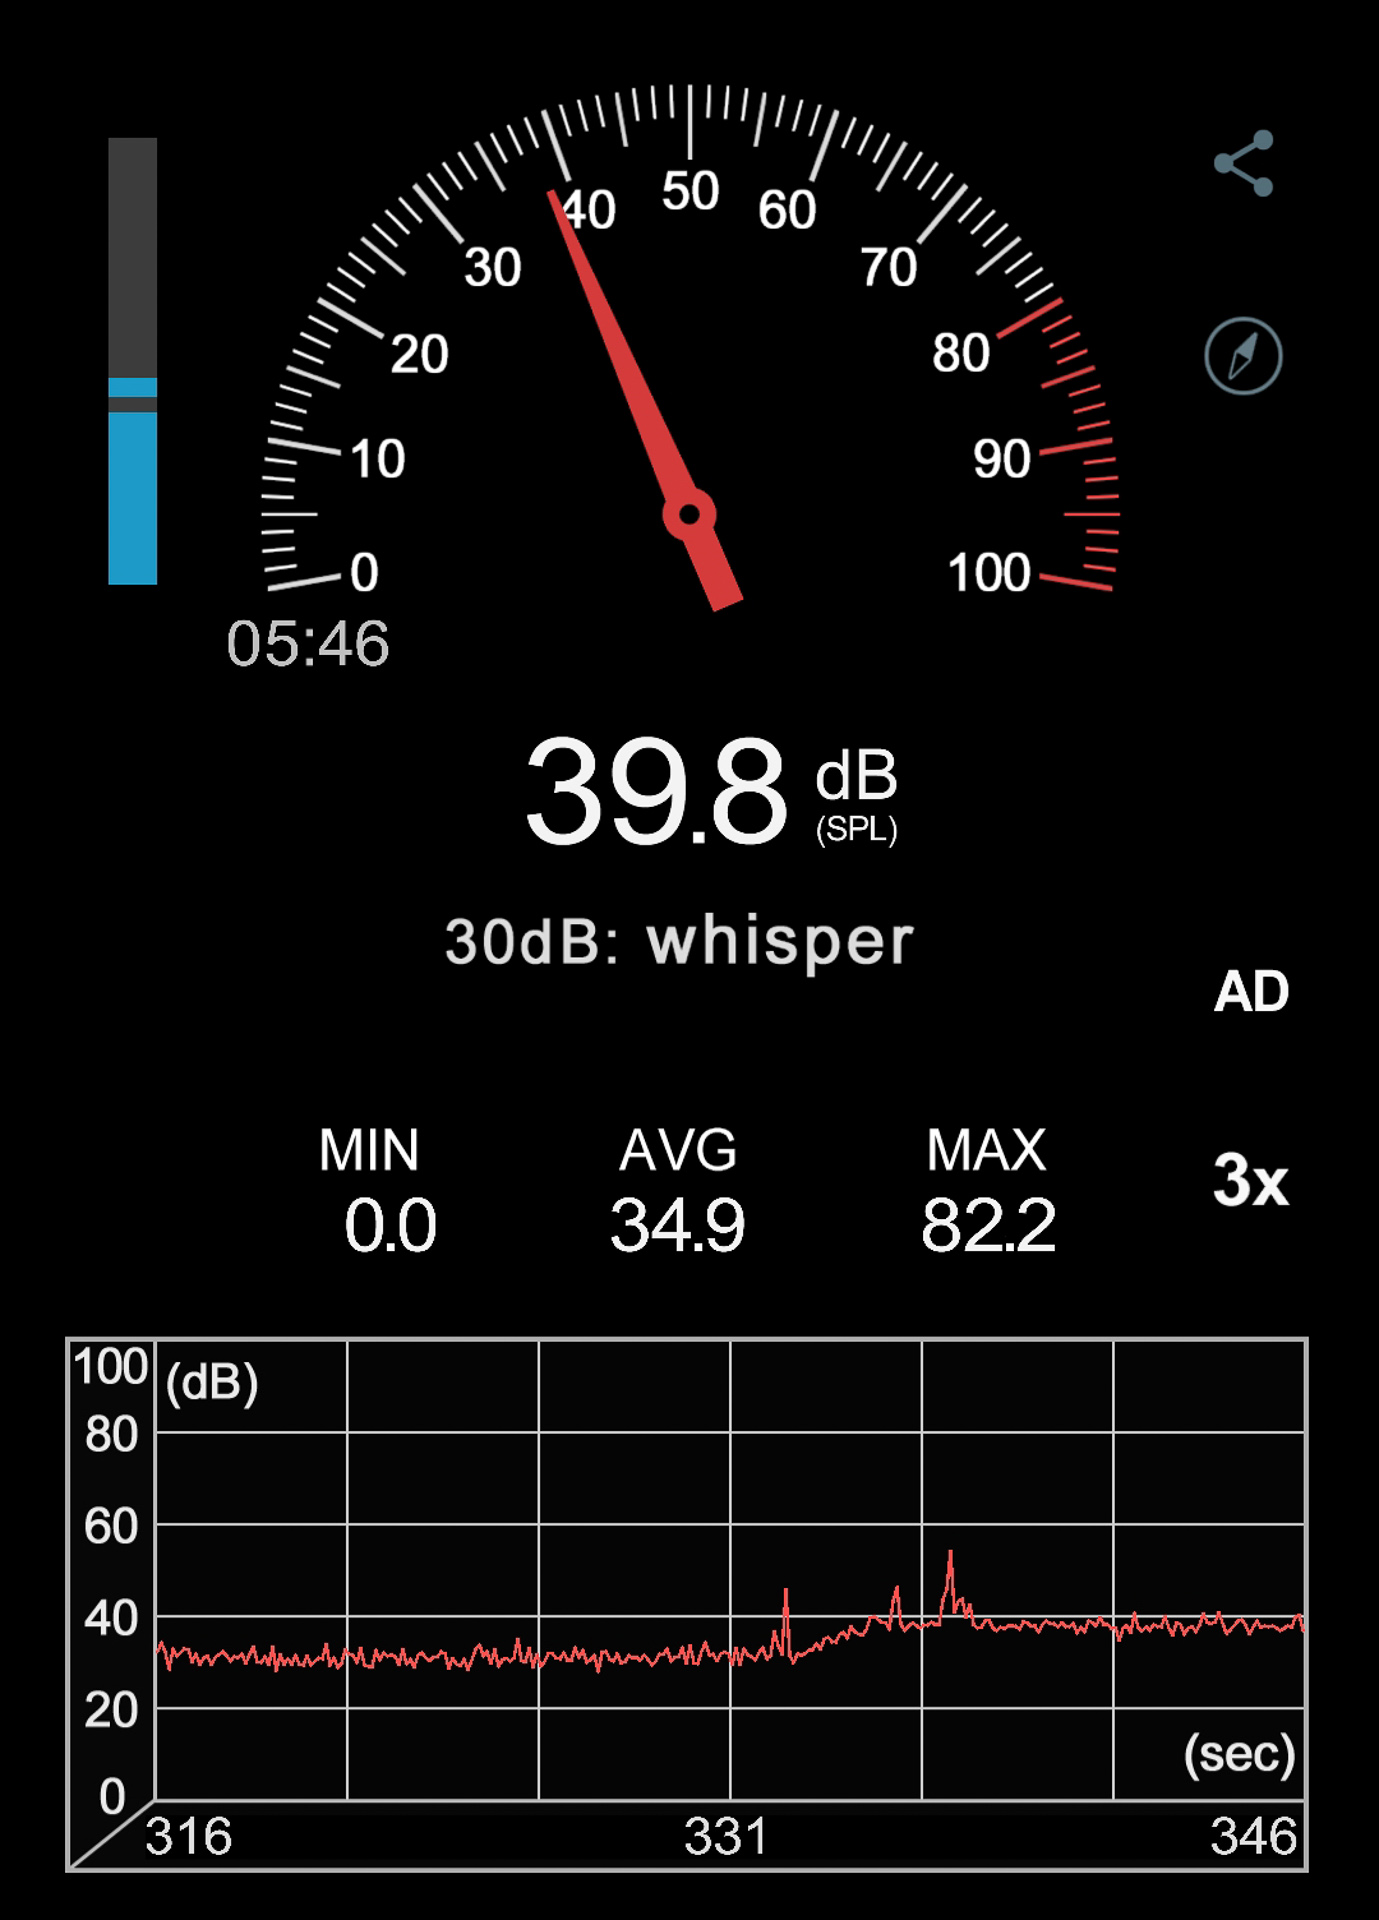

Everything, of course, is subjective and relative. Perhaps living and sleeping in the same room with the printer would make it seem loud. At night, even a mosquito buzz sounds like a siren. So 41–45 dB might feel significant. But I don’t share a room with the printer. My office/workshop, where the printer operates, is on the opposite side of the house from our bedroom. You can’t hear or see it from there, even with the doors open.
Also, subjectively, the new printer is quieter than the old one. I suspect it’s because the old one was enclosed in a box that acted as a resonator. The new printer has no such box, making it noticeably quieter.
- The fear that the project would be expensive. Justified.
Unfortunately, the project budget exceeded all initial estimates by threefold. Since the parts weren’t sourced from old stashes, I was able to track every single expense. I have a detailed Excel file that accounts for everything down to the square inch of aluminum plate used and its cost.
The total project cost was $894.83.
The printer itself turned out to be of very high quality — comparable to top market models. For example, if we’re talking about the same “weight class,” like some LulzBot TAZ models, they can cost $4–5K for the basic version. This fact is somewhat comforting. You can’t buy a printer of this level for nine hundred bucks, of course.
But still, I didn’t expect the costs to be this high. I thought, at most, I’d spend five hundred dollars. Initially, I budgeted three to four hundred, mostly for metal.

Yeah, right!
- The fear that the project would take too long. Justified.
Initially, the project was allotted four weeks. One week for design, one week for sourcing materials and components, and two weeks for assembly as parts arrived. Concurrently, I’d cut parts on a CNC router on Saturdays and tweak the firmware at night.
(Insert SpongeBob “Optimism” meme here: copy-paste)
The oldest file in the project folder is dated June 20 of this year. The last sticker was applied on September 26 of this year. Three months, to be exact.
Yes, technically, I’ve been using the printer for its intended purpose for the last three to four weeks. But even with that in mind, it still ran a month longer than expected.
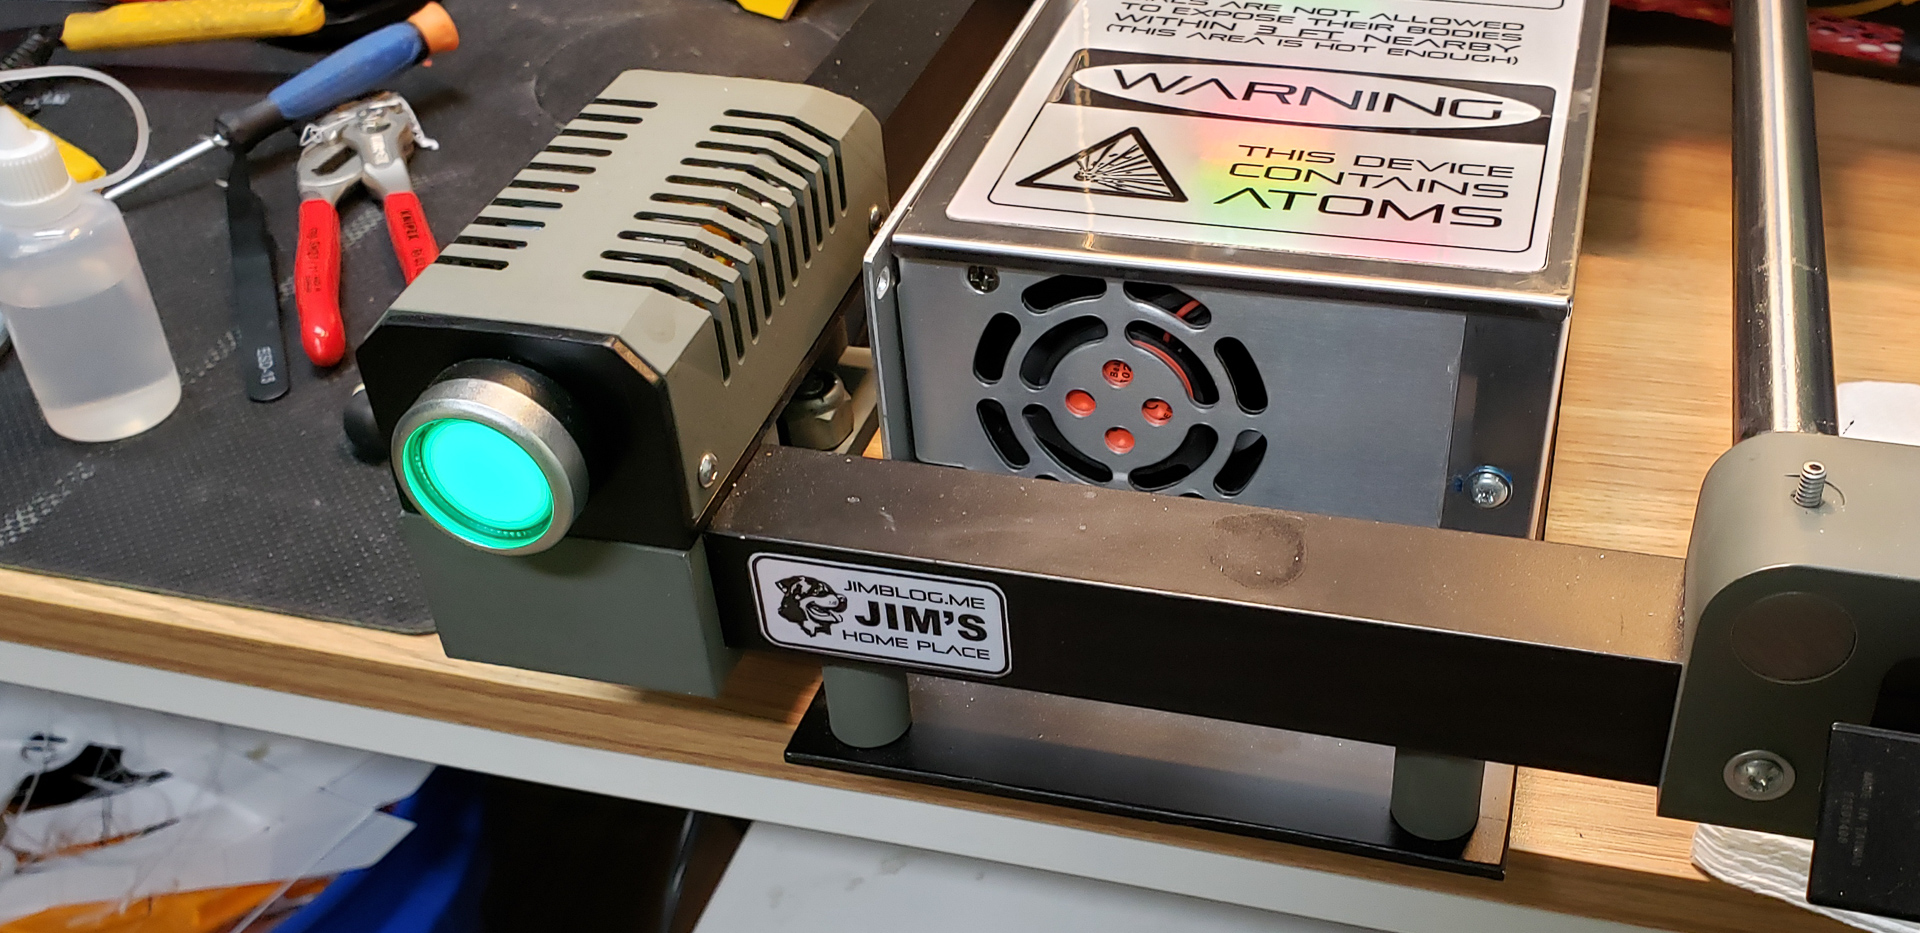
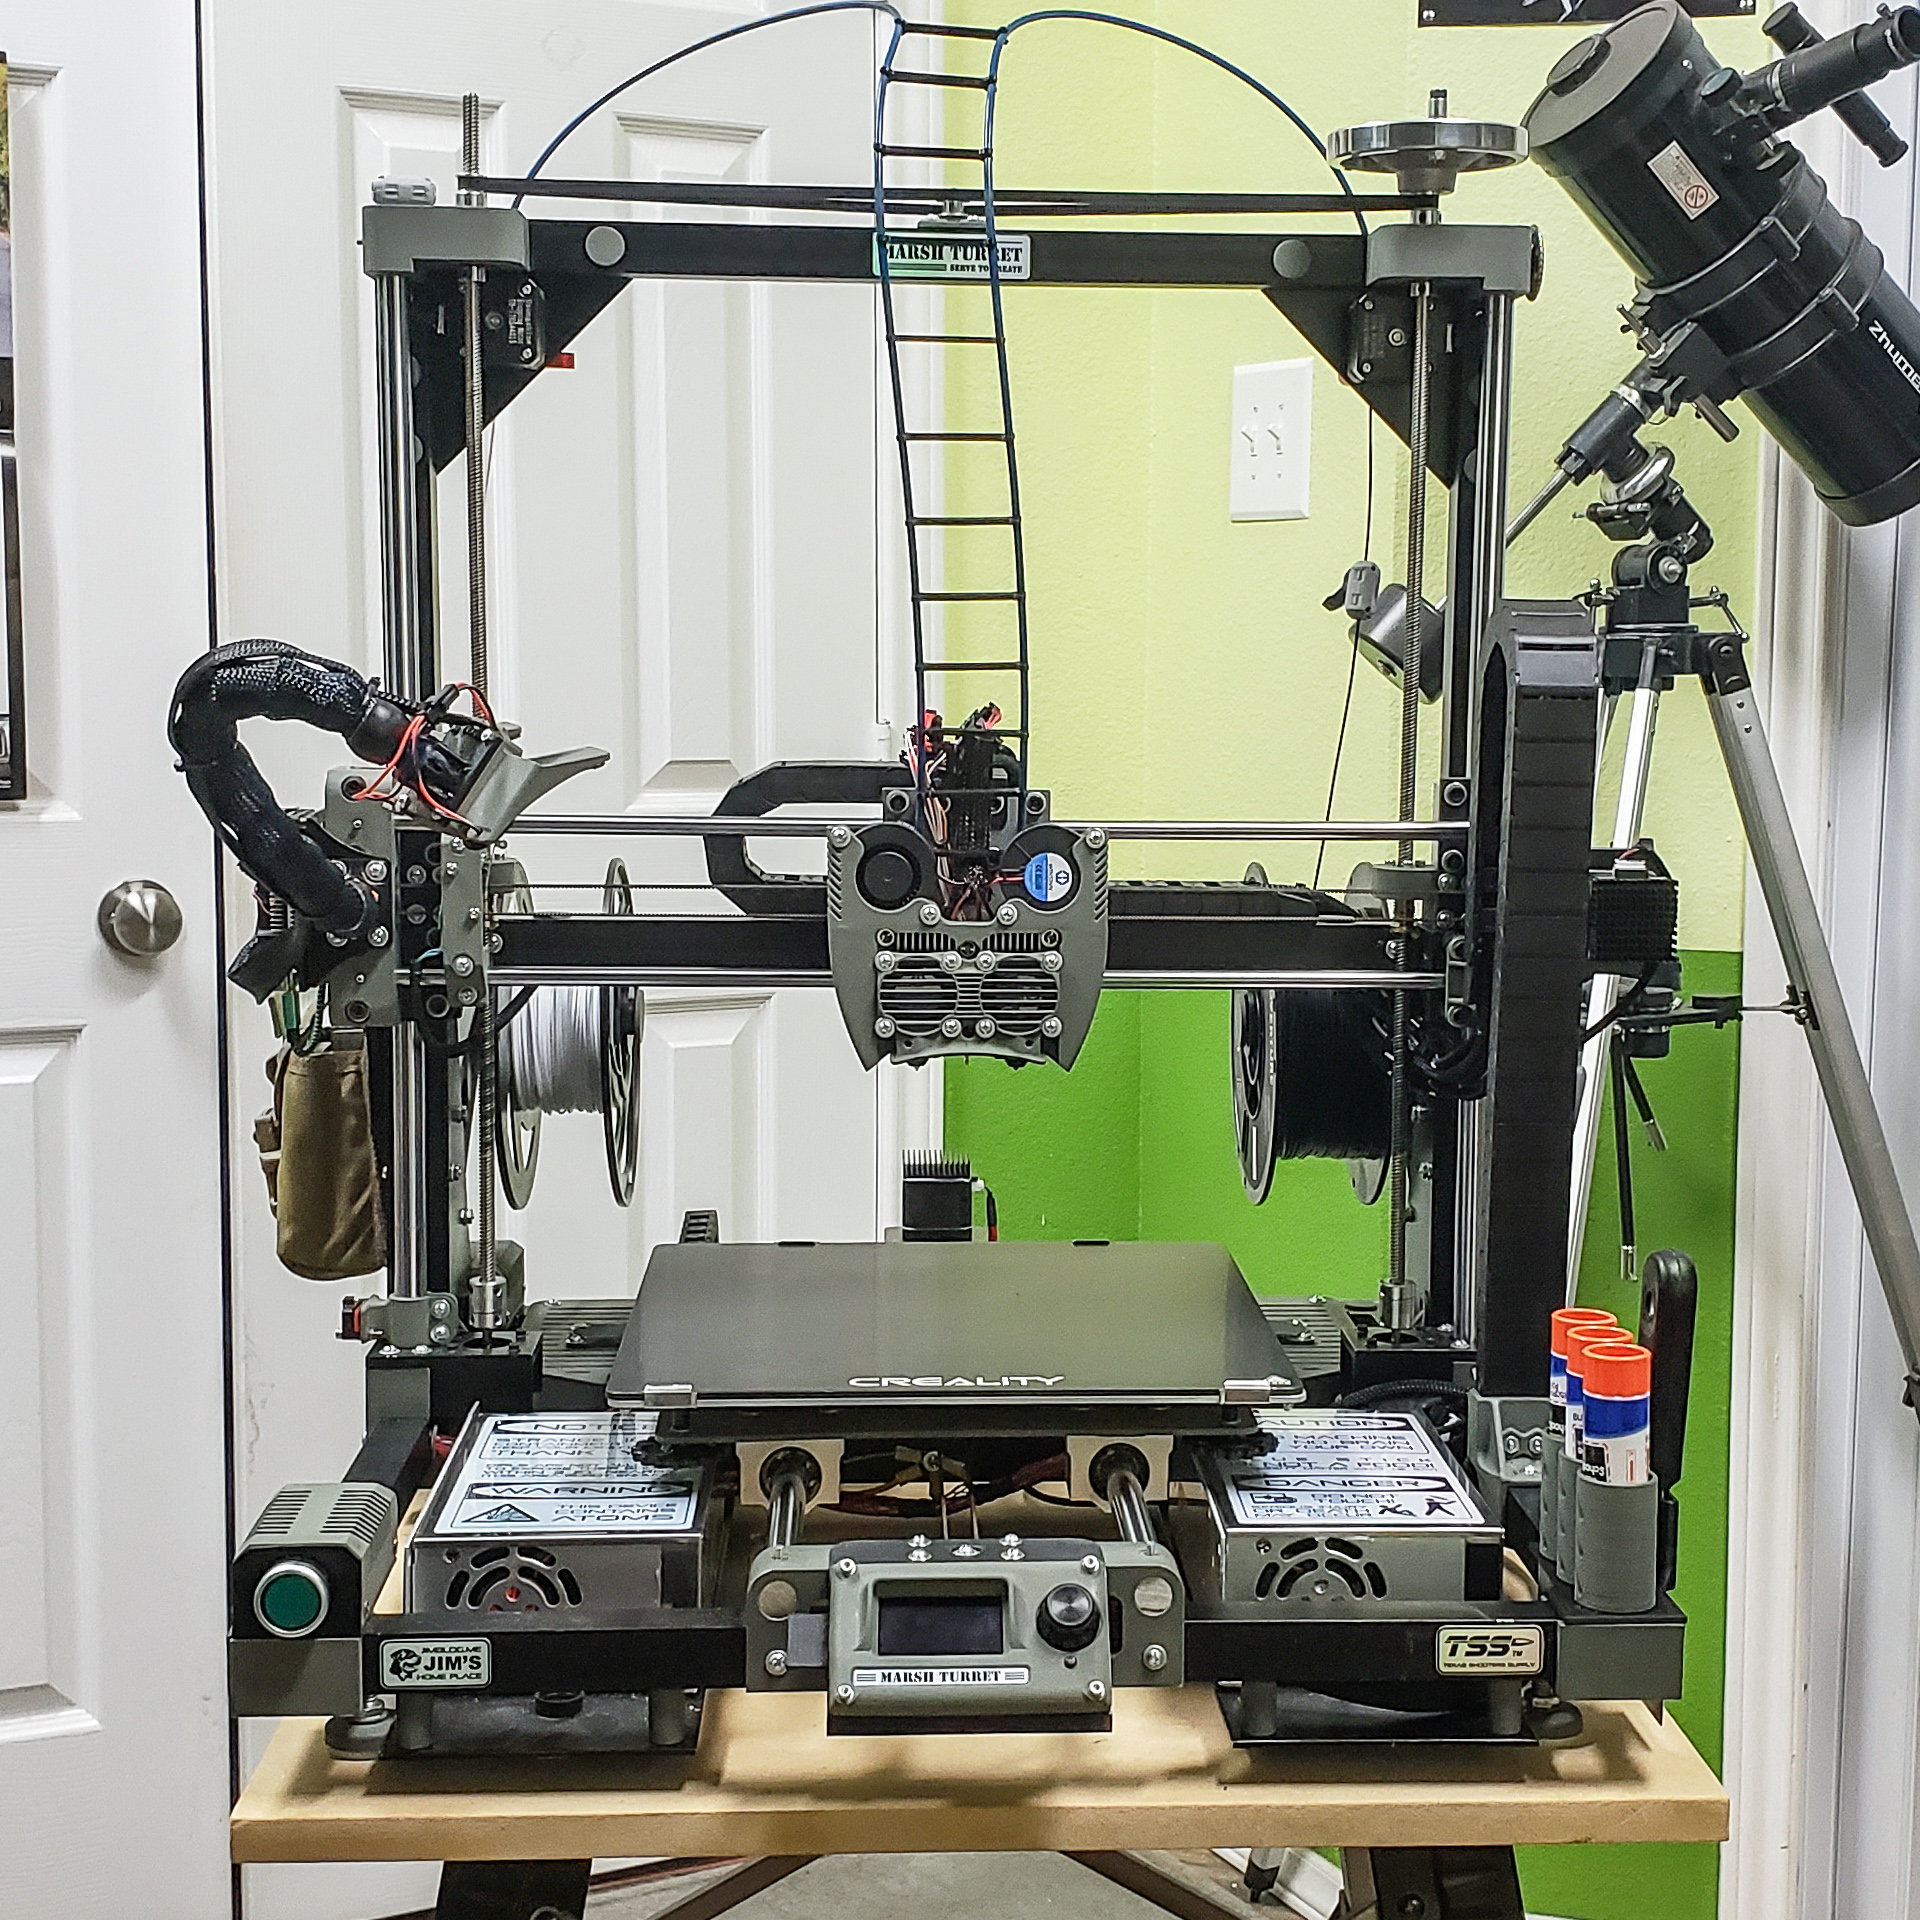
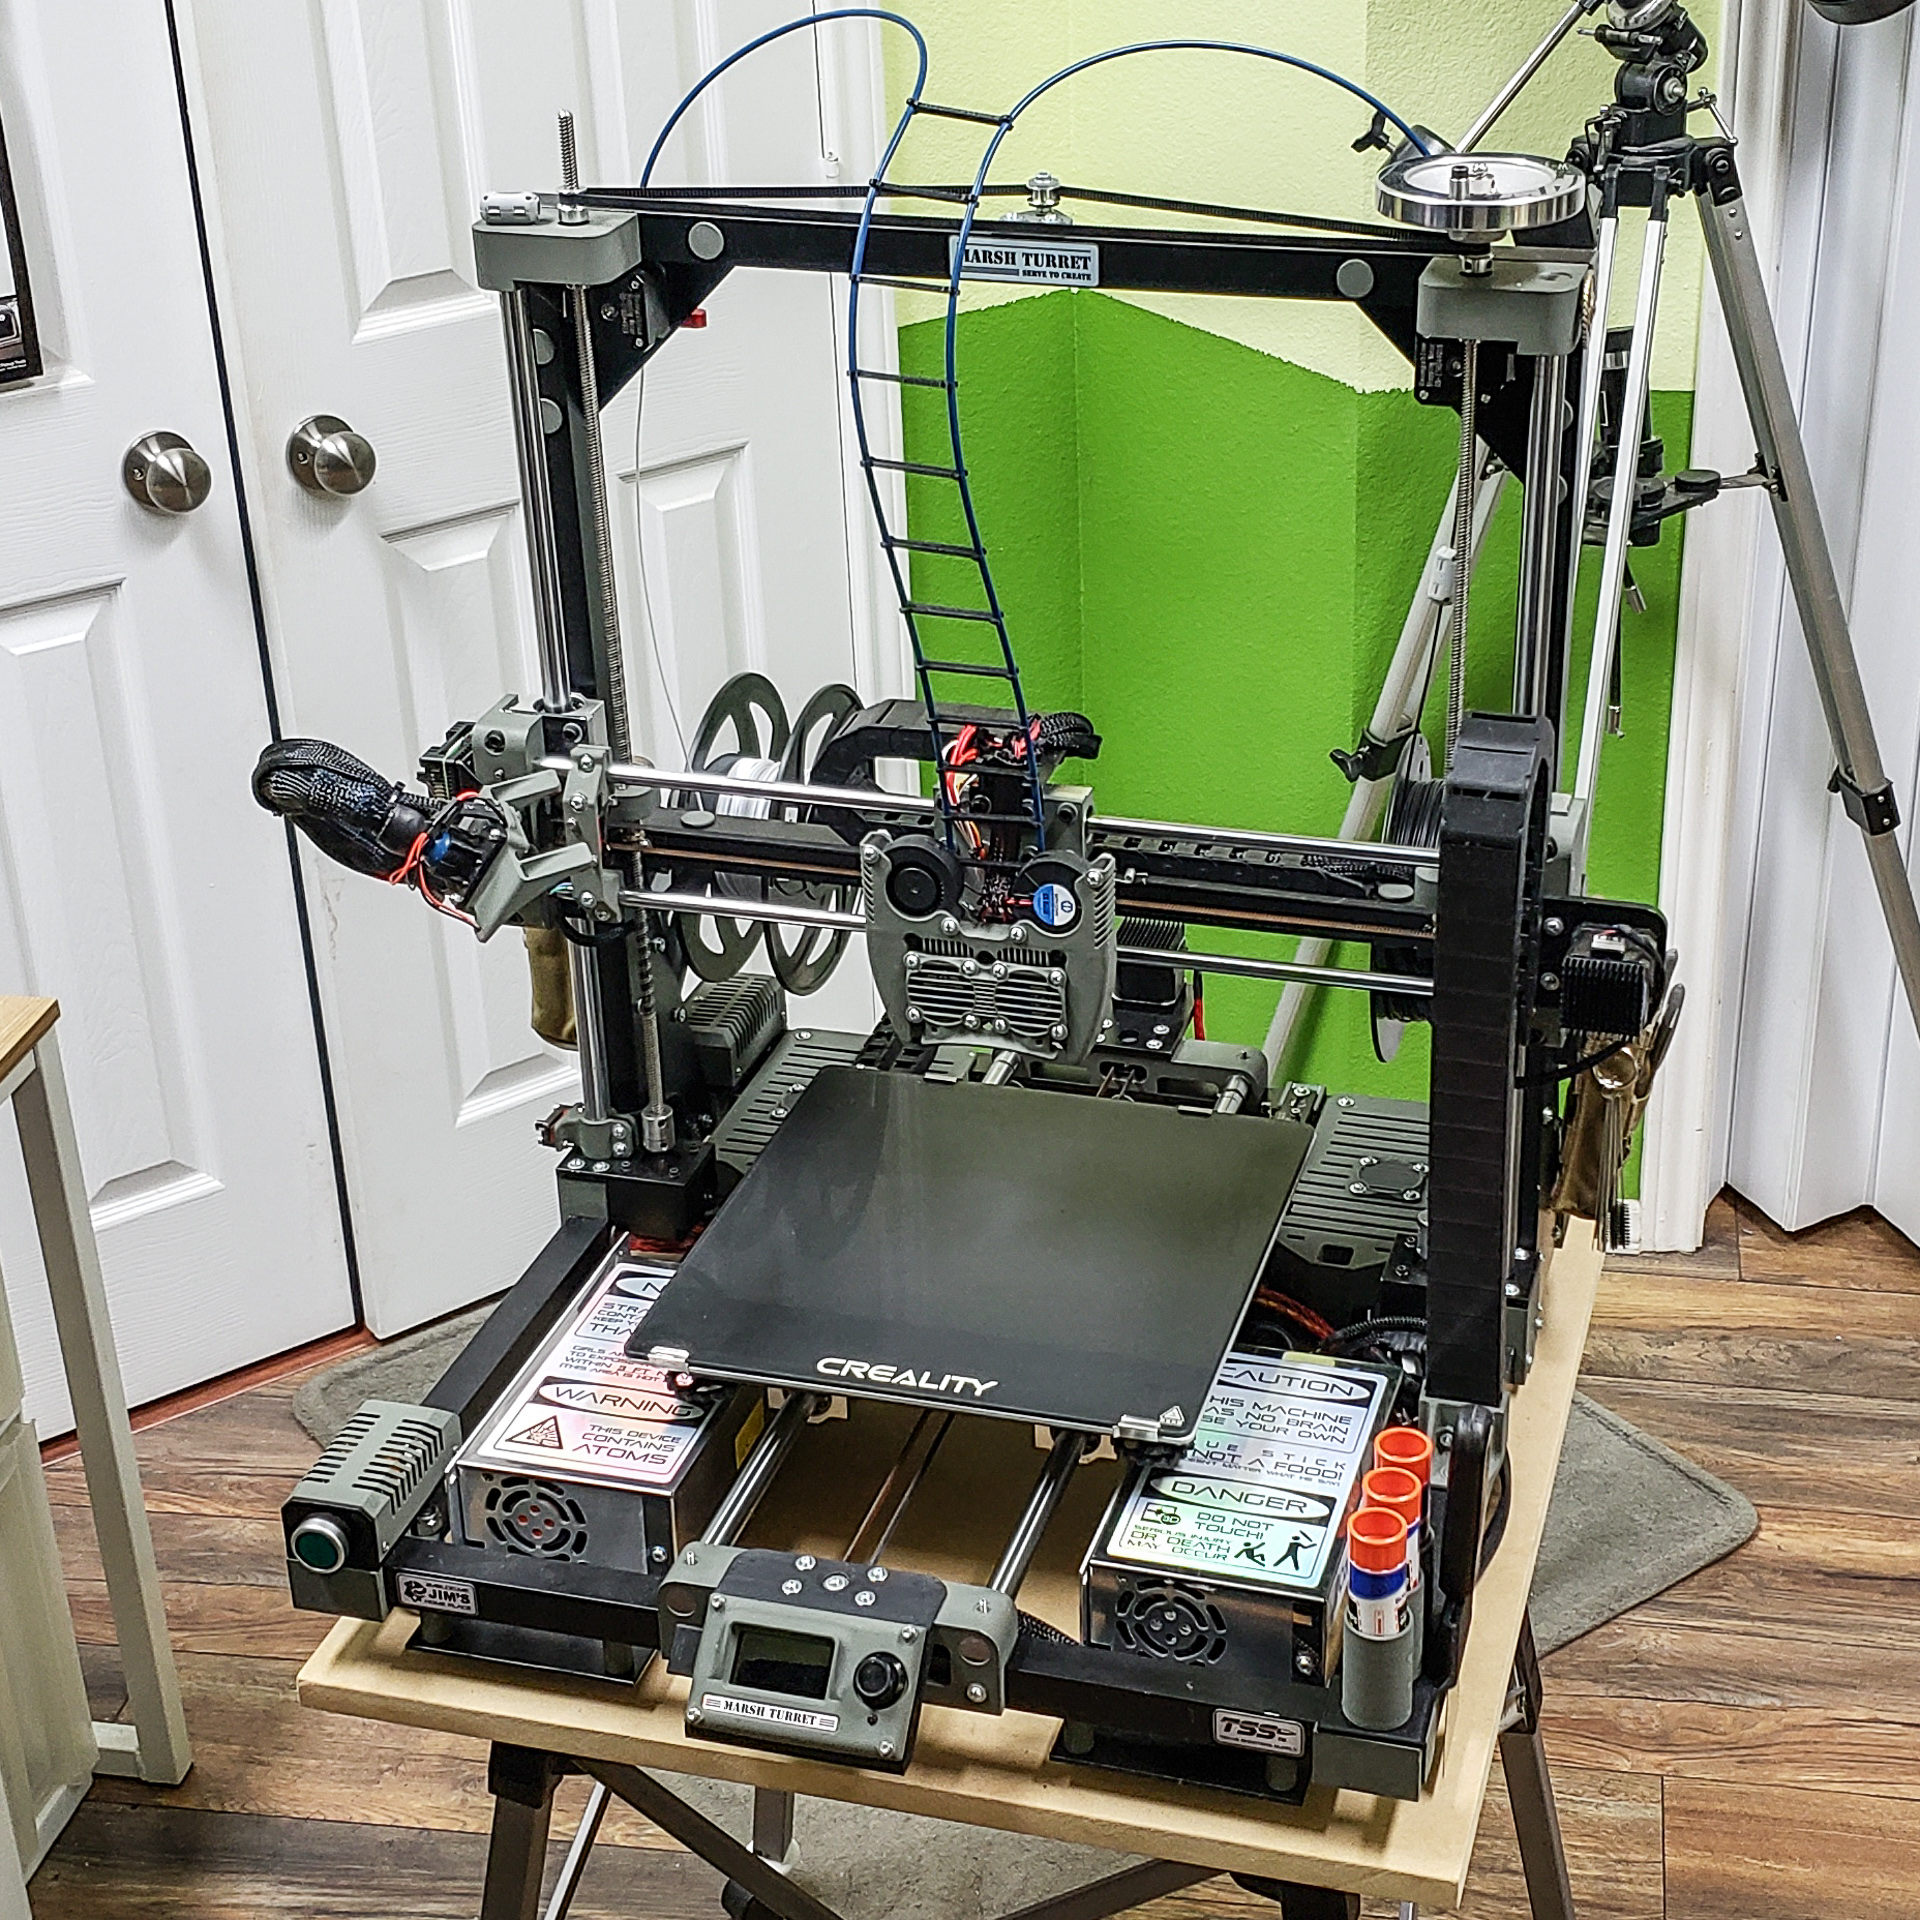
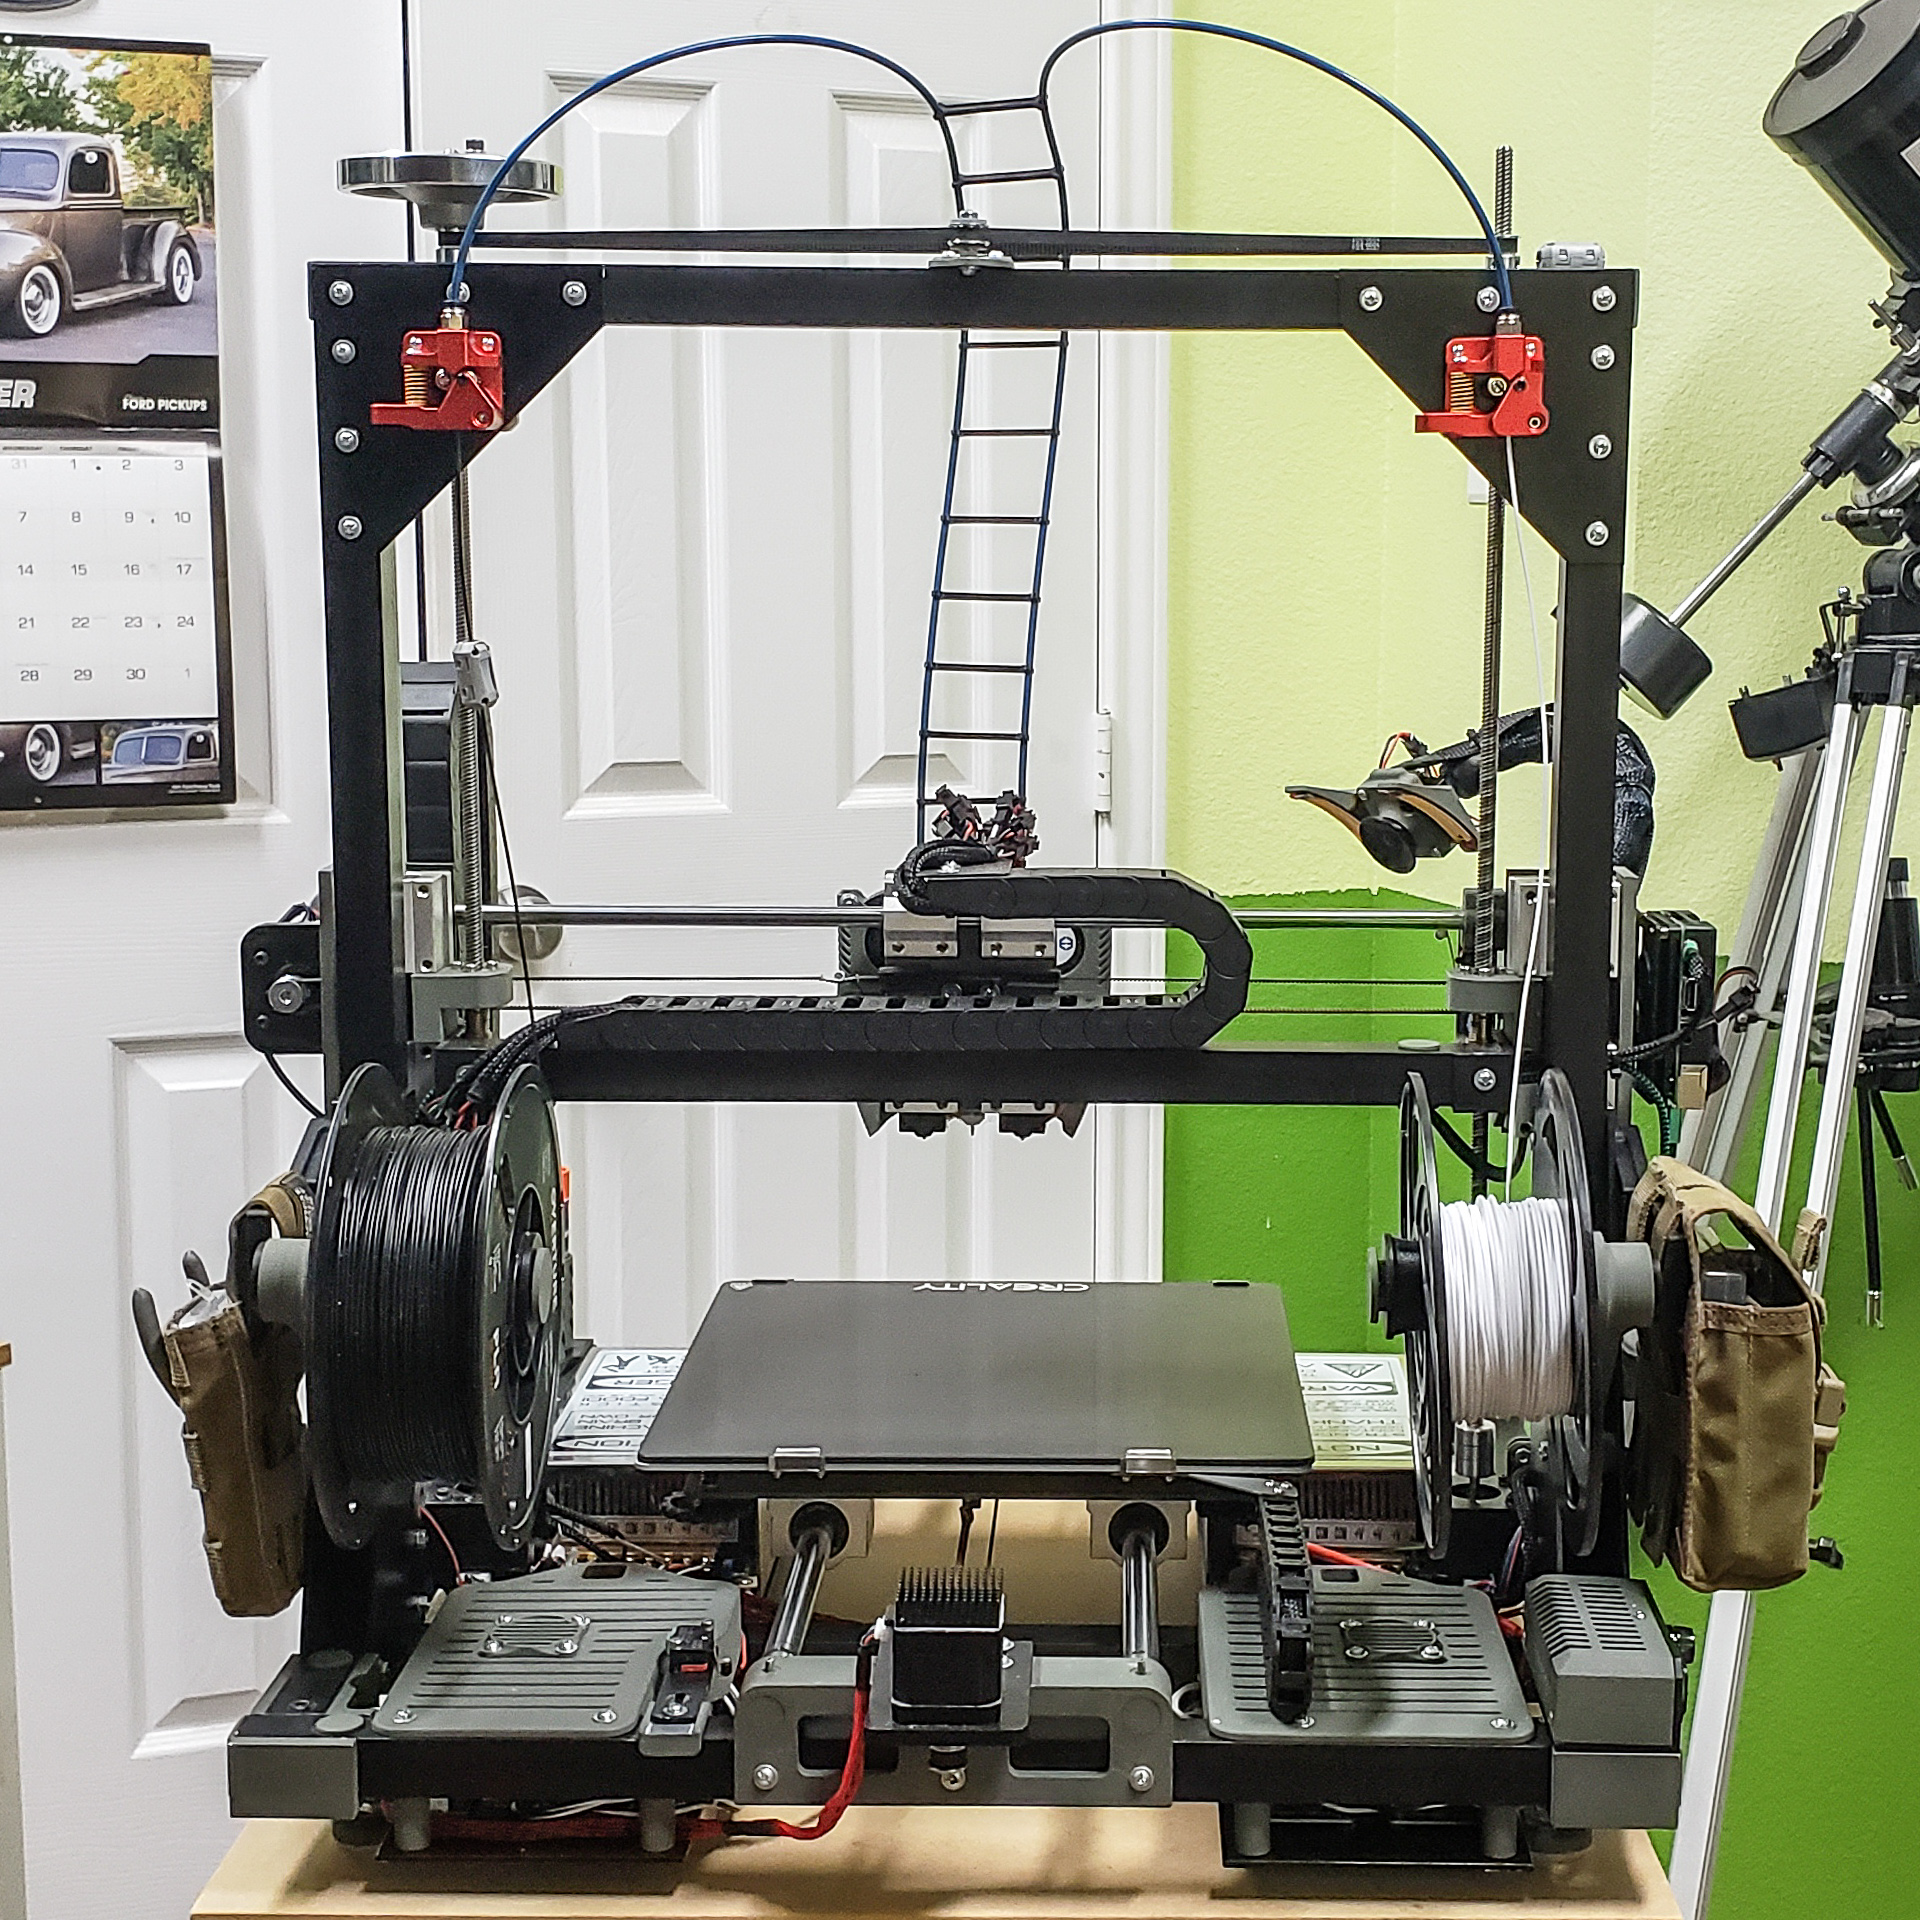
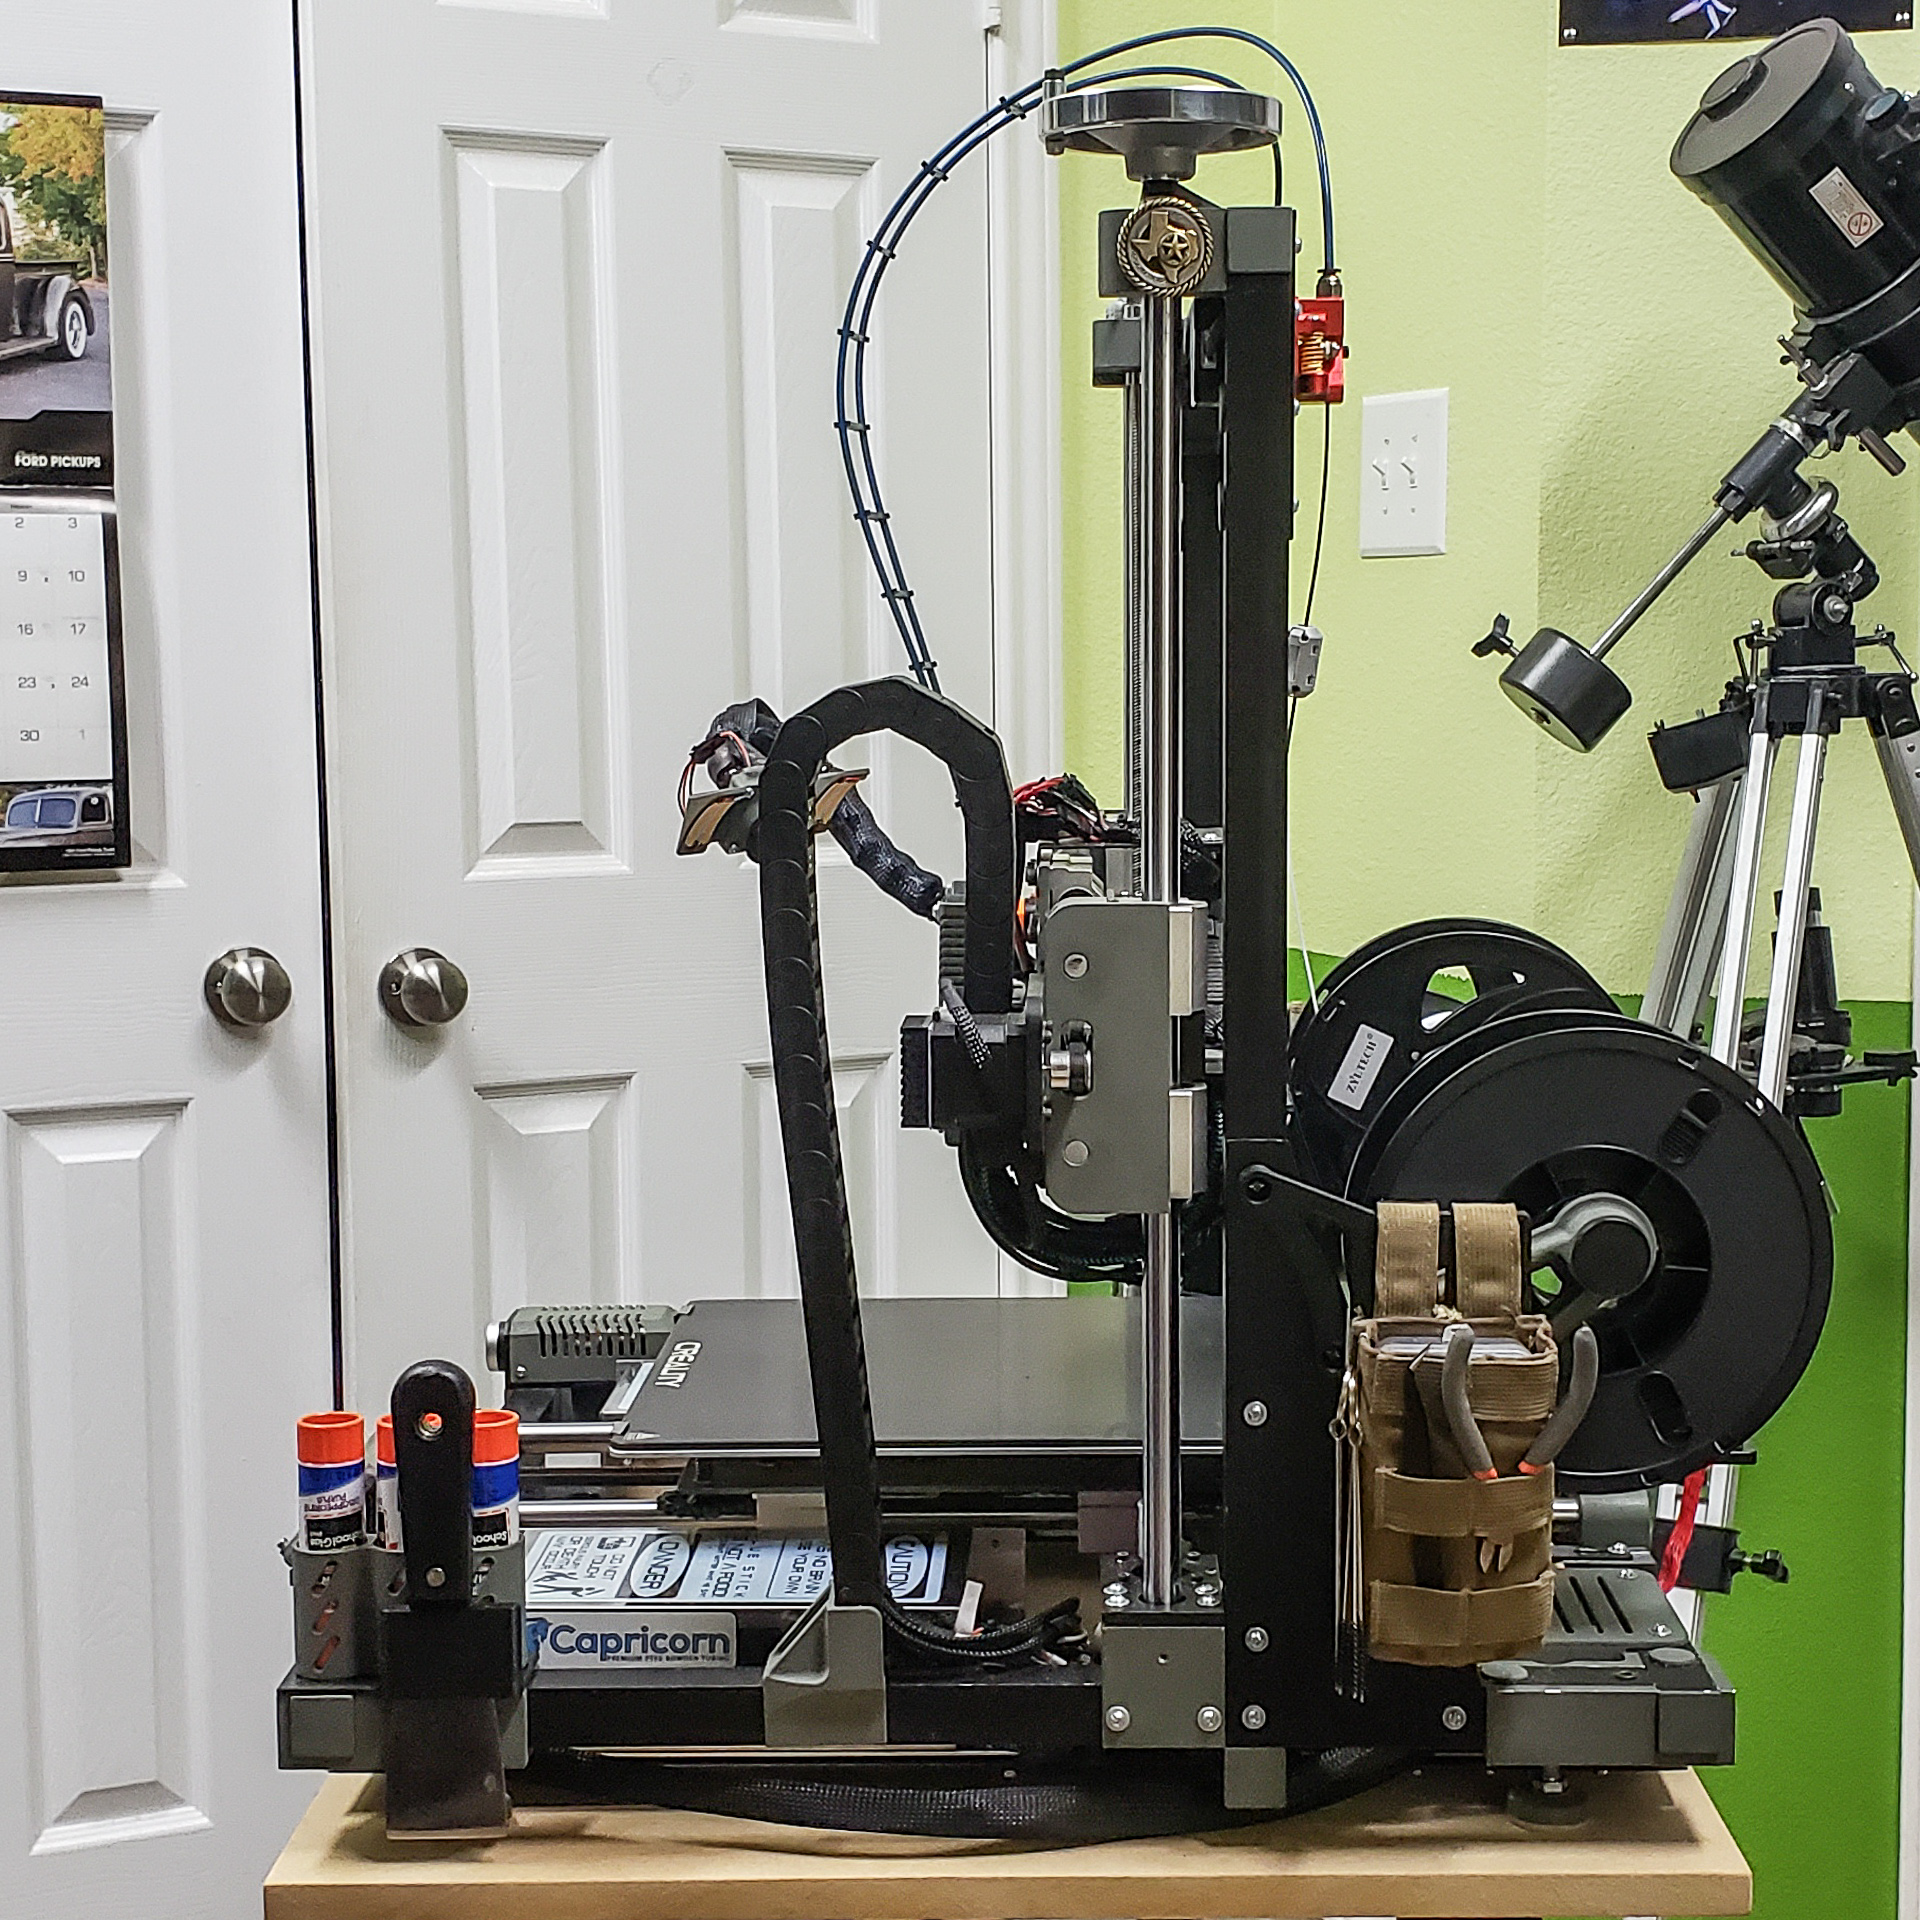
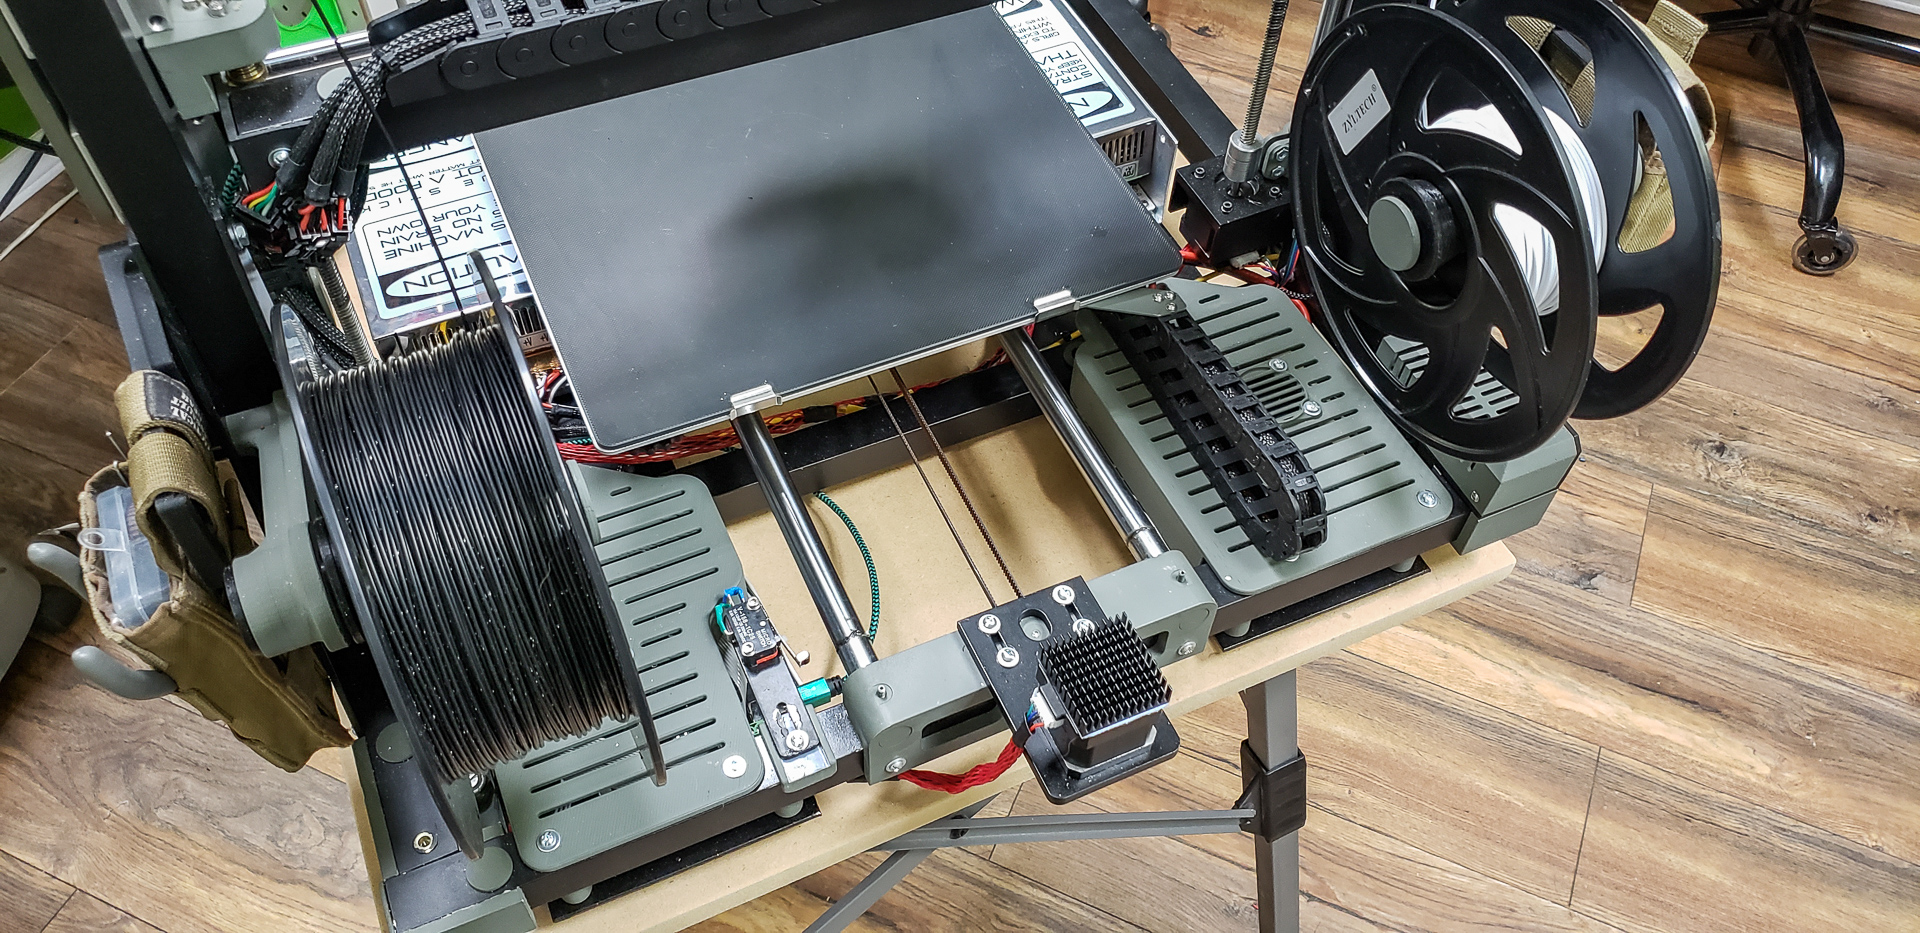
Final Photoshoot
I had to drag the printer off the desk where it had already settled into its permanent spot (it blends in too much with the black curtain in the background). Hopefully, this will be its last trip to the mobile workbench in the middle of the room (incidentally — one of the “furniture” projects completed with the help of the new printer):
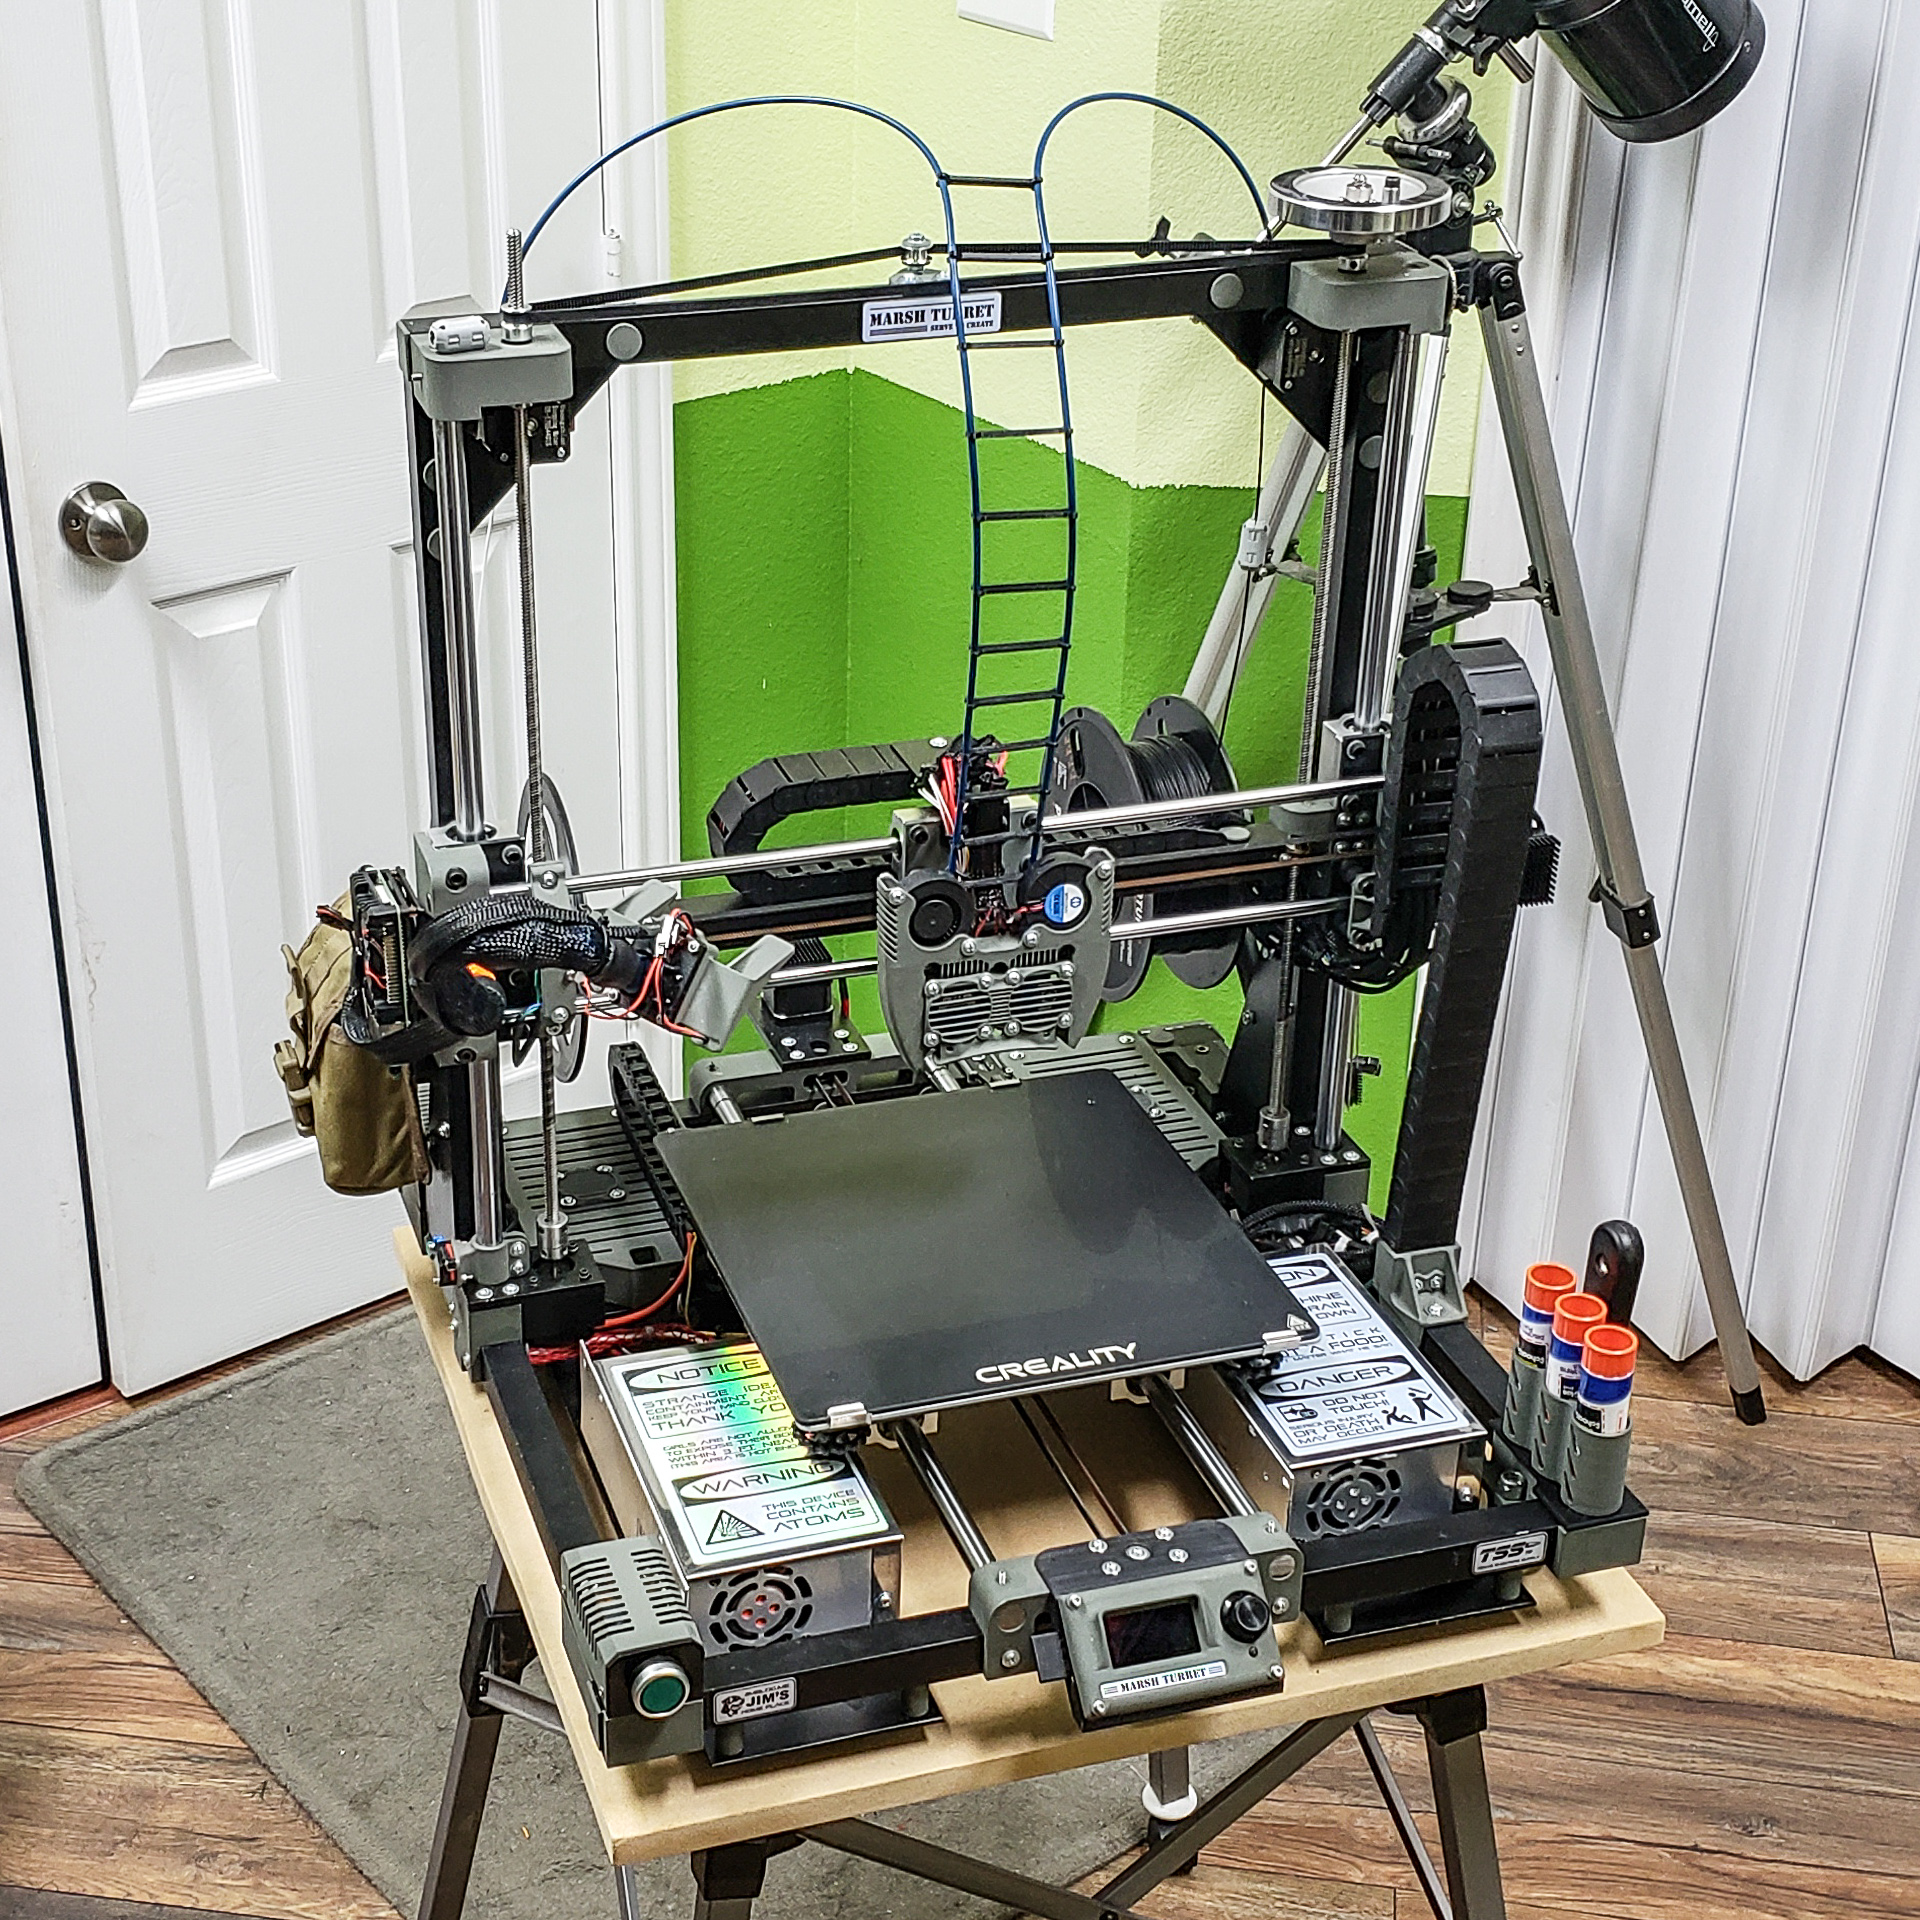
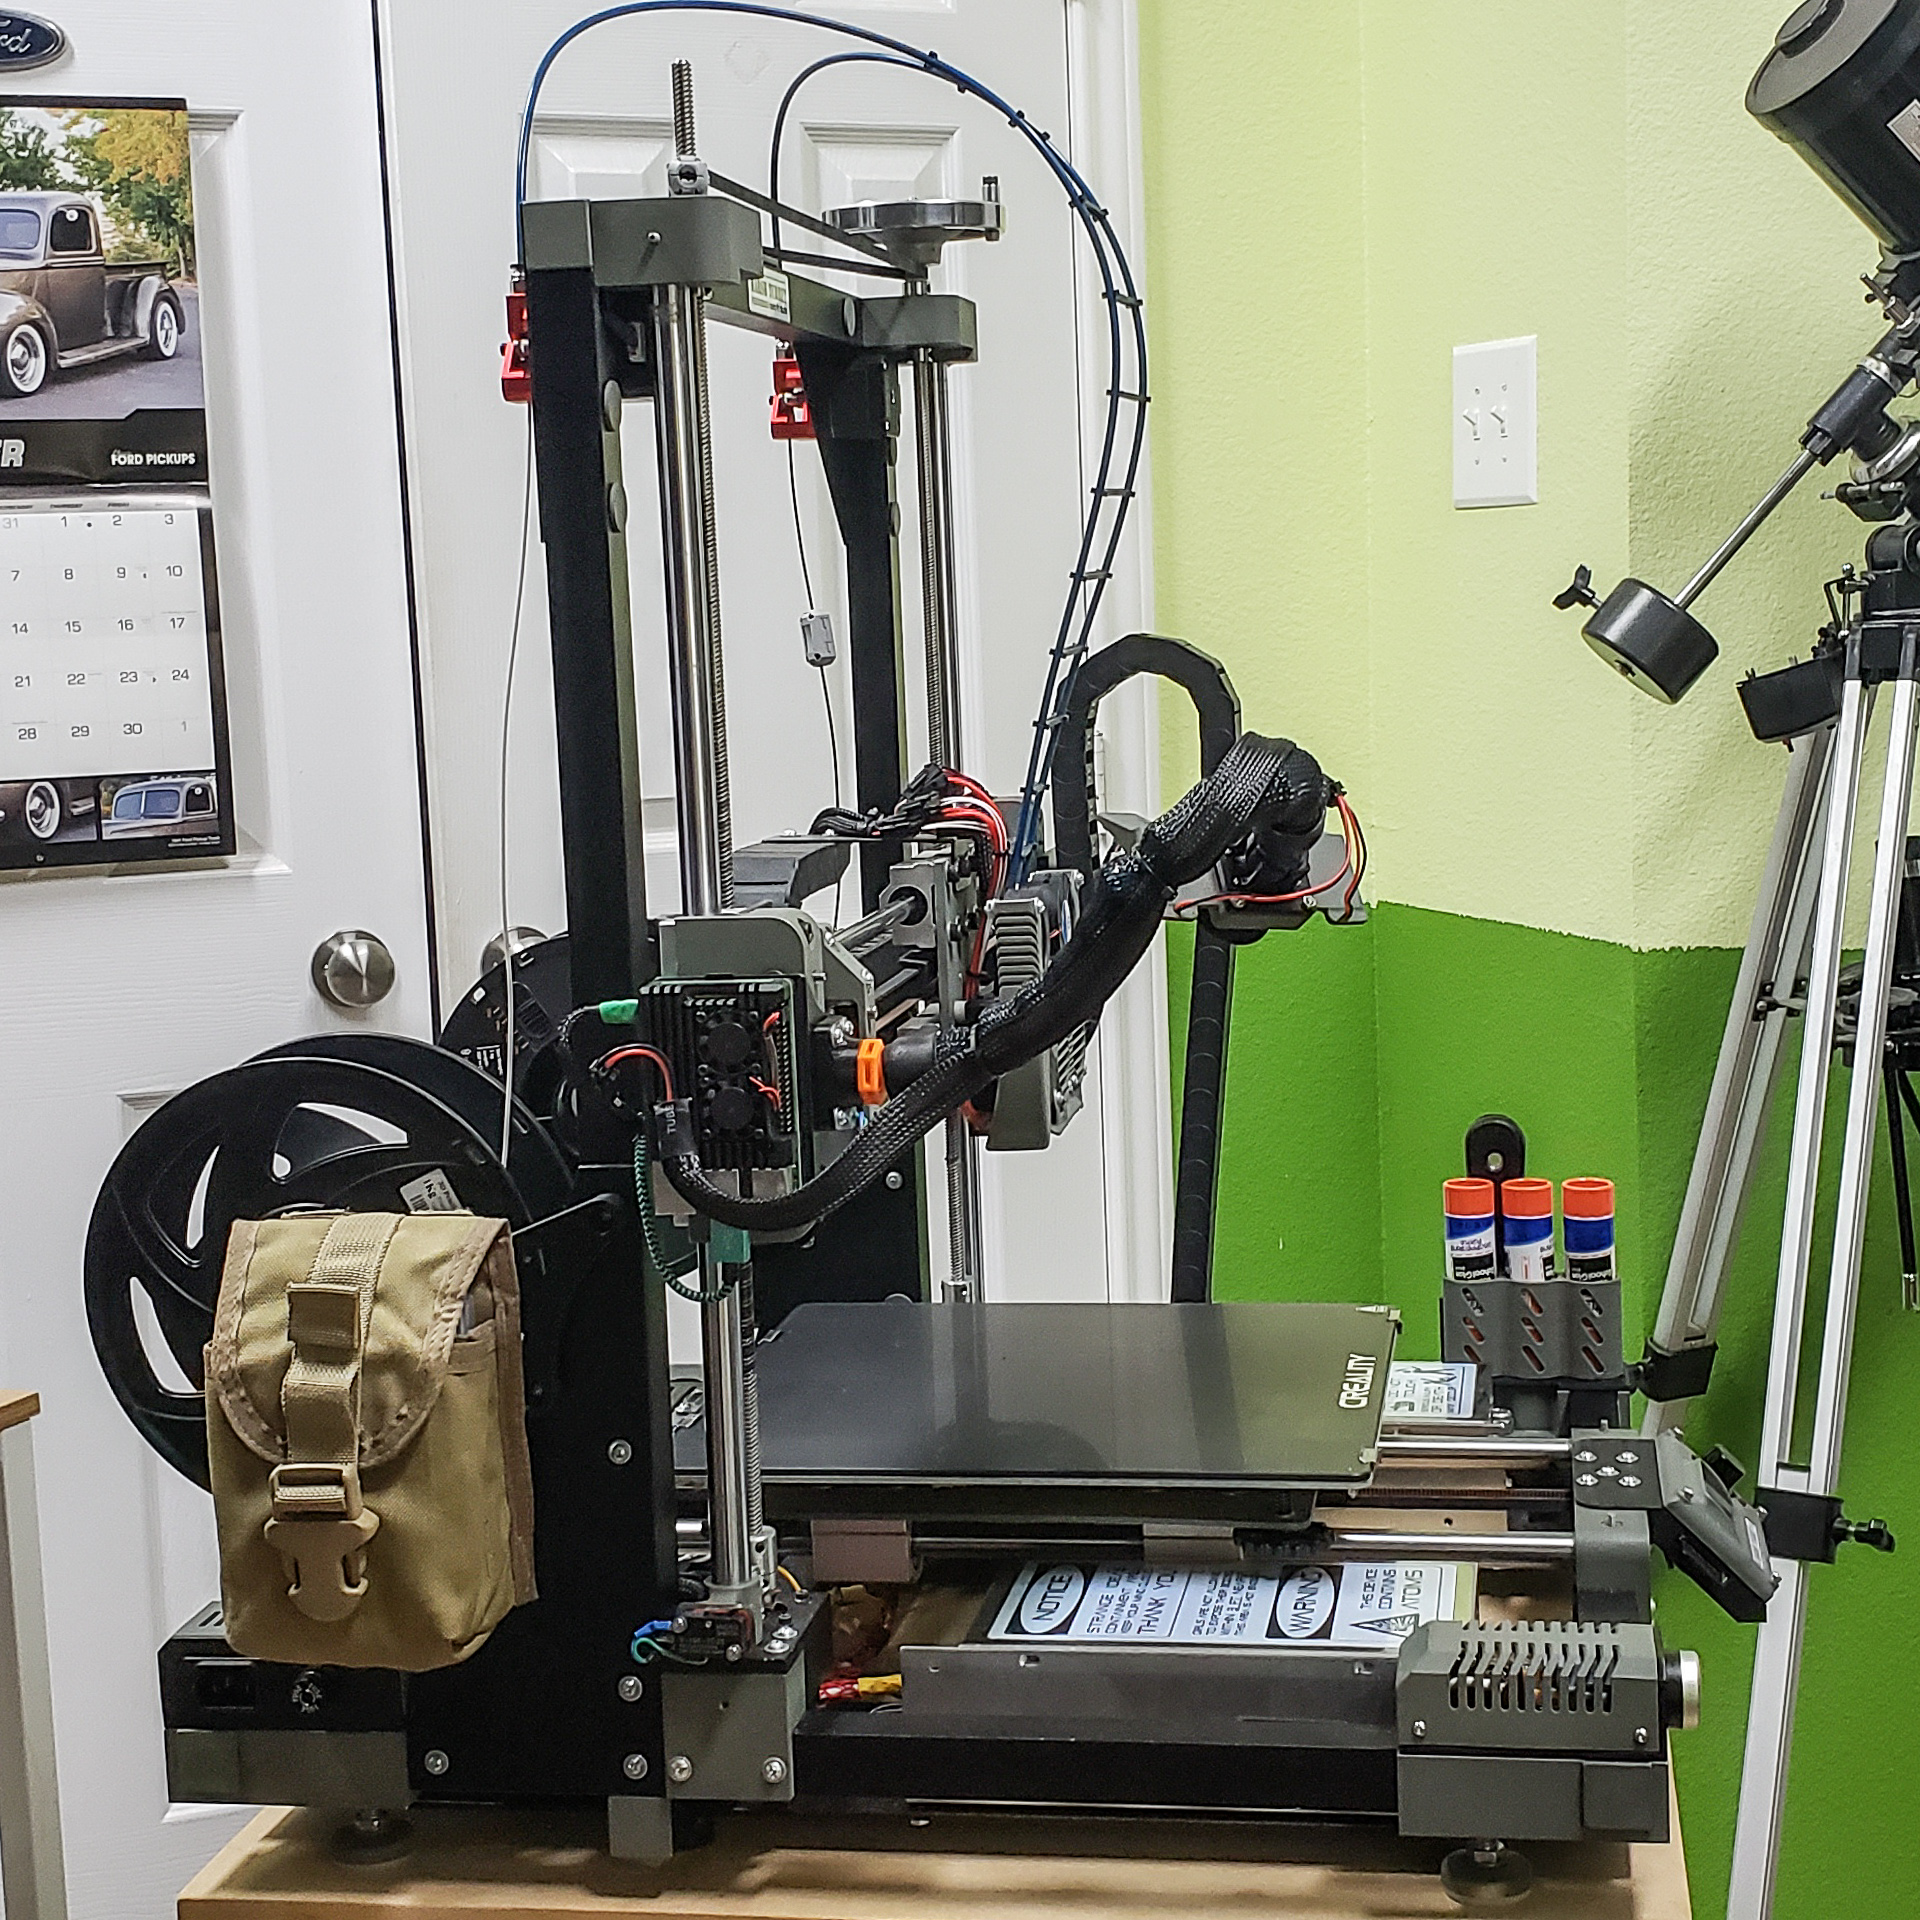
As a bonus… The MARSH TURRET appeared in my dreams two nights in a row, begging me to photograph it like this:
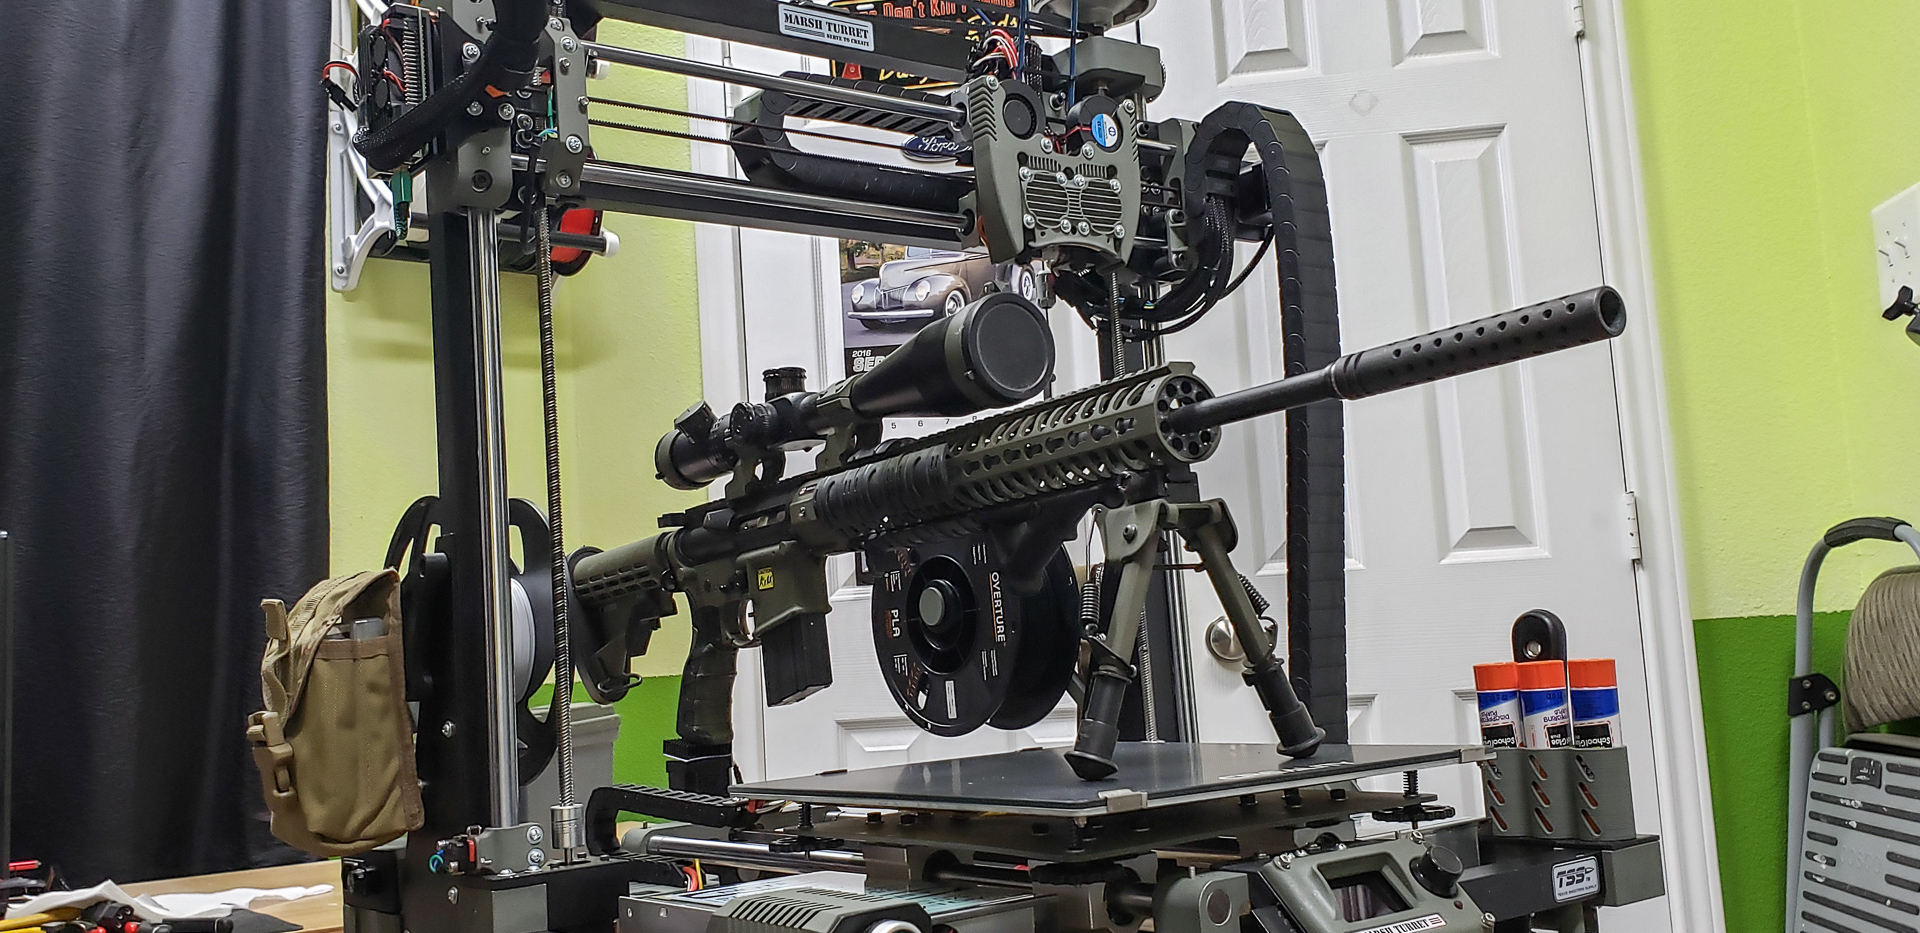
How could I say no to my new companion? 🙂
And that’s it. The end of the saga and the conclusion of the series of articles about building a 3D printer from scratch.
Bonus.
The old printer, upon completing a print, would emit a sequence of particularly unpleasant, atonal beeps from its built-in speaker. It was hardcoded somewhere deep in the original firmware. Figuring out how to change or fix this horror felt like too much hassle. Sure, I could have turned it off entirely through the interface, but there was some value in those obnoxious beeps. It let me carry on with other tasks around the house without constantly running back to the printer every five minutes to check if it had finished (especially when waiting on something “urgent”). Once it beeped — that was the signal to head over.
For the MARSH TURRET, I decided to teach it a more appropriate sound for signaling the end of a print. This wasn’t built into the firmware but is instead automatically added to every file during G-code generation. It can always be changed if needed, but… being a creature of habit, I decided to choose something timeless, something fitting for the Turret’s name and appearance. And something that matched the mood in the workshop during its creation:
Excuse me, but this is the best the printer’s controller can manage. Those in the know will appreciate it.. 🙂
Fin.